views
Removing the Old Sink
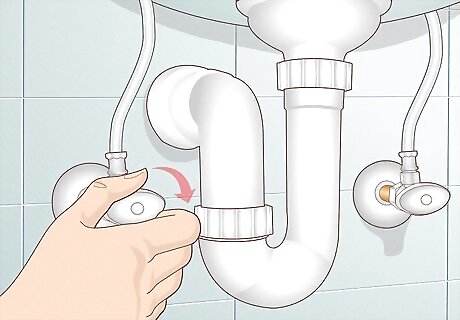
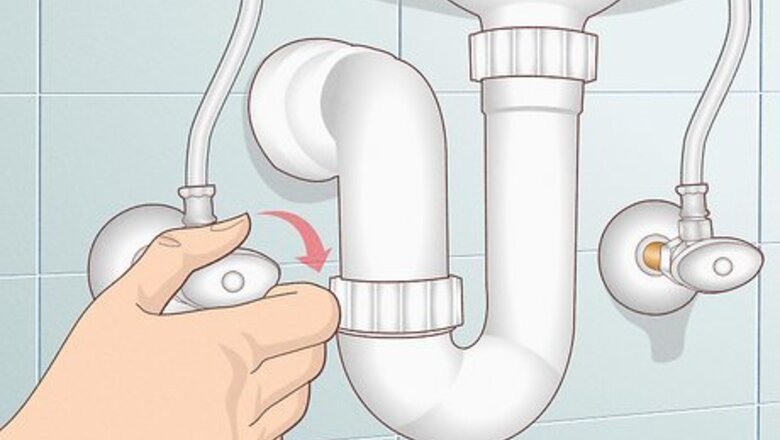
Turn off the water supply valves. Look for 2 valves below the sink and turn both of them completely to the right in order to cut off water to the sink. If the valves are really old or stuck in place, turn off the water at the main water supply—this is usually near your water meter or on a lower level of your home. Test that you cut the water supply by turning on the faucet—no water should come out. If it does, turn the valves more and check again.
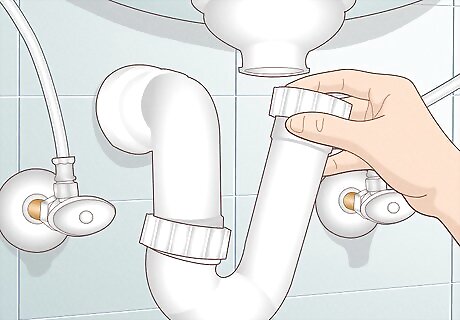
Disconnect the P-trap and water supply lines. Since water is always in the P-trap, place a bucket under the sink and unscrew the P-trap by hand. Then, use an adjustable pipe wrench to disconnect the hot- and cold-water supply lines from the shut-off valves in the wall. If you can't fit a bucket in the space under the P-trap, just lay an old towel underneath it to absorb the water that comes out.
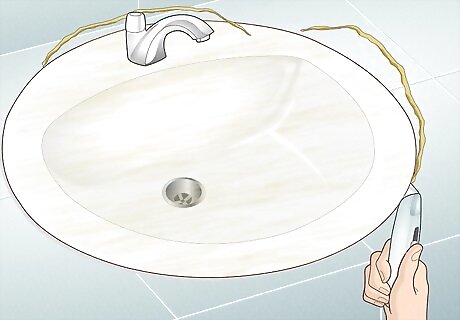
Slice through the old caulk around the sink and lift the bowl out. Take a utility knife and carefully cut through the old caulk to separate the sink bowl from the countertop. Then, pull the bowl away. If it's stuck, pry it out with a flat-head screwdriver. Some metal sinks are held in place with metal clips that you need to unclip in order to remove the sink. Be careful that you don't damage the vanity countertop when you slice through the caulk around the sink's bowl.
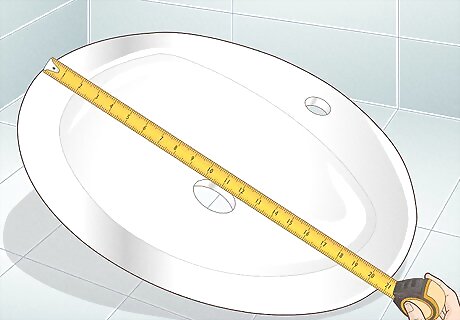
Measure the new sink to make sure it fits the space. All new sinks should come with a template of the mounting opening, marking the location of the faucet holes, including a cutout for the sink. You can use the template to make sure the sink fits in the desired location. If it doesn't, you may need to do some trimming or cut the entire opening if you're installing a sink in a house under construction. Check that you have a drain and tailpiece for the sink. The tailpiece is the straight pipe that connects the bottom of the drain to the P-trap. Then, check that the faucet's supply lines line up with the water supply valves that are underneath the sink. If they're really long and taking up a lot of space under the sink, you can use a utility knife to cut them to size. If you don't have a template of the mounting opening, simply set the new sink in place and see if the openings line up with the existing plumbing.
Mounting the New Sink
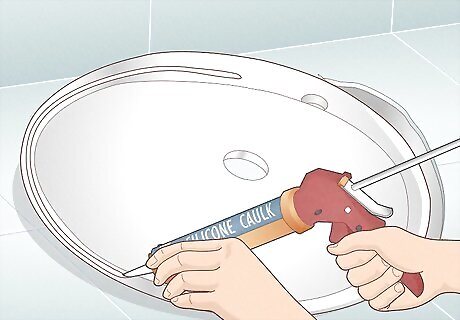
Caulk around the underside of the sink and put the sink in place. Turn the sink upside down so the bottom faces up and slowly squeeze a thin bead of silicone caulk using a caulking gun along the bottom lip. Then, carefully flip the sink over and lower it in place. As you push down, some caulk may squeeze out—take a cloth and wipe the excess away. If you see small gaps between the sink and the countertop, fill them in with silicone caulk.
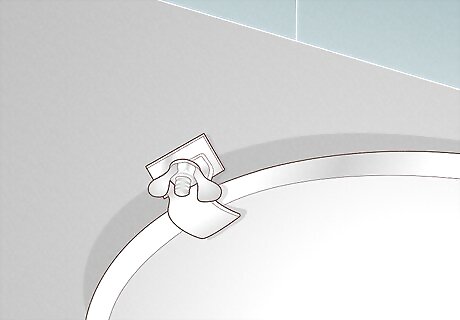
Secure the sink with clips if your sink has them. If you installed a metal sink, the fixture probably came with connective clips that help to hold the sink in place. Because clip design varies so much, it's really important to read the manufacturer's instructions and follow their directions for using the clips. Don't worry if your sink didn't come with clips. Most common sinks, like ceramic or porcelain, use caulk to hold the sink in place.
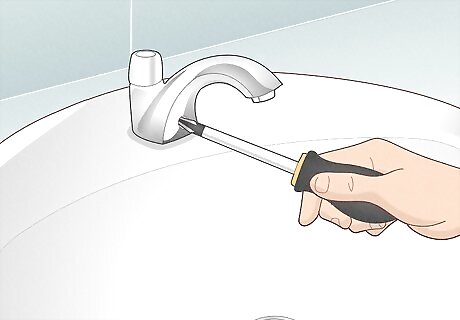
Install the faucet and screw the lock nuts on the underside. Place the plastic or rubber gasket that came with your new faucet on the sink where the faucet opening is.https://youtu.be/IrJcD7M40UQ?t=220 Set the new faucet onto the gasket and screw it in place on the underside of the sink—use your fingers to tighten the lock nuts that anchor the faucet to the sink. If your new faucet didn't come with a gasket, spread silicone caulk or plumber's putty around the bottom edge of the new faucet before you place it in the sink. This forms a seal. If you're using the faucet from the old sink, remove it by loosening the big nut under the sink and disconnecting the supply lines from the hot- and cold-water valves. It's fine to install the faucet before you install the sink if it's easier for working with your space. Just make sure the space for the faucet matches the location of the sink, using the template to measure before you install anything.
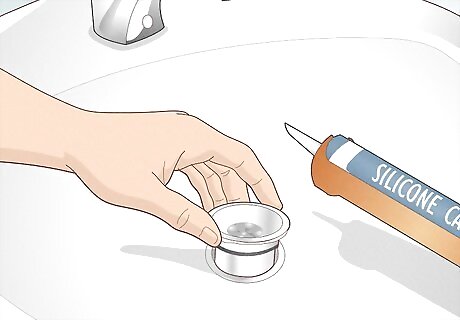
Apply caulk to the sink flange and press it onto the drain. Take the circular metal flange that fits into the basin of the sink and turn it upside down. Slowly squeeze a bead of silicone caulk around the underside of the flange. Then, turn it over and place it in the drain of the sink basin. If excess caulk squeezes out of the sides, take a cloth and wipe it away before it dries.
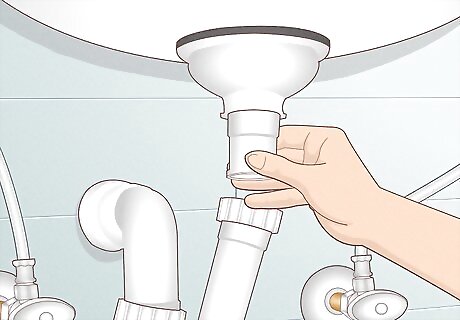
Screw the tailpiece to the underside of the sink. Drop the tailpiece through the sink and screw on the tailpiece nut from underneath. Some sinks come with gaskets that go between sink and tailpiece. If it doesn't, use non-hardening plumbers' putty or silicone to create the seal. Install the gasket, slide the cardboard washer onto it, and tighten a threaded locknut up onto the gasket.
Connecting the Plumbing
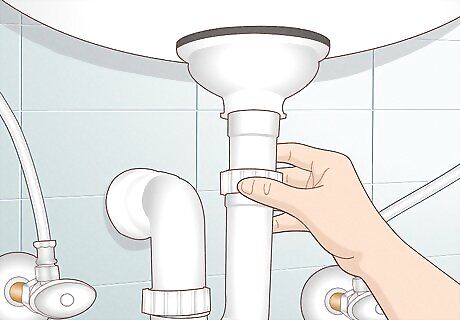
Tighten the tailpiece nut to the P-trap. Grab the P-trap and screw it back into the trap assembly that's coming out of the wall. Then, slide the end of the tailpiece into the other end of the P-trap and tighten the nut by hand. If the tailpiece is too long to fit snugly with the P-trap, use a pipe cutter to make the tailpiece shorter.
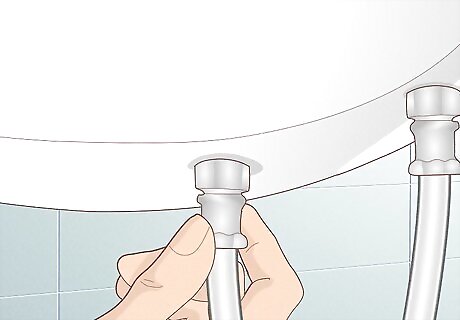
Connect the water supply lines. Check that the water supply lines match the valves for the new fixture—if they're not the same size, get additional lines that match and splice them together with plumber's tape. Then, screw the hot- and cold-water supply lines into the corresponding joints on the new faucet.
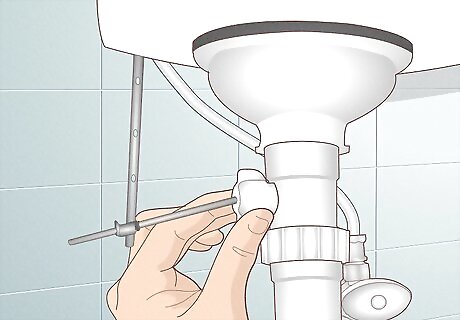
Connect the pop-up to the underside of the sink. The pop-up is the device that allows you to open and close the sink drain, usually made of a simple metal lifting rod with ball attached to it. Drop the stopper into the drain from the top. Then, slide the short end of the rod into the opening on the tailpiece—make sure that the opening for the ball is facing toward the lever for the pop-up. Follow the manufacturer's instructions for attaching the pivot rod to the lifting rod. In general, manufacturers direct you to slide the nut to trap the ball in the tailpiece. Tighten it so there's no wiggling, but don't make it so tight that you can't raise or lower the pop-up.
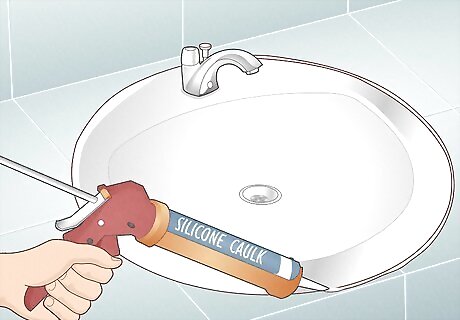
Seal your connections with silicone caulk. Finish with silicon around the top of the sink or anywhere that the basin of the sink meets the wall, filling any gaps with a thin bead of caulk. Let the caulk dry for about 24 hours before you turn on the water and check for leaks.
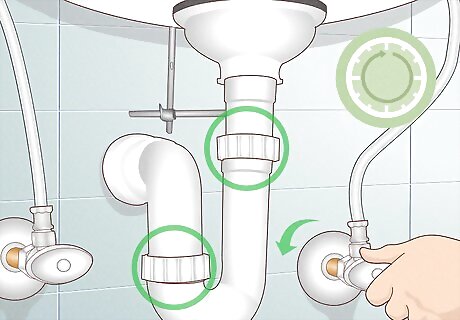
Turn on the water after 24 hours and check for leaks. There's no way to know if something is going to leak until you turn the water on. If you have small leaks from the rubber connections, try tightening more. The drain itself will also sometimes leak, which can be caused by over-tightening and straining the seal created by the connector gaskets. If that's leaking, don't go past hand tight—use a new washer instead. It's also a good idea to check the gasket that goes under the tailpiece. Try tightening the nut down more or use a different washer or silicone caulk.


Comments
0 comment