
Stratifying the Seeds

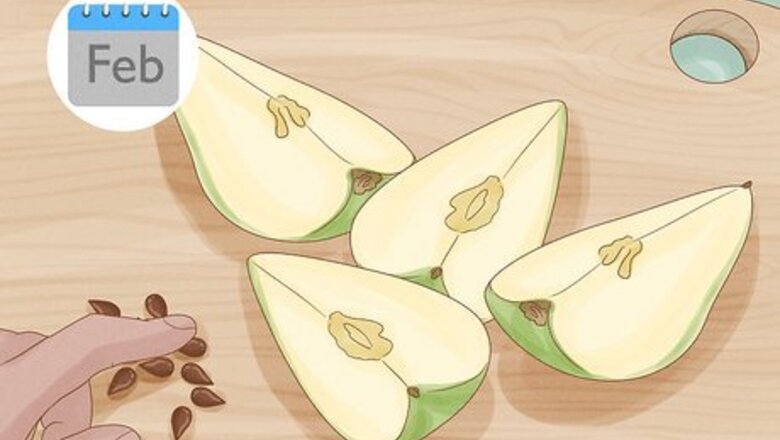
Collect seeds in early February. Fruit seeds germinate best in the late winter or early spring. By collecting the seeds you want to plant in February, you give yourself enough time to stratify them. Stratification aids in germination and will produce more seedlings.

Cut the seeds out of the pear. Store-bought pears will work fine. Using a paring knife, cut a pear in half. Cut the halves into quarters so you can easily access the seeds in the core. Dig out the seeds with a spoon or with your finger. You should find about 8 seeds inside. Each pear is unique due to cross-pollination. If you want to plant more trees in the future that will bear the same fruit, you can store half of the seeds in a plastic bag in your fridge for 2 years. You can use pears straight from a pear tree too. Just make sure to harvest them for seeds in the summer when they are ripe. Pear seeds should also be available for purchase at your local nursery or garden shop.

Soak the seeds in a bowl of water overnight. If any seeds float to the top, get rid of them. If they sink to the bottom, they are good to grow. In the morning, remove the seeds. Mix 10 parts water to one part bleach. Soak the seeds in the bleach mixture for 10 minutes before rinsing thoroughly.

Fill a plastic bag with moist peat moss. Peat moss retains water and moisture and can be purchased at any garden store. Fill a resealable plastic sandwich bag with the moss and mix in water. The moss should be damp, but not waterlogged. Moist potting soil will also work here, but may need to be watered more often than the moss.
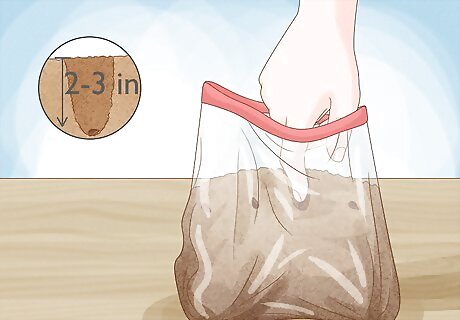
Push the seeds 2 to 3 inches (5.1 to 7.6 cm) into the moss. Bury at least 4 of the pear seeds in the moss before sealing the bag. The more seeds you place in the moss, the more chance you have at a successful germination.

Keep the bag in the crisper drawer of the fridge for up to 3 months. Store the bag in the refrigerator for 60-90 days. This gives the seeds time to chill and start the germination process. The peat moss should hold the moisture through this period, but you may have to check on it every 2 weeks. If the peat moss has dried, use a spray bottle to moisten it again.
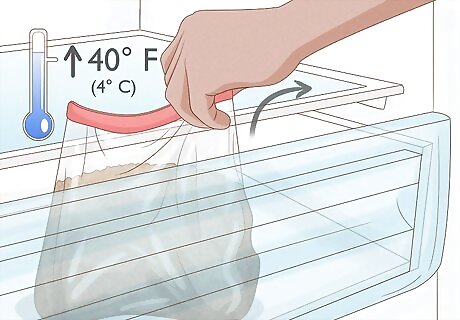
Remove the bag when outdoor temperatures are above 40 °F (4 °C). After 3 months pass, you can remove the seeds from the fridge. If there is no risk of frost or the temperature does not drop below 40 °F (4 °C), you can remove the seeds from the fridge earlier.

Soak the seeds in a bowl of warm water for 2 days. The exterior shells of the pear seeds are hard and need to be softened before they are planted into soil. Keep them in the water for 2 full days before removing them. If any of the seeds float while you soak them, they will not grow. Dispose of any seeds that rise to the surface.
Growing Seedlings in Containers
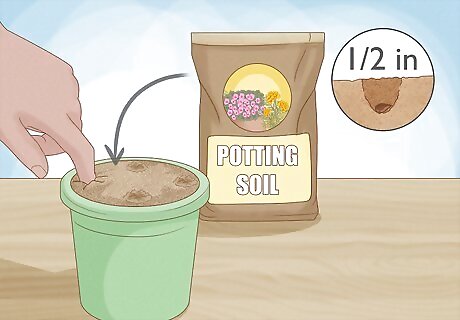
Fill a plastic cup with potting soil and plant the seeds ⁄2 inch (13 mm) deep. Keep the seeds an even distance apart when you plant them. If you are planting 4 seeds, imagine the cup to be a clock and plant the seeds at the 3, 6, 9, and 12 positions. Stick a toothpick next to each seed to mark where each seed is growing.
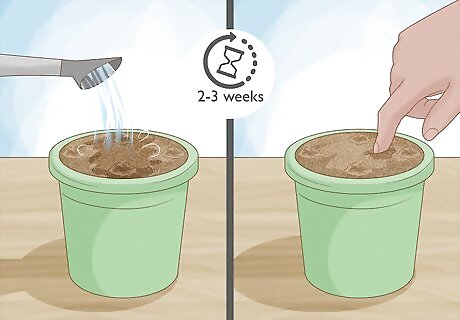
Water the seeds and wait 2-3 weeks. Water the seeds until the soil is damp to the touch. Make sure not to overwater the cup or else the seeds will become waterlogged. In 2 or 3 weeks, you should start to notice seedlings through the top of the soil.
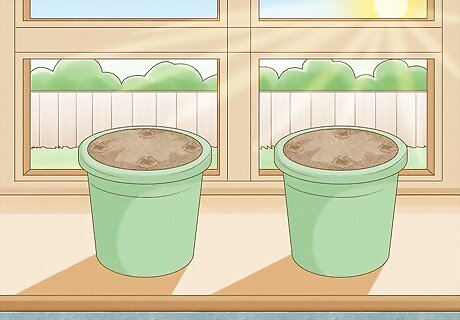
Keep the cup in a well-lit area. The seedlings should be kept in a bright and warm area, like a windowsill, so they can grow. Remember that the more light a plant gets, the more water the plant will need. If you want to keep the humidity of your seedlings higher, you can loosely cover the cup with plastic wrap. This will help the soil retain its moisture for longer.
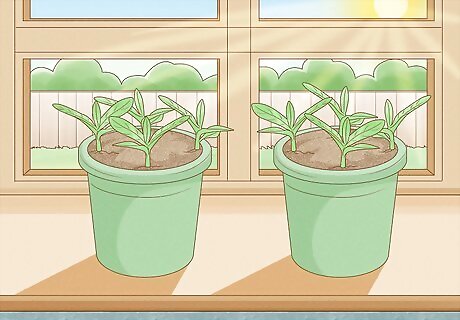
Wait until the seedlings have 4 true leaves. The first “leaves” that you’ll see on your seedlings are cotyledons and not true leaves. True leaves will develop over time and will resemble leaves from a fully grown pear tree. Once there are at least 4 true leaves on your seedling, they are ready to transplant.
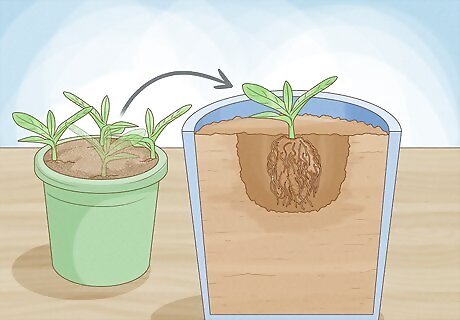
Transplant the seedlings to individual pots. Use a ruler or transplanting tool to dig the seedlings out from the cup, being sure not to damage their root structure. Once you have unearthed a seedling, put it in a hole slightly larger than the root ball and fill in the topsoil. At this point, you can keep seedlings indoors or outdoors depending on the weather. If there is harsh sunlight, it may be best to keep your plants indoors until they develop further. If the seedling grows too big for its pot, you can transfer it to a larger pot so you can still move it indoors or outdoors.
Transplanting Seedlings Outdoors
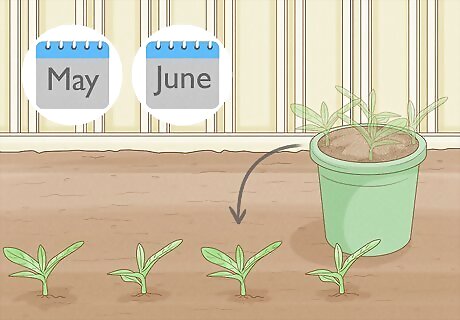
Plant the seedling in May or June. Seedlings should be put in the ground early in the growing season so their roots have time to establish before winter. Selecting a day in late spring or early summer will give your seedling enough time.
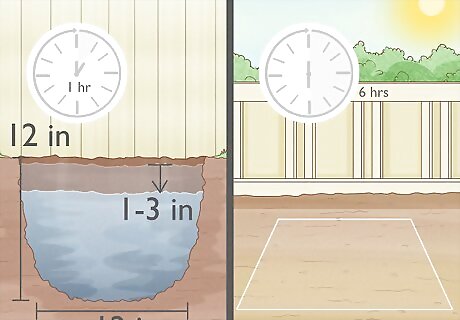
Find an area with well-drained soil and 6 hours of sunlight. Well-drained soil and full sunlight will give your pear the best growing conditions. When it rains, check the area for standing water on the surface. If there is puddling, you may want to select a different planting location. To test the drainage of your soil, dig a hole 12 inches (0.30 m) wide and 12 inches (0.30 m) deep and fill it with water. Measure the depth of the water each hour. If it drains 1 to 3 inches (2.5 to 7.6 cm) each hour, the soil is well-draining. Roots spread over time, so keep that in mind as you select a planting location. Keep the tree away from important structures or other plants that will need a sufficient amount of water.
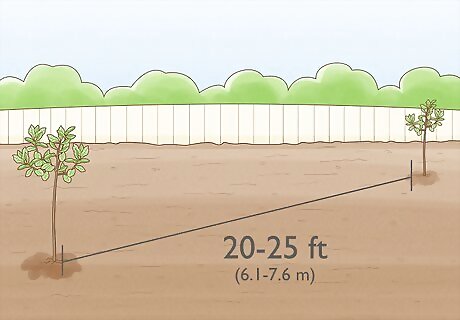
Plant trees 20 to 25 feet (6.1 to 7.6 m) apart from one another. It’s recommended that you plan to plant 2 pear trees so cross-pollination can occur. If they are full-size trees, both of them could reach up to 40 feet (12 m) in height and will need the space between them. Dwarf pear trees should be planted 12 to 15 feet (3.7 to 4.6 m) apart.
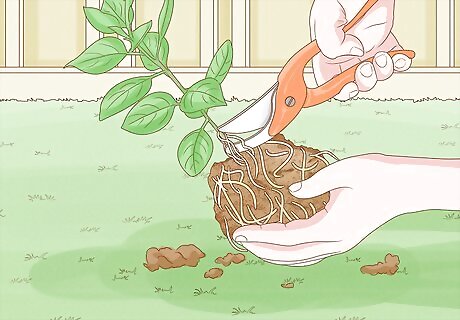
Remove roots that encircle the trunk with shears. If you’ve had the seedlings growing in pots, there’s a good chance that some of the roots have started to twist around the trunk. Lay the seedling on its side and use sharp pruning shears to cut woody roots that are wrapping around the trunk. Alternatively, you can try to straighten out the roots by hand if you’re able to.

Dig a hole 3 inches (7.6 cm) deeper and wider than the root spread. Give extra space for your seedling to grow helps the root system establish. Once you’ve dug the hole, you can fill it back in until the ground is level again. There’s no need to add fertilizer when you plant the seedling, but you can mix in peat moss or compost with the soil if you want.
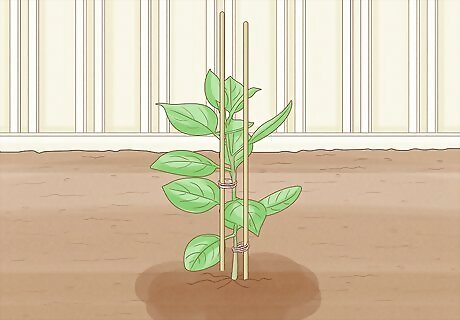
Tie the trunk to a stake. Tying the trunk of the seedling to a wooden stake will help the tree grow straight. Use two stakes and flexible material wrapped in a figure-8 pattern around the trunk.
Caring for Your Pear Tree
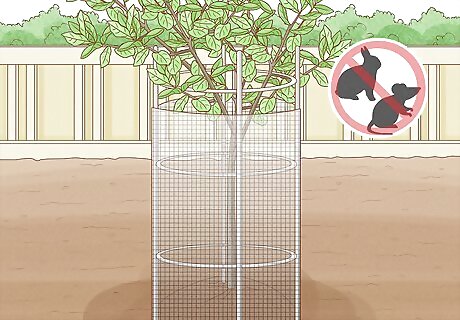
Install a guard around the base of the tree. Small mammals like to chew the bark around the base of a tree, so wrapping a guard around it will add protection. Tree guards can be purchased at any home and garden store. After the bark starts to get rough or flaky, you can remove the guard. Tree guards also help protect the trunk from sunlight.
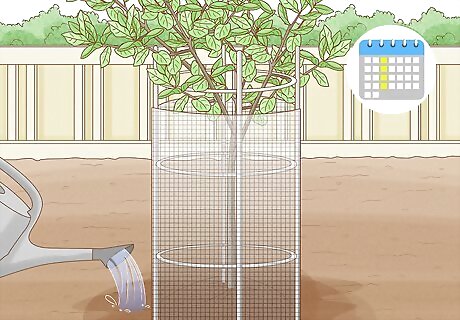
Water the plant once a week for the first year. In the beginning, your tree’s roots will not pull enough water for the tree to survive. Use a slow sprinkler to water your tree in the morning or evening when there is not direct sunlight. As the tree grows, its roots will be able to provide enough for the tree. Check the soil near your tree. If it still feels moist, you shouldn’t water your tree. Overwatering can cause damage as well. During a dry season, water your tree more often.
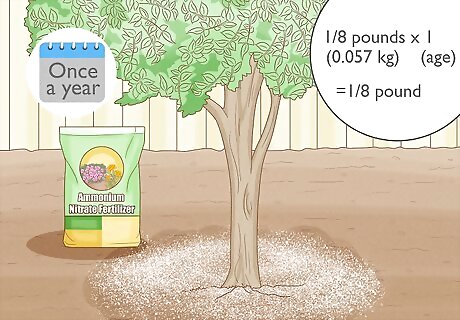
Fertilize the tree once a year. Use an ammonium nitrate fertilizer in the early spring. You should use ⁄8 pound (0.057 kg) of fertilizer multiplied by the age of your tree. This amount may vary depending on how fertile the soil is. If the leaves are a pale green or yellow during summer, use more fertilizer the following year. If the tree grows more than 12 inches (0.30 m) in one season, next season use less fertilizer.
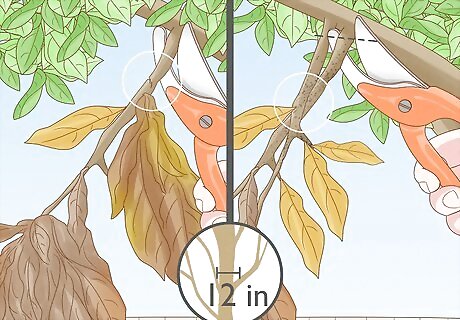
Prune limbs with a sharp pair of shears. When branches break or leaves die, it’s time to prune your tree. Pruning should be done in the early spring right before growing season. Trim off any branches that are diseased or entangled with other branches. Cut as close to the base of the branch as you can. Branches should be 12 inches (0.30 m) apart so fruit can grow across all branches.

Harvest fruit after 3 years. It will take at least 3 years for your tree to start bearing fruit, but it may take up to 10 years. Pull fruit when it starts to change color while it’s still hard. It will finish ripening as you store it indoors.


Comments
0 comment