views
Daily Care
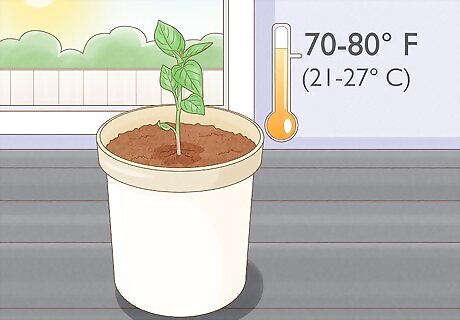
Keep the peppers warm and well-lit. After transplanting, ideal temperatures range between 70 and 80 degrees Fahrenheit (21 to 27 degrees Celsius). Bell peppers also need plenty of light to grow. A sunny window may accomplish both requirements, but even the sunniest window may not be enough. Fluorescent grow lights generally work much better. Keep the lights no less than 3 inches (7.6 cm) from the top of the plant for 14 to 16 hours each day.
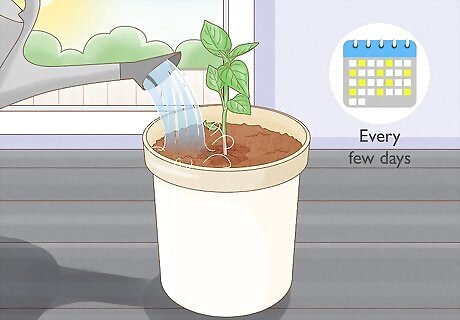
Water consistently. Thoroughly soak the soil every few days, allowing the top of the soil to become just barely dry in between each watering.
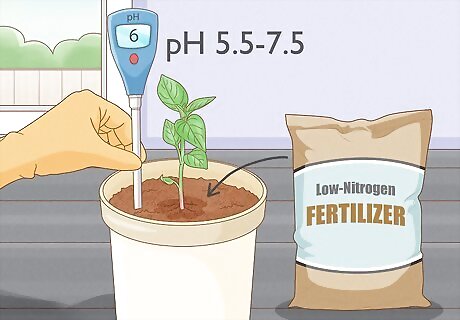
Test the pH. Bell peppers grow best in soils with a pH between 5.5 and 7.5. Add ground agricultural lime to the soil if you need to increase the pH. Add compost or fertilizer to the soil if you need to decrease the pH. Low-nitrogen fertilizer is a great option for bell peppers.
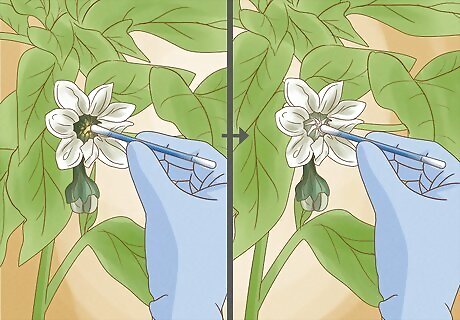
Pollinate the peppers when they flower. Using a cotton swab, gently rub pollen from the anthers on a male flower. Swab the pollen into a female flower, applying it onto the large pollen-collecting center stalk, called a "stigma." Pollinating the pepper plant will increase your yield.
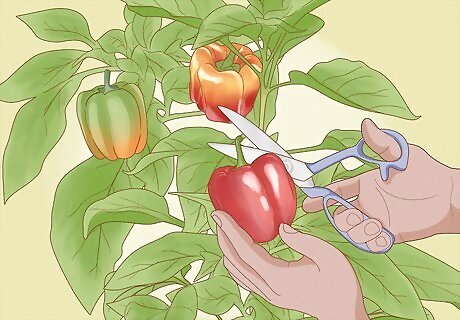
Harvest the peppers as they mature. Once they reach a usable size and an appropriate color, the peppers should be ready to harvest. Use sharp, clean shears to make a clean cut, leaving a stem that is about 1 to 2 inches (2.5 to 5 cm) in length.
Planting
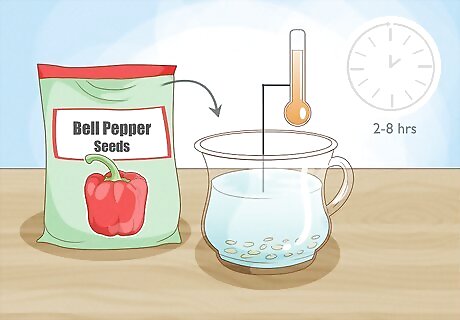
Soak the seeds. Pour your seeds into a small plastic cup and fill it with warm water. Allow the seeds to sit for two to eight hours, until they sink to the bottom of the cup. Soaking the seeds breaks down some of the hard coating, speeding up the germination process. You can also try soaking the pepper seeds in weak chamomile tea or a solution made with 1 cup (250 ml) warm water and 1 or 2 teaspoons (5 or 10 ml) of 3% hydrogen peroxide. These solutions are even more effective at breaking down the coating and have the added benefit of disinfecting the seeds.
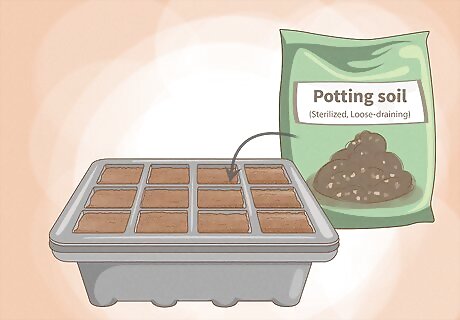
Fill a disposable plastic seedling tray with soil. A sterilized, loose-draining potting mix purchased from a garden supply or home improvement store should be sufficient.
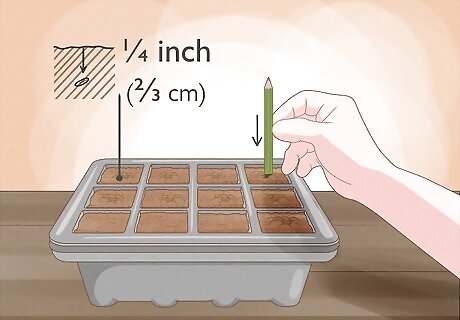
Poke a hole in the soil with your finger or the end of a pencil. The hole should be about 1/4 inch (2/3 cm) deep.
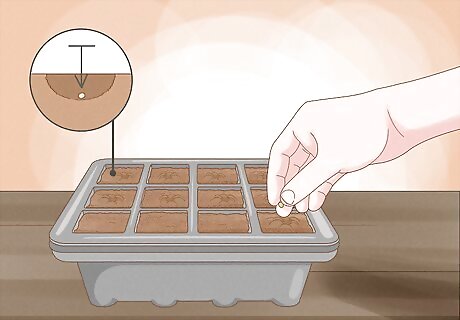
Bury the seeds. Drop one seed into each hole and loosely cover it with additional soil.
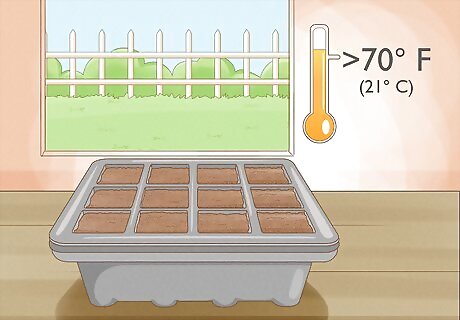
Place the seed tray in a warm location. Sweet bell peppers germinate best when the soil temperature is at 70 degrees Fahrenheit (21 degrees Celsius) or higher. If possible, sit the seedling tray on top of a seedling heat mat. Otherwise, place it on a warm, sunny windowsill.
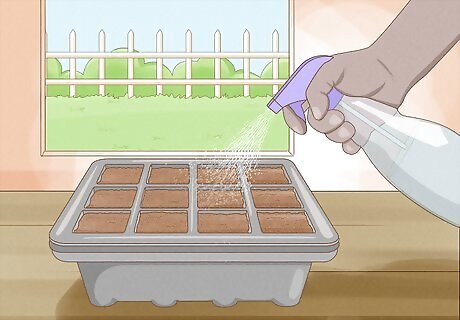
Keep the seeds moist. Once the surface of the soil becomes dry, spray it down with water. Do not drench the soil, but do not allow it to dry out.
Transplanting
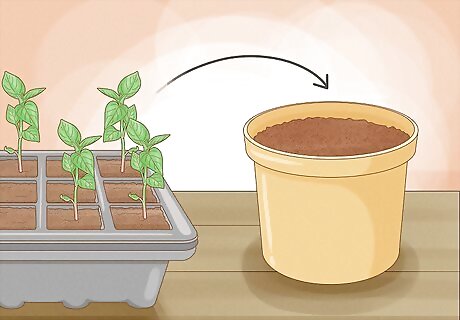
Transplant the seedlings once they have two sets of true leaves. "True leaves" refer to fully grown leaves, rather than leaves that are just beginning to grow.
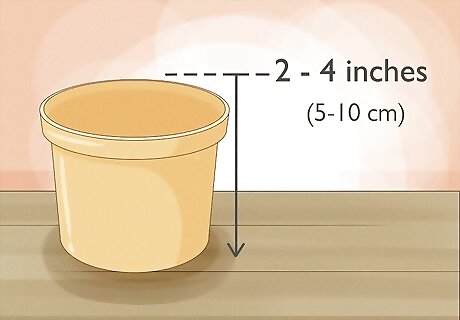
Use a large enough pot. If you plan on keeping each pepper plant separate, a 2-inch or 4-inch (5-cm or 10-cm) pot should suffice. You can also combine multiple pepper plants into a single pot if it is larger.
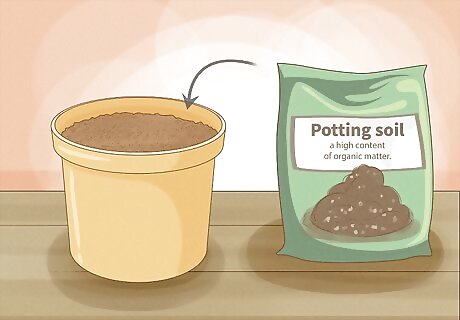
Fill the pots with soil. Use a loose, well-draining soil, preferably one with a high content of organic matter.
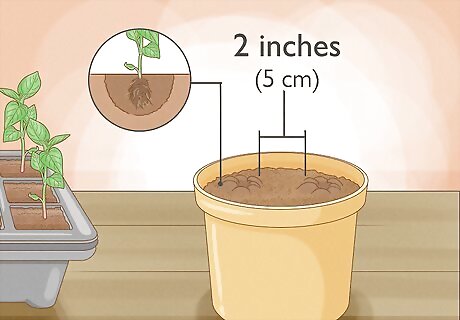
Dig a small hole in the dirt. The hole should be the same depth and width of the compartment your seedling currently sits in. If planting one seedling per pot, dig the hole in the center of the pot. If planting multiple seedlings in one pot, dig multiple holes that are at least 2 inches (5 cm) apart.
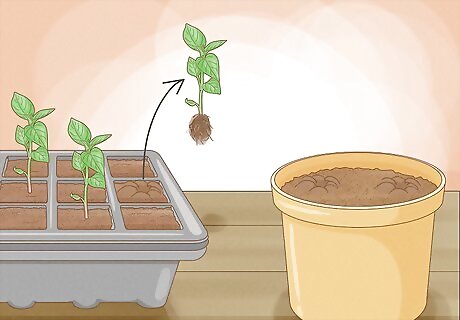
Transfer the seedling to the new pot. Gently "wiggle" or pry it from the seedling tray by squeezing on the sides of the plastic compartment. Once the seedling has been removed, roots, soil, and all, place it in the hole.
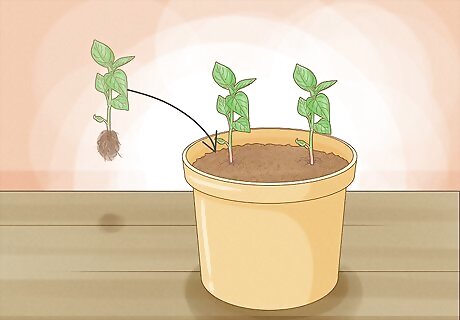
Pack the seedling in place. Pack the soil around the base of the seedling so that it is firm and steady.




Comments
0 comment