
Open Sheets on your Android. It’s the green icon with a white spreadsheet outline. You’ll typically find it on the home screen or in the app drawer.

Tap +. It’s in the orange circle at the bottom-right corner of the screen.
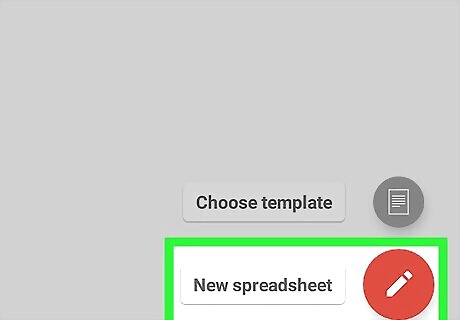
Tap New spreadsheet. This opens a blank spreadsheet. The remaining steps will provide an example so you don’t have to test the freezing function on your live spreadsheet.
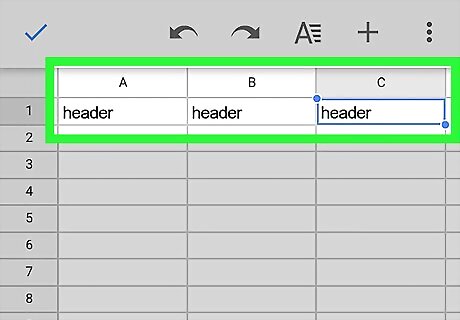
Type header into cells A1, B1, and C1. This is just data so you can test freezing the row. In our example, this is the row that will be frozen.
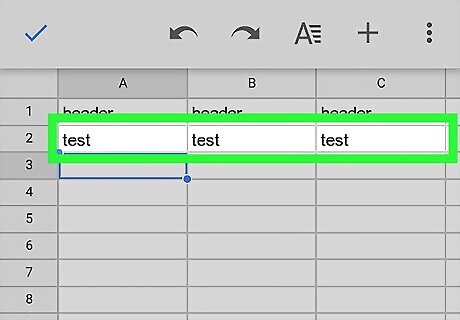
Type test into cells A2, B2, and C2.
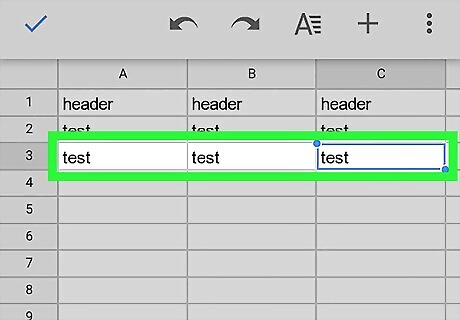
Type test into cells A3, B3, and C3. Now you have enough sample data to freeze a row.
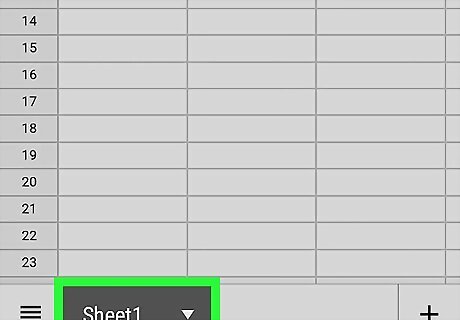
Tap the Sheet tab. It’s at the bottom of the screen. A menu will appear.
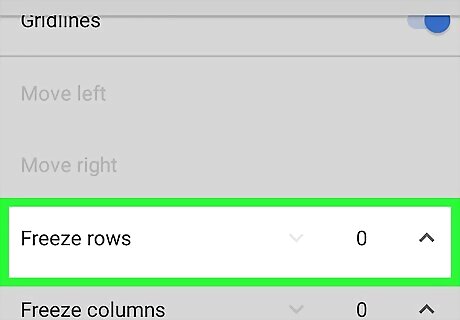
Scroll down to “Freeze Rows” and tap Android 7 Expand Less. This tells Sheets to freeze the first row (the one that says “header” in the example). A line will now appear beneath this row, splitting it from the rows beneath. To freeze additional rows, tap Android 7 Expand Less again. If you increase the number to 2, the first 2 rows will be frozen.


Comments
0 comment