views
Repairing from Below
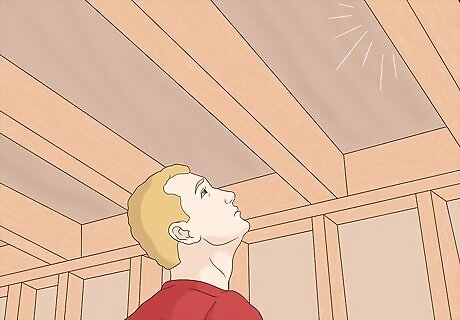
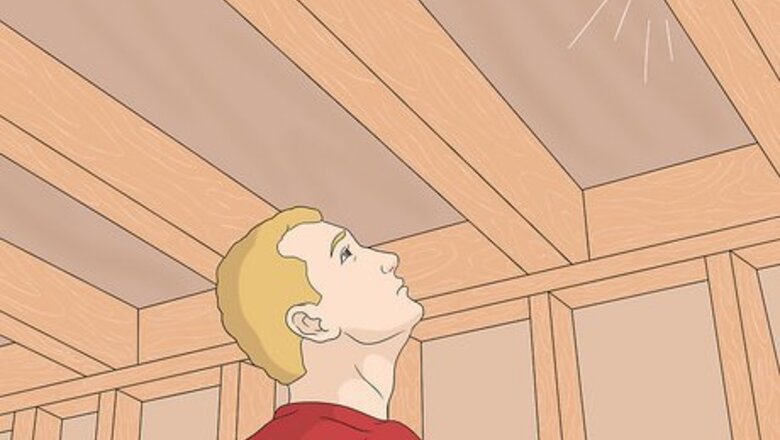
Identify the source of the squeak. The best way to identify squeaks is to stand in your basement, looking up at the subfloor while someone else walks around looking for the squeak. Listen and watch for the squeaky area, so you can identify the problem area and the best way of remedying it. Most squeaks are the result of the plywood subfloor rubbing against the floor joists. The subfloor, the structural support below the top floor that you walk on, will sometimes shrink over time as the wood dries out, changing the shape slightly and resulting in high-pitched, irritating squeaks. It’s also common on hardwood floors that the top floor itself will squeak. To address squeaks in the top floorboards, skip to the next method. All squeaky boards under tile, linoleum, and other flooring surfaces will need to be fixed from under, either in the crawl space or the basement.
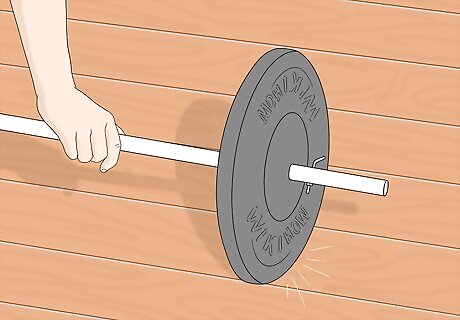
Weight the squeak from above. It’s good to weight down the floor from above to compress the boards and make your repair more effective. Using some furniture, barbell weights, bags of salt, heavy books, or other hefty objects would be perfectly fine. In a pinch, you could also have a helper stand on the spot to keep it compressed for you to work.
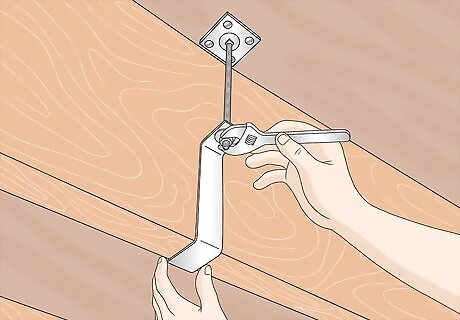
Attach a brace between the joist and the subfloor. If the floor seems to be squeaking because the subfloor and the joists are loose, the best way to remedy the issue is to install a brace to secure things and eliminate the irritating sound. The Squeak-Ender is a brand of joist-support available at most home repair stores for a couple of bucks, a metal brace that connects between the joist and the squeaky subfloor. To install one of these joist-subfloor braces, screw the mounting plate to the underside of the subfloor, directly under the squeaking spot. Use the provided screws, or use wood screws small enough to fit in the bracket holes. Hook the bracket onto the rod provided and attach it to the joist, tightening the mechanism with a wrench until the subfloor is pulled down flush.
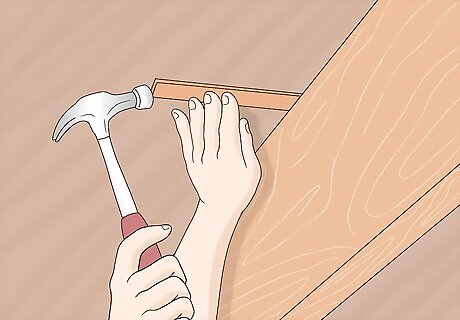
Install wood shims in between the subfloor and the joist. Shims are small, thin pieces of wood used for filling gaps, squaring up carpentry projects and keeping things from swelling and squeaking. For squeaks that are the result of small gaps that might be more easily and cheaply fixed than by installing a brace, use wooden shims to fill the space of the gap. If you've found the source of the squeak, but don't see the considerable play between the subfloor boards and the joists, buy a package of small shims and insert them into the gaps that create the sound. Coat shims in carpentry glue, then slide them directly into the gap. Be careful to avoid forcing shims into small spaces and forcing the board back up, making the squeak worse, or translating the squeak to another area. It’s important to always weight the floor from above if you try to do this.
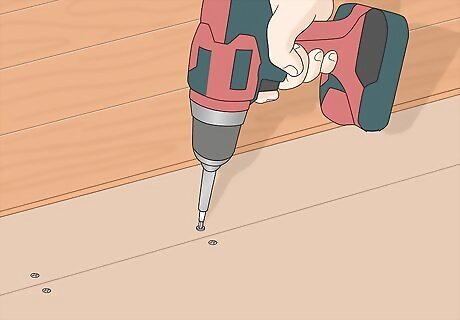
Screw the subfloor into the floor. In a pinch, you can also use wood screws to tighten things up yourself. It's a more primitive way of solving the issue, but it can work in a pinch to connect the floor and the subfloor more securely with wood screws. Drill a pilot hole with your power drill roughly the length of the screw that you've selected (any carpentry screw will do) to make sure you don't go too far and come up the other side. It's hard to know how thick the individual layers of the floor are, but you want to be very careful not to drill too far and have a sharp edge sticking out the side of the floor you walk on. To make sure you don't do this, drill a pilot hole the length of the screws you've purchased and make sure you're safe. Then install the screws normally.
Repairing from Above
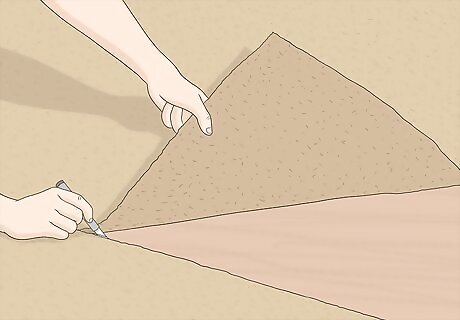
Remove the carpet over the squeaky area, if necessary. If you've got a hardwood floor, you can obviously skip this step and go straight to finding the joists. If you've got a squeaky and carpeted floor, however, you've got to make the decision to either cut a small strip of it up to install under or use screws that can be used through carpeting. Some kits (Squeak-No-More) are available to use over and through carpeting, without having to remove it and risk damage. The process will be essentially the same, whether you pull up the carpet or not. If you must remove carpeting, pull it up near the squeak and keep it as clean and secure as possible so you can reattach it later with carpet adhesive. If you can pull up a particular segment of carpet along a seam, keeping it secure, that would be the best way of pulling it up, rather than just cutting a segment out from the middle. There's no easy way to cover up your work, and it might always show, unless you work along a natural seam.
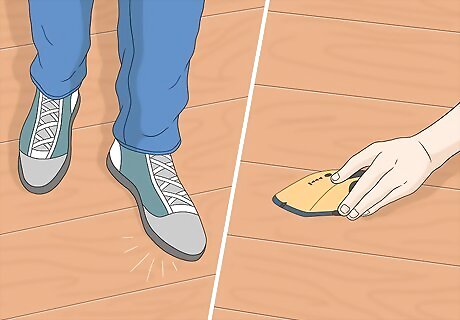
Locate the joist nearest the squeak. Walk in the squeaky area until you can find your squeaky spot for certain. Then, try to find the closest joist to the squeak using a stud-finder. If you don't have a stud finder, you can use a hammer or another heavy object to tap on the floor and listen. The joists will sound flatter and thinner when you tap on it, while the other side will sound deeper. To be extra-sure, you can drill a pilot hole using a depth-control bit in your variable speed drill to make sure that you're hitting the joist before you use a screw and come up short.
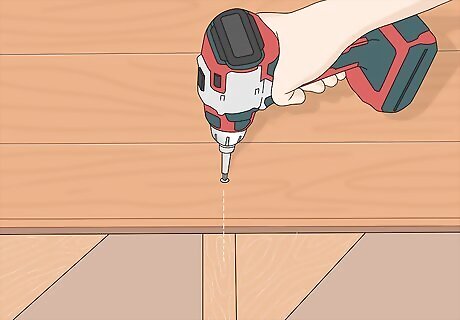
Fix the loose board to the joist. Drill through the squeaky boards, the subfloor, and attach both to the joist to securely fix the squeaky board. To do this, you'll need heavy-duty wood screws of the appropriate length. You can get some sense of that length when you drill your pilot hole. Some kits will come with break-away screws that you can use to make the repair almost undetectable, especially through carpet. This is a very effective way of securing your boards cleanly and efficiently.
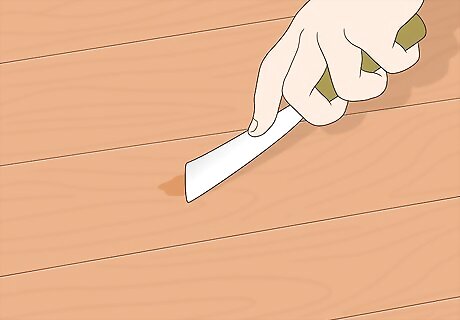
Fill the hole with wood putty. If you're working on a hardwood floor, it's important to keep the spot looking as clean and smooth as possible. Wood putty, also known as plastic wood in some places, is a type of putty made of sawdust and some type of binder, and is very effective at filling the holes left around the nails. It's available at most home repair stores for a few dollars. Apply a small amount and sand the area smooth. You can match the tone of most wood putty to the wood tone of the floor. try to get it as close as possible. If you're carpeting back over it, don't worry about using wood putty.
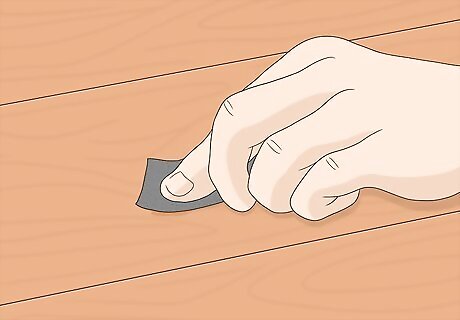
Sand the spot. In some cases, it might be a good idea to smooth back over the top of the screw that you installed to smooth things out. If your floor is carefully stained, this would be a bad idea, but you might need to smooth out the wood shards from the screwing job or smooth out the rough edges of the wood putty you installed. Use extremely fine grain sandpaper, and don't overdo it.



Comments
0 comment