
Adding a Footer

Open PowerPoint on your iPhone or iPad. It’s the red icon with a “P” on a sheet of paper. You’ll usually find it on the home screen.
Tap the presentation you want to edit. This opens the presentation for editing.
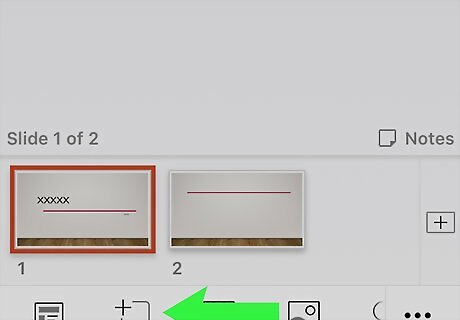
Swipe left across the icons at the bottom of the screen. Stop swiping when you see an icon that looks like a square containing a “T” and several horizontal lines.
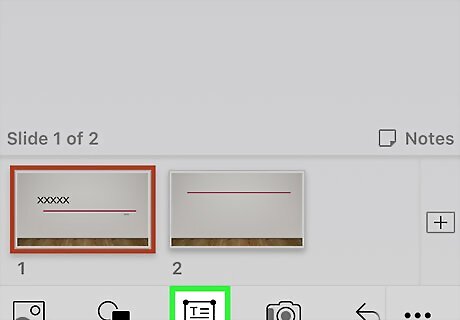
Tap the text box icon. It’s the square with the “T” and horizontal lines inside. Two options will appear at the bottom of the screen.
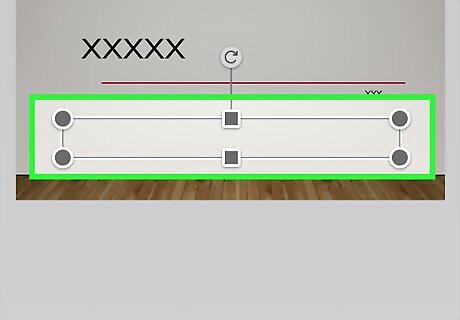
Tap Horizontal Text Box. This adds a rectangular box to the slide.
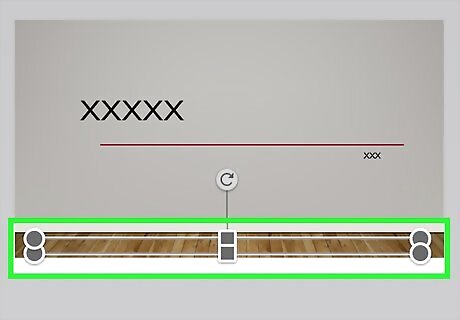
Drag the text box to the bottom of the slide. Now you can use this box as a footer.
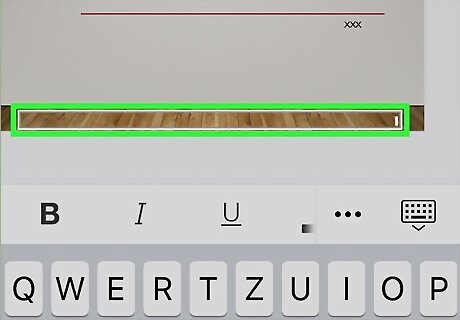
Double-tap the text box. The screen will zoom to the text box and a cursor will appear inside.

Type the text for your footer. If you need to resize the footer to accommodate more text, tap outside of the footer, tap the footer once, then drag the edges to the desired width.
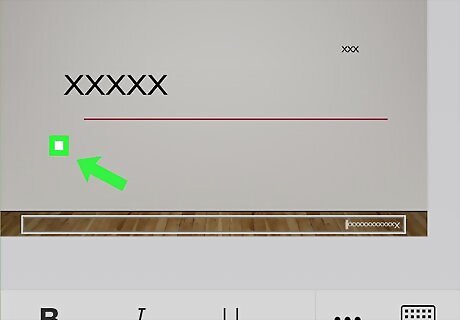
Tap anywhere else on the slide. Your footer is now in place.
Editing an Existing Footer
Open PowerPoint on your iPhone or iPad. It’s the red icon with a “P” on a sheet of paper. You’ll usually find it on the home screen.

Tap the presentation you want to edit. This opens the presentation for editing.

Double-tap the footer. It’s at the bottom of the slide.
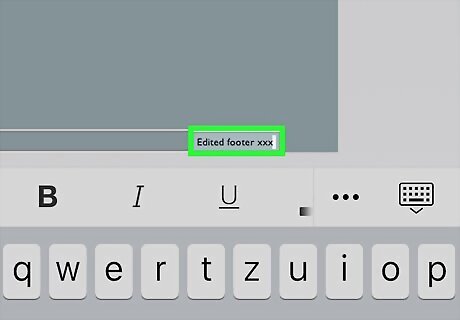
Edit the footer as needed. You can add or remove text as necessary for your project.
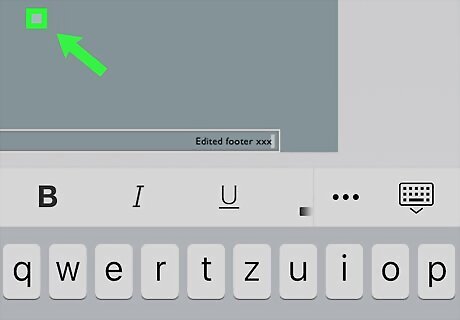
Tap anywhere else on the slide. The new version of your footer is now in place.


Comments
0 comment