
176
views
views
Windows 10 has many new and flashy features. However, you might not want all of them all of the time. This guide aims to assist you with disabling the SSH server within Windows 10.
- Open the run box by pressing Start+R, then enter services.msc to open the Services window.
- Look for SSH Server Broker and SSH Server Proxy in the Services window.
- Right click on SSH Server Broker and click Stop to disable the server broker and proxy.

While on the desktop of your PC, press the Start key and 'R' at the same time.
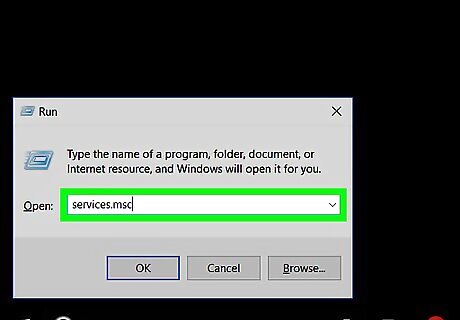
Wait for a run box to appear. In the run box type services.msc and press ↵ Enter.
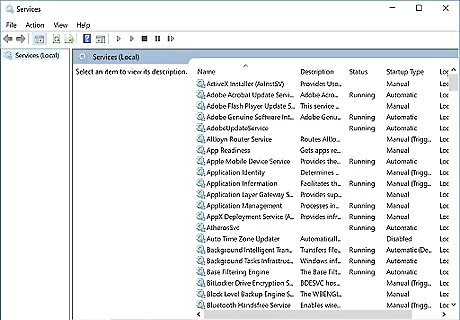
Wait for the run box to disappear and leave you with a window titled 'Services'.
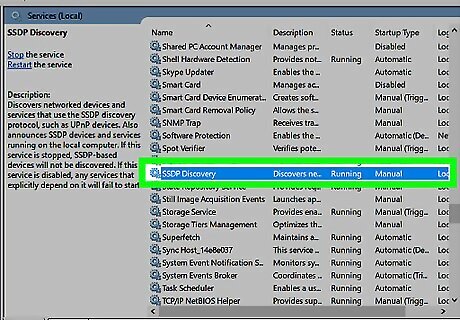
In the Services window, scroll down the list until you see 'SSH Server Broker' and 'SSH Server Proxy.' They are toward the end of the list.
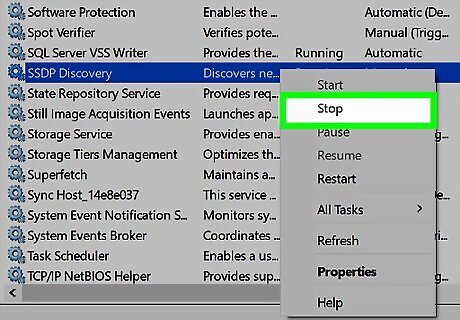
Right click on 'SSH Server Broker' and then navigate to and click on Stop.
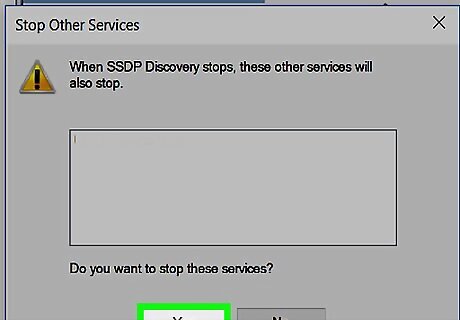
Wait for a small window to appear, asking you to select 'Yes' or 'No'. Click Yes.
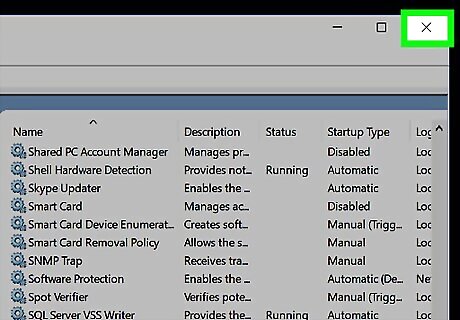
Finished! Both 'SSH Server Broker' and 'SSH Server Proxy' should both be disabled. Now, your PC is no longer hosting a SSH Server.


Comments
0 comment