views
Painting or Drawing on Your Curtains
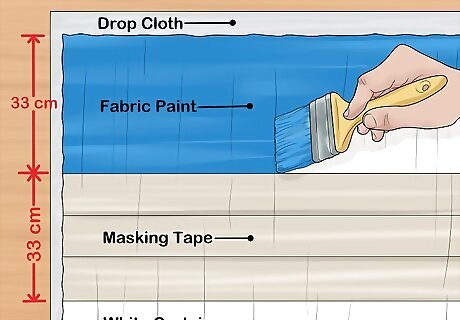
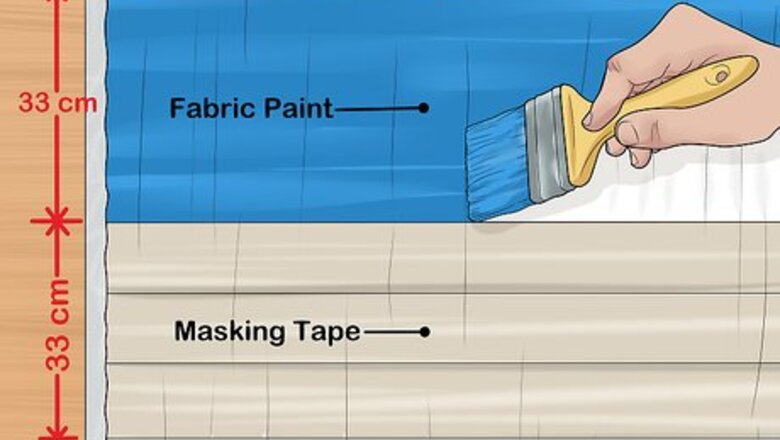
Paint thick horizontal stripes on white curtains for a classic look. Choose some fabric paint, not the puffy kind, of any color at your local craft store. Lay your plain white curtains flat over a drop cloth and measure 13 in (33 cm) from the top to begin the top of your first stripe. Measure again another 13 in (33 cm) for the bottom of your stripe, line both sides of the stripe with masking tape, and brush your paint onto the fabric between the 2 rows of masking tape. Repeat the measuring, applying masking tape, and painting between the masking tape for each horizontal stripe all the way down the curtain. Allow each stripe to dry for 3 hours. Instead of fabric paint, you can use acrylic paint mixed with a product called Textile Medium, which makes acrylic paint washable on fabric. Instead of a 13 in (33 cm) thickness for each stripe, make each stripe as thick as you like depending on your personal preference.
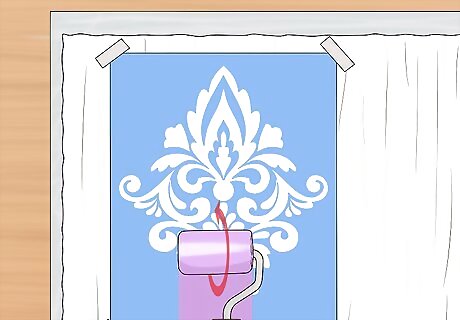
Use stencils for detailed designs. Choose non-puffy fabric paint of any color and a large stencil of your choice at your local craft store. Lay your curtains flat over a drop cloth and place your stencil down, attaching it too the curtain at the corners either with tape or with weighted objects such as paperweights or coffee mugs. Brush your paint into your stencil using a 2 in (5.1 cm) paint roller. Move the stencil up and down vertically, across horizontally, or diagonally and repeat the painting steps to create the pattern you prefer. If your stencils are too small to use a paint roller, use small craft brushes instead.
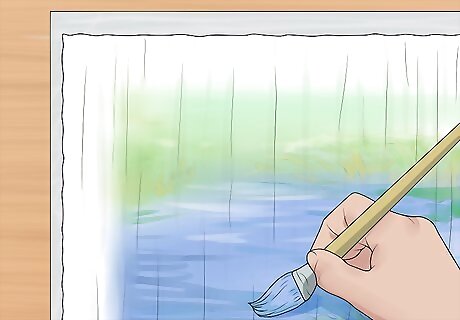
Paint a free-hand design or picture to show your creative side. Buy some fabric paint of various colors and paint brushes at your local craft store. Paint any image of your choice onto your curtains. Or, lay down a plastic drop cloth that’s much wider than your curtains and use a splatter-paint approach. Try recreating your favorite landscape or abstract painting on your curtains. Look up how to paint specific characters or animals to create a theme for your room.
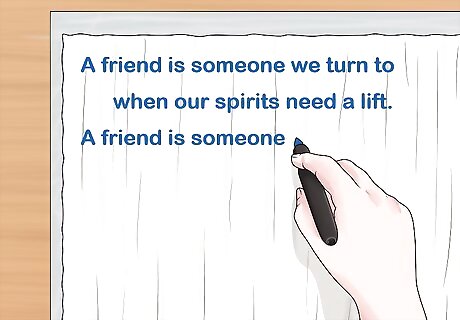
Write a favorite poem or passage for a literary option. Buy some fabric paint markers at a craft store and copy down your favorite poem or literature passage. Lay your curtains out flat and start at the top, working your way down in neat lettering. Browse some of your favorite books to find a passage the suits your personality and the décor of your home. Use an original poem or passage if you like to write.
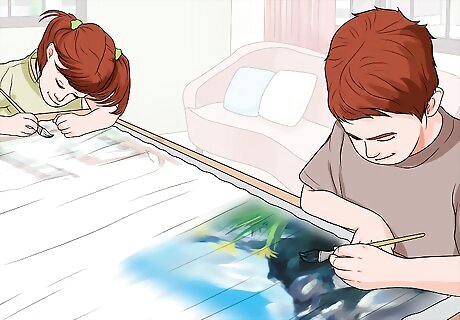
Allow your children to draw on curtains for their own room. Take a pair of plain, white, inexpensive curtains and a set of fabric or permanent markers. Give them to your child to allow them to draw whatever they like onto their own curtains. Encourage them to fill up the curtains with drawings before hanging them up. Instead of markers, you can offer them fabric paint and small brushes to use.
Using Trim Tape
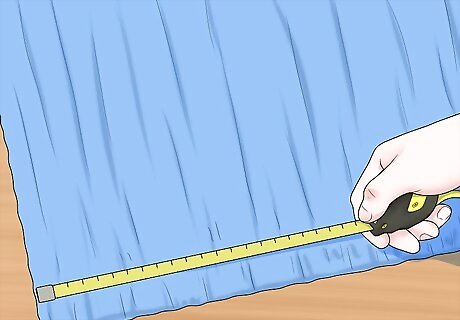
Measure your curtains to find out how much trim and iron-on tape you’ll need. Measure your curtains’ length and width with a ruler or tape measure. Multiply the length by 4 and the width times 2, and then add these numbers. Multiply this number by 2, and write this number down; this is how much trim and iron-on tape you will need for this design. Alternatively, if you still have your curtain packaging, use the length and width numbers listed on the package instead of physically measuring your curtains to calculate how much trim you’ll need. For instance, if your curtains are 80 inches (200 cm) long and 50 inches (130 cm) wide, multiply 80 by 4, add this to 50 multiplied by 2, and multiply this number by 2. You would need 840 inches (2,100 cm) of trim and tape for this project. Choose trim that compliments the colors or designs of your curtains or the room they are in. For instance, if you’re using pink curtains and most of the décor of your room is pink and green, choose a green trim in the same shade as the green that’s in your room.
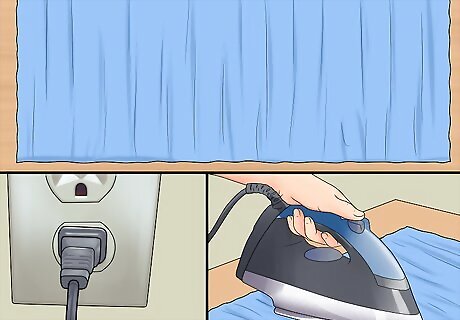
Spread out the curtain panel and heat up your iron. Spread your first curtain panel on a large table or the floor with the side you’re decorating facing up. Gather your trim, iron-on tape, ruler, pencil, and scissors. Plug in your iron so it starts to get hot, adjusting the heat setting to whatever material your curtain is made from.
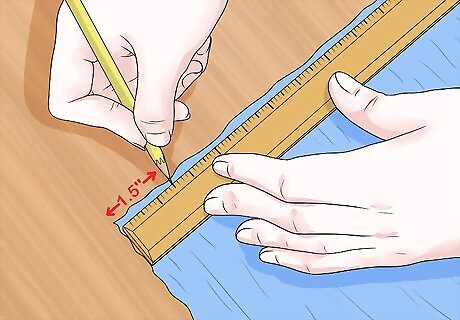
Measure and mark 1.5 inches (3.8 cm) from the edges of your panel. Using your ruler, measure 1.5 inches (3.8 cm) in from the bottom of your curtain panel and make a mark in pencil. Move down a few inches and make another mark 1.5 inches (3.8 cm) from the bottom. Make a small mark in pencil every few inches so you know where to lay your trim. When your bottom is marked, mark the sides of the panel in the same fashion.
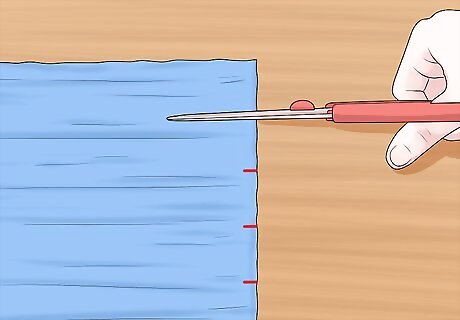
Cut the length of trim you need for your bottom edge. Unroll your trim and hold it up to the bottom edge that you marked. Starting at the point 1.5 inches (3.8 cm) from the left side, cut your trim at the ending point 1.5 inches (3.8 cm) from the right side. To make nicer corners for your trim, make a straight diagonal cut facing inward on each side of your trim.
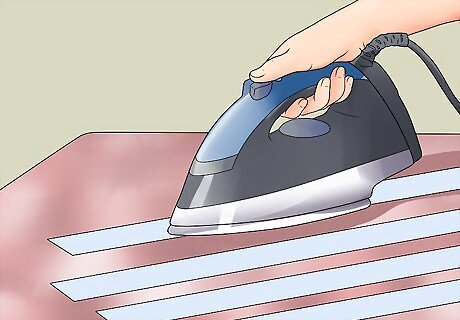
Lay iron-on tape onto the back of your trim for your bottom edge. Flip your cut piece of trim over and unroll your iron-on tape along the back of it. Press the tape down firmly onto the back of your trim and cut the tape to fit the length of trim. If you bought particularly thick trim, you may need to lay the tape along both the top and bottom edges of the trim. If the tape already nearly meets the top and bottom edges of trim, 1 piece of tape will be enough.
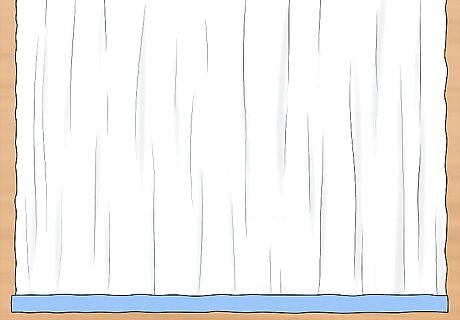
Flip the trim over and line it up with your marked curtains. Lay the taped side of trim down along the marks you made in pencil on the bottom edge of your curtain. Smooth out any wrinkles in the trim and carefully move your curtain close to your hot iron if it is not already near it.
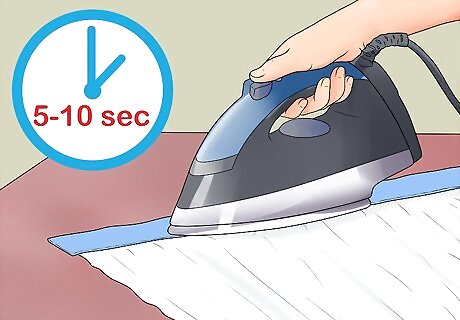
Iron each section of your trim for 5-10 seconds. Press your hot iron down firmly at 1 edge of the trim on your curtain for 5-10 seconds. The heat from the iron will adhere the tape on the back of the trim to your curtain. Lift the iron and press it down firmly in the spot right next to where it just was, all the way down the edge of the trim. Avoid moving your iron back and forth on the trim and curtain; doing this can cause the trim to shift and wrinkle. Just place the iron down and lift it again to move to a new spot.
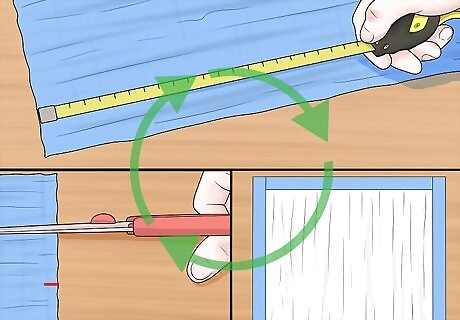
Repeat the trim application for your sides other curtain panel. To finish your border, repeat the measuring, cutting, and application of trim along the sides of your curtain panel. When you get to the top, you can either stop or go just past the top and down a bit on the other side. Do the same thing for your second panel.
Sewing Ruffles on Your Curtains
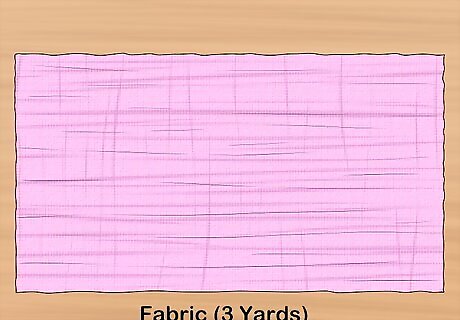
Buy 3 yards (2.7 m) of fabric of your choice. Choose some fabric at your local craft store that compliments the colors of your curtains or of the room they hang in. For full-length window curtains, you will need 3 yards (2.7 m) to make the edge ruffles.
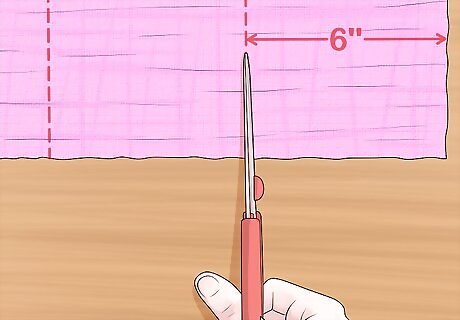
Cut long strips of your fabric 6 inches (15 cm) in width. Lay your fabric flat so the shorter side is nearest you. Use a ruler to measure 6 inches (15 cm) from the left edge, and make a mark in pencil or pen. Continue making marks all the way up the length of the fabric 6 inches (15 cm) from the edge and then cut your strip following these marks. Continue cutting strips until you have used all of your fabric.
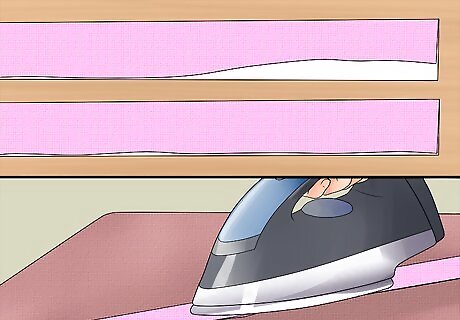
Fold your strips in half lengthwise and press them. Take each strip and fold it evenly lengthwise. Using a hot iron set to the appropriate fabric setting, press the fold into the fabric so it holds. This will make your ruffles be about 3 inches (7.6 cm) wide.
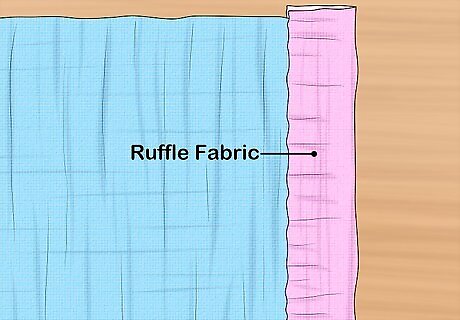
Line your ruffle fabric up along the curtain’s inside edge. Lay your curtain out so the inside edge is flat in front of you. Place a folded fabric strip along the curtain’s edge with the open side touching the curtain, and the folded side out over the curtain’s edge. Sew a cross-stitch at the left edge, or very top of the curtain, to attach the ruffle fabric to the curtain. Instead of making ruffled edges, you can create horizontal ruffles using the same process and wider strips of fabric.
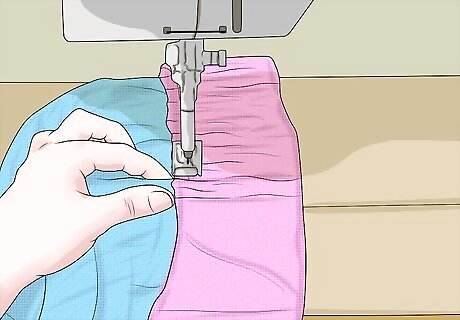
Pinch your fabric every 1 inch (2.5 cm) to make the ruffles. From your first stitch, move down the edge 1 inch (2.5 cm) and pinch a ruffle in the fabric by folding the fabric a tiny bit and laying it flat to the curtain. Sew a cross-stitch there. Continue doing this for the entire length of the curtain’s inside edge, using new fabric strips when needed.
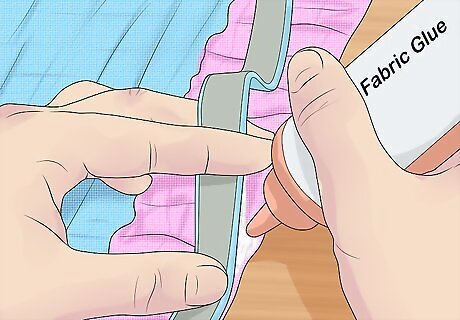
Attach trim with fabric glue to the top of the ruffles to create a finished look. Choose some trim at a craft store that accentuates the color of your ruffles. Cut strips of the trim and line the backs of them with fabric glue to attach them to the open edges of your ruffles. Allow the glue to dry for the time specified on its directions before rehanging your curtains. This step is optional, though it does create a nice consistent seal over the open edges of the ruffles.
Sewing Other Embellishments
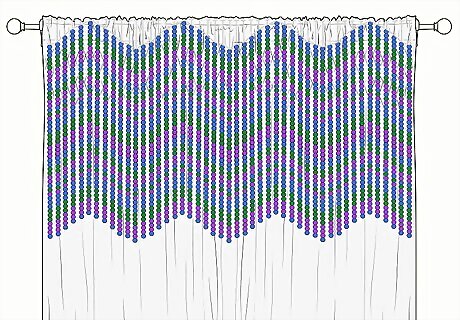
Use beads to create whimsical curtains. Buy beads of your choice at a local craft store. Create strings of beads with fishing line and sew the line onto your curtains to attach the strings in any pattern you like. Or, sew each bead individually with underhand stitches if you’d like your beads to be attached the curtain instead of hanging. Experiment a color theme, like blue, green, and purple for a cool ocean look, or red, yellow, and orange for a bright fire option.
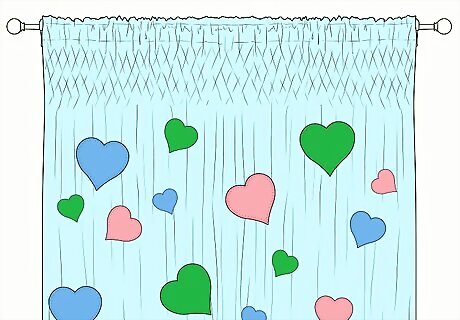
Add appliques for a convenient personal touch. Choose some fun appliques at a craft store and sew them to your curtains using underhand stitches with matching embroidery floss or clear thread. Or, try using a heat-activated fusible web to attach the appliques to your curtains. Follow the directions on the packaging to apply heat-activated fusible web to your appliques with an iron. Try a theme for your appliques, like hearts of different sizes, animals, or insects.
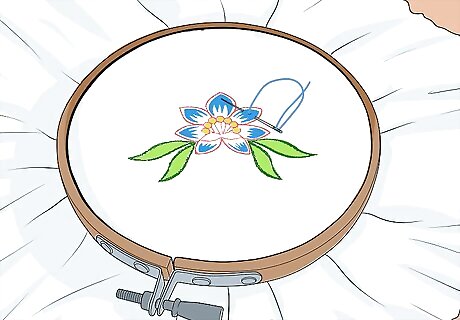
Embroider designs on your curtains if you like embroidering. Find an embroidery pattern that you like at your local craft store and some embroidery floss. Follow the package directions to embroider the pattern onto your curtains. Or, if you are experienced with embroidering, create your own unique design and free-hand embroider them. Try embroidering flowers around the borders of your curtains, or a scene with animals in nature.




Comments
0 comment