views
Cutting Apart LED Strips
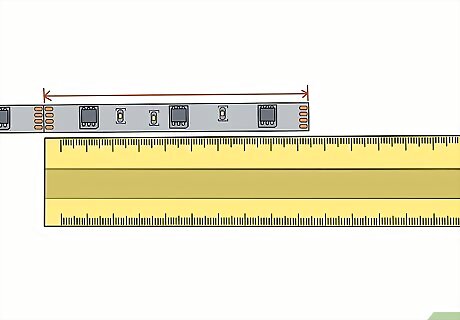
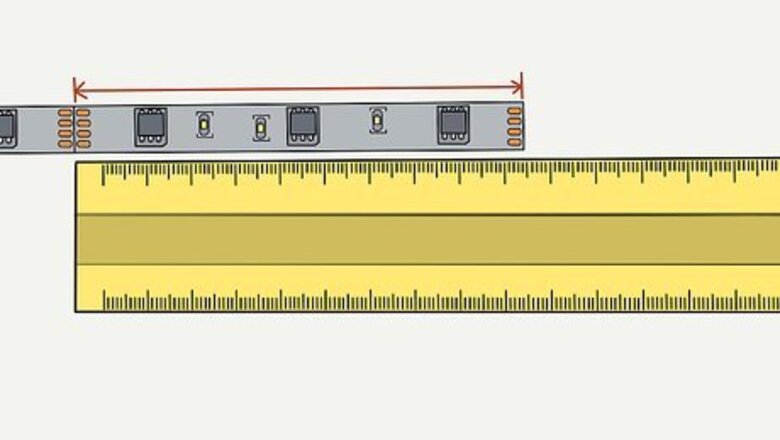
Measure out the length of LEDs you need. The LEDs come in 1 long strip. You can cut off individual LEDs when you need them, but they have to be cut at specific points to work properly. Determine how long your LED strip needs to be before cutting off any lights.
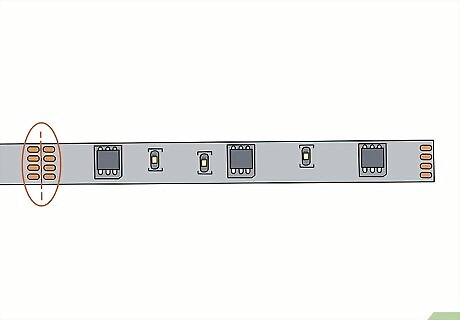
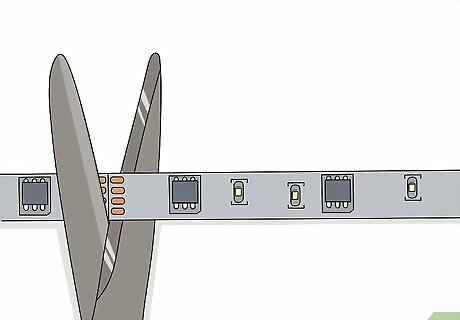
Find the cut line on the LED’s copper dots. Look for a pair of copper dots on the back of the LED strip. The copper dots indicate where each light connects to the next one on the strip. You will see a dotted cut line running between the copper dots. Choose the line closest to the LED length you measured earlier. The line is the only place you can safely cut the LEDs. If you cut anywhere else, some of the LEDs won’t work.
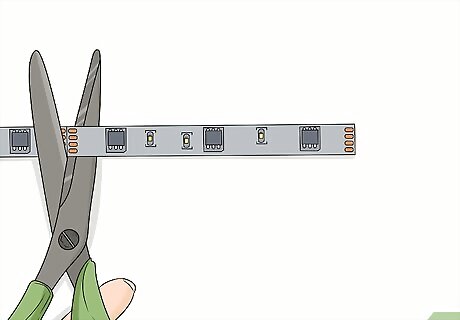
Cut the LED strip apart with scissors. A pair of scissors will do the job. Hold the lights still and cut along the dotted line. You should be cutting between the copper dots. Line up the cut carefully to avoid damaging the LEDs.
Securing LEDs to a Quick Connector
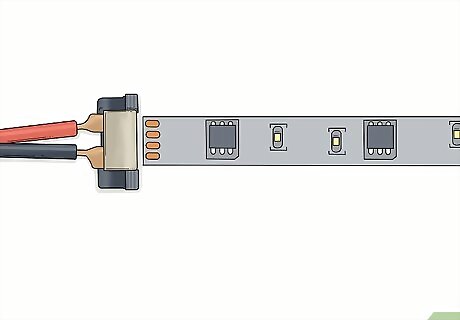
Align the quick connector with the LED strip. Quick connectors can be purchased along with LED lights and are hassle-free ways of completing the electrical circuit. The LED will have a + and - printed on the back. Line up the connector’s black wire with the - and the red wire with the +.
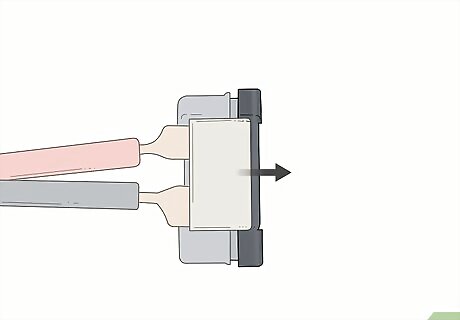
Pull the plastic bar ⁄8 in (0.32 cm) off of the quick connector. Hold the connector in 1 hand. Find the small plastic bar, usually colored black, at the end. Pull this bar forward to open the connector. Be careful, as the connector is delicate.
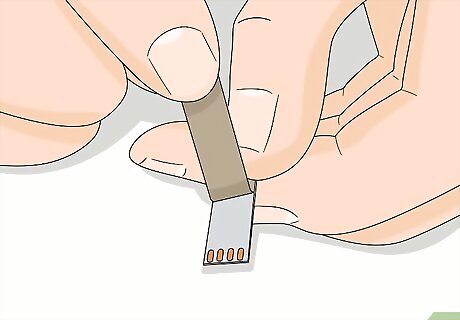
Peel back the LED’s adhesive backing ⁄4 in (0.64 cm). Pull the backing off the LED just enough to expose the copper terminals at the end. If your LEDs don’t have this backing, you will have to cut the plastic off of the terminals. Use a box cutter or knife to cut into the plastic and scrape it away to expose the terminals. Don’t cut all the way through the LED.
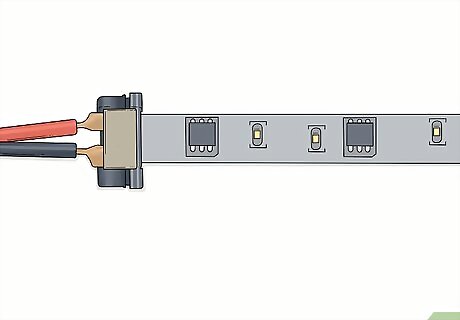
Plug the LED into the connector. Slide the LED’s end directly into the quick connector. Make sure the wires line up properly. The black wire should connect to the +, while the red wire should connect to the -.
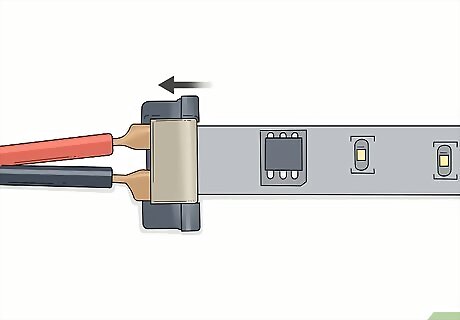
Close the plastic bar on the quick connector. Pull the plastic bar back onto the LED to hold it in place. The LED should not budge when you let go of it. This also protects the connection from damage.
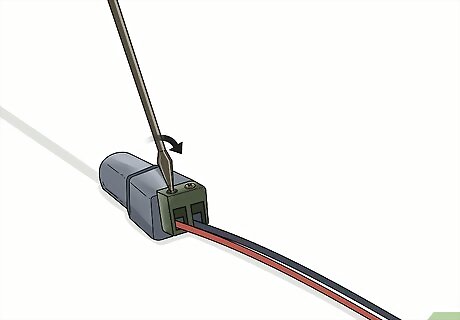
Connect the quick connector’s wires to the same-color wires on the power source. Use a terminal wire connector from a home improvement store. Plug the wires into the connector, then turn the connector’s screws clockwise to hold the wires in place. Plug the power supply cord into the terminal’s other end. If the LEDs don’t light up, check the connections. Mixing up the + and - wires may be the problem. Otherwise, you may have cut the LEDs in the wrong place.
Soldering LEDs Together
Scrape the plastic cover off the end of the LED strip. Use a sharp knife or box cutter. Cut into the plastic right above the copper dots at the end of the LED. Remove enough plastic to expose the copper dots, then scrape the blade along them to clear off any plastic debris.
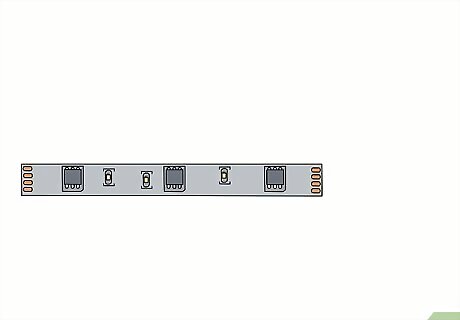
Solder metal on top of the copper terminals. Heat up a soldering iron and hold metal solder wire over the LED. Melt the solder wire directly onto the copper dots. Use enough solder to form small puddles of metal that cover the copper completely.
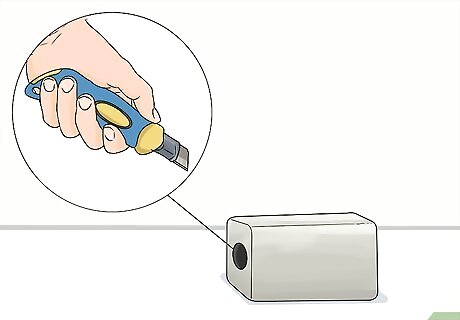
Cut a small hole in a plastic end cap. Get a plastic end cap from a home improvement store. Use the knife or box cutter to pierce the cap’s closed end. Scrape away the plastic until the opening is wide enough to fit wires through it.
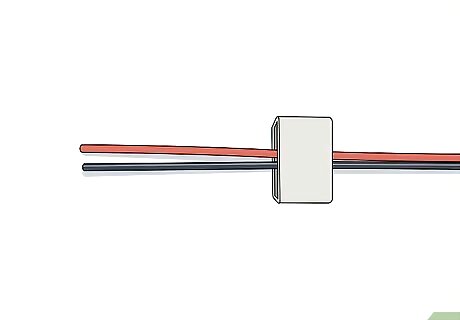
Cut the wires to length and slide them through the cap. You will need a black and red wire, which align with the LED’s terminals. Measure out the length of wire you need to connect the LED to your power source. Leave a little extra length, about ⁄2 in (1.3 cm), on the end of each wire. Slide the wires through the small hole you cut into the cap earlier, not the larger opening.
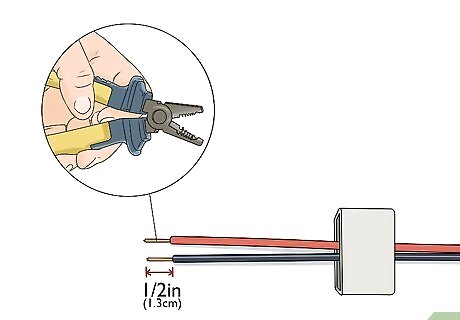
Strip the wires with wire strippers. Strip about ⁄2 in (1.3 cm) of casing off the ends of the wires. Clamp the wire strippers to the wire’s end. Press down on the handles to cut through the wire casing.
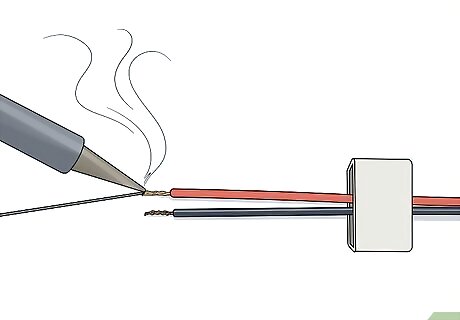
Twist and coat each wire end with solder. Work on 1 wire at a time. Twist the end of the wire to wrangle all the frayed strands together. Heat the soldering iron again, then melt the solder onto the exposed wire. Do this for each wire.
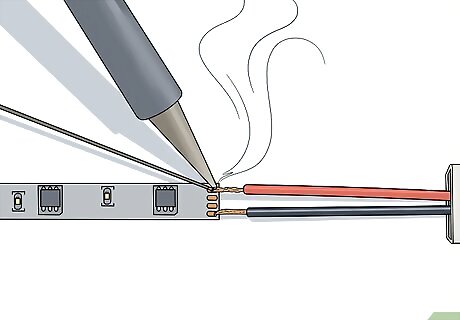
Solder the wires to the LED. Match the polarity, aligning the black wire with the LED’s - and the red wire with the +. Touch the soldering iron to the solder on the LED to liquefy it, then attach the wires. Hold the wires in place until the solder solidifies again. Once the solder has cooled, pull on the wires to make sure they are soldered in place.
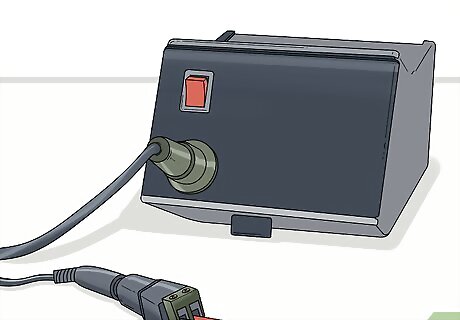
Connect the wires to the power source. Plug the other end of the wires into the power source. You may need to twist the wire ends and cover them with shrink tube or an end cap before testing the electrical circuit. You can also repeat the steps to solder the wires to another LED.
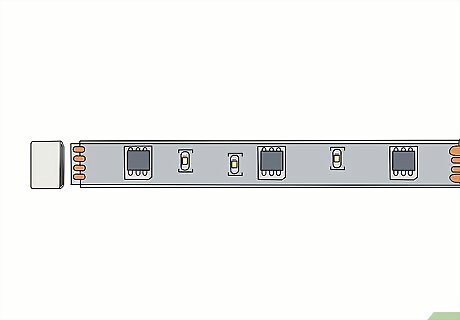
Glue a silicone end cap onto the LED. Get another plastic end cap. Fill it halfway full with silicone glue. Then, push the cap onto the free end of the LED strip. Make sure the LED reaches the cap’s back.
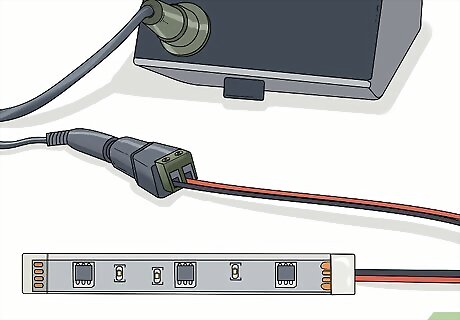
Test the LED lights. Flip the switch on the power source. All of the LED lights should activate. If they don’t, the wires might not be placed correctly. Check that the colored wires match the correct terminal on the LED. Also make sure the wires are securely soldered to the LED.





Comments
0 comment