
Painting the terracotta or mud pot
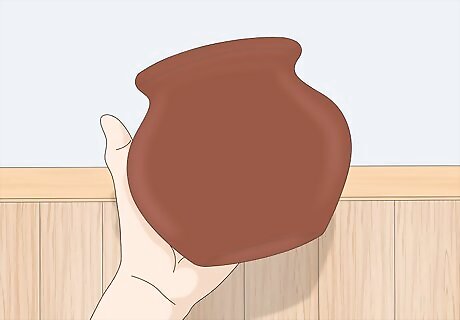
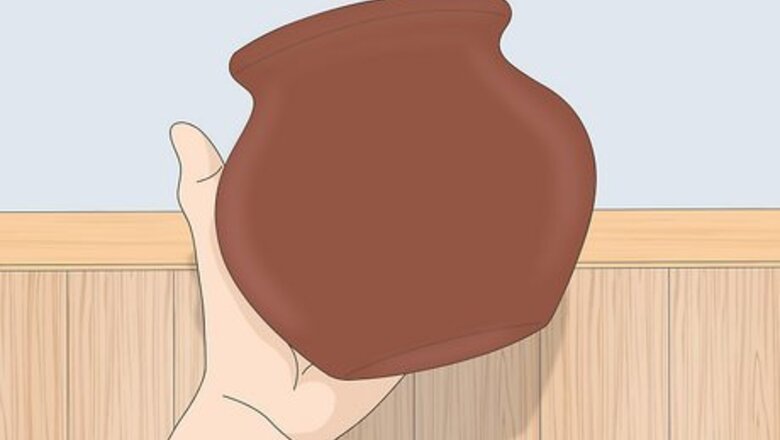
Select a pot of the size and shape of your choice. The larger the pot, the easier it will be to add a design to the surface but you'll need more modeling and painting materials for larger designs.
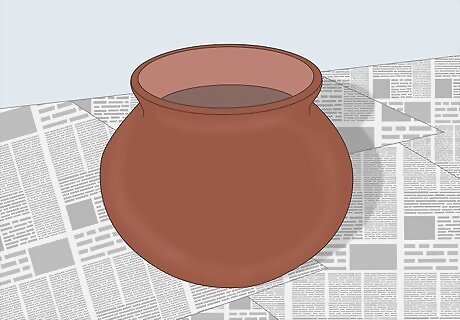
Place newspaper on your table to cover the work surface. Place your terracotta/mud pot on the newspaper.
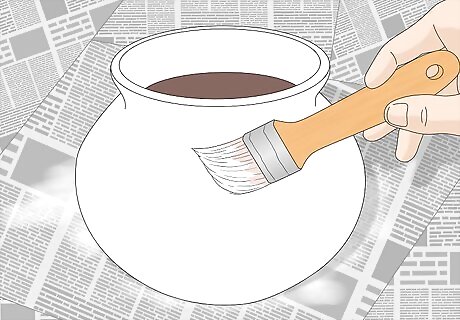
Paint the pot with either white or black enamel, coating it completely. This provides an initial sealing layer, ensuring that the design will adhere to the pot with ease. Allow this coating to dry for 4 hours, or for as long as directed by the manufacturer.
Adding a design template to the pot
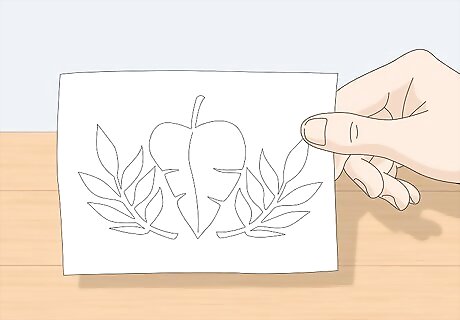
Select a creative design to be used to help you shape the M-Seal design. You could source the design from a print-out from online, from a stencil, from a stamped design, or any other piece of paper with a lovely, clear and easy to model design on it. The key thing is that the design is simple and can be followed easily with your fingers when molding the M-Seal into this shape. Easy designs might include: Flowers, a tree, an acorn A cat, a dog, a rabbit Squiggly lines, a letter, a smiley face, etc.
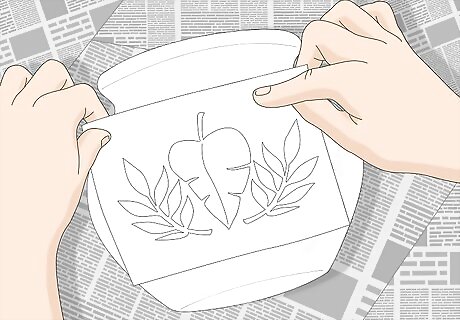
Ensure that the design will fit the pot. Choose an area on the pot where you'll add the design and place the paper design against it, to check for fit and suitability. Once, you're happy with it, it's good to go.
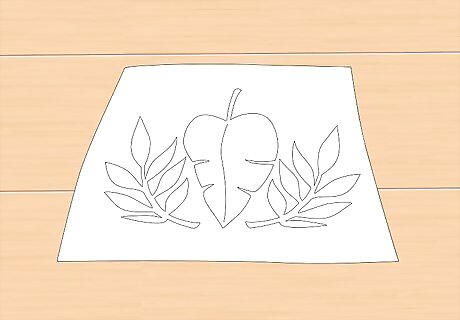
Keep this design as a template for shaping the modeling medium shortly. Place it flat down on the work surface after checking it fits easily onto the terracotta/mud pot. This will serve as the precise guide to work to when making the design pieces for sticking onto the pot.
Making the M Seal design and adding to the pot
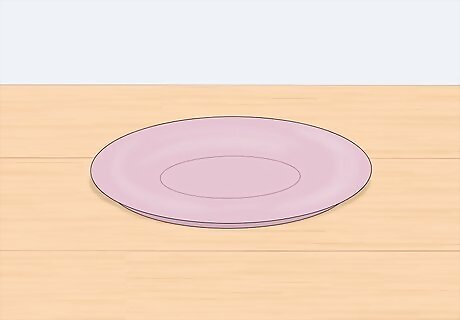
Set out a paper plate for mixing the M-Seal together.
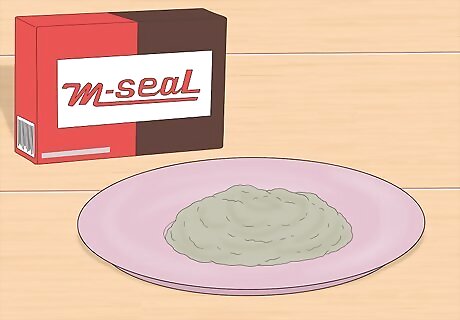
Unpack the M-Seal. In one box of M-Seal, you'll find two packs. The contents of each pack will need to be mixed together to make the design medium: Take an equal amount of M-Seal from both packs and mix well. Keep it on the paper plate. On the other side of the paper plate, pour some talcum powder. Start mixing both of the M-Seal mixtures by applying talcum powder on your fingers as you mix them (the talcum powder ensures that your fingers don't get sticky).
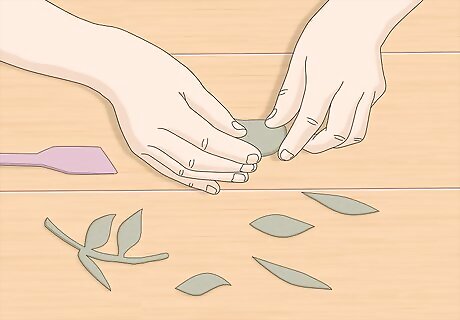
Form the design. Once you have mixed the M-Seal, start making your desired design from the M-Seal putty mix. Follow the template you cut out in the previous section to make the shapes exact. If, for example, you're making floral design, then shape petals, leaves and a stem from the M-Seal, following your paper design on the work surface. It is up to you whether you design one whole piece or several pieces to be joined together. Do whatever seems appropriate for the chosen design.
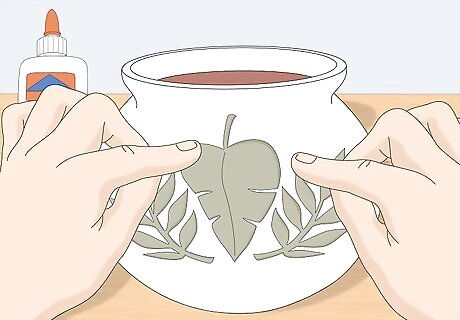
Stick the M-Seal design piece or pieces on the terracotta/mud pot in the exact position you originally determined. Use glue to attach the shaped M-Seal design piece or pieces onto the exact position on the pot (the modelling pieces have likely dried a little too much to stick without the addition of extra sealant). Be sure that the enamel has completely dried before doing this step.
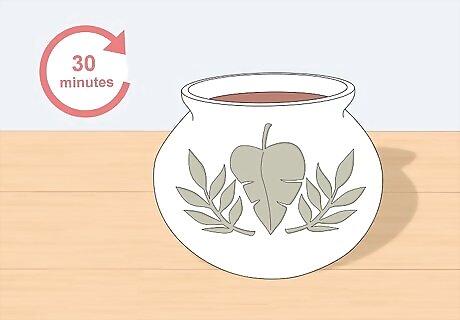
Allow the added design to dry in place for 1/2 an hour.
Detailing the design
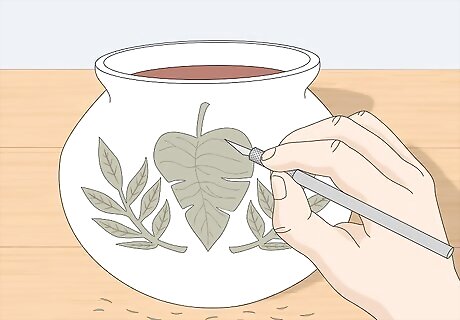
Cut details into the modelling piece/pieces, if relevant. If finer details are needed, use the cutter/knife to cut designs, such as making lines or slits on the design, or removing unwanted parts.
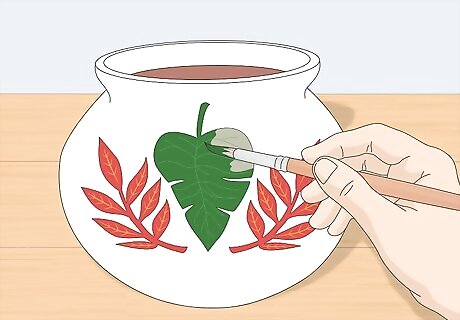
Paint the design with white fabric paint. Allow it to dry for 20 minutes. Once the paint has dried, start painting the whole design with fabric paint, in colors of choice.
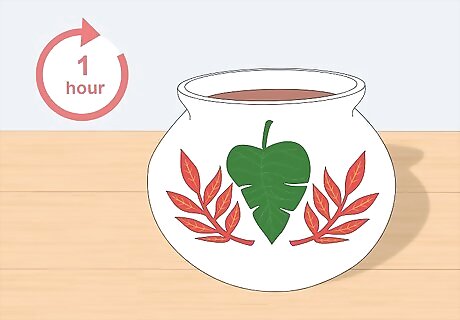
Allow to dry. Once your painting is completed, allow it to dry for 1 hour. When it is dry, the pot is completed. You can varnish it or seal it, if wished.


Comments
0 comment