

Preparing the Space

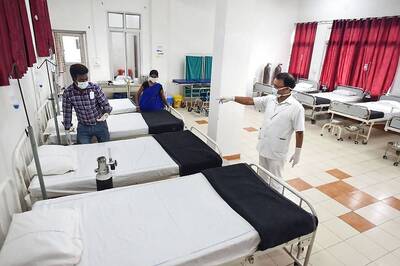
Remove personal items and objects. Start by clearing the area of any items or objects that you do not want to get dusty. Box them up and put them in another room in your home or in a storage unit. Leaving them in the space will only allow them to collect dust during the demolition and remodeling. You should also remove small furniture and decorative items on the walls so they do not get dusty.
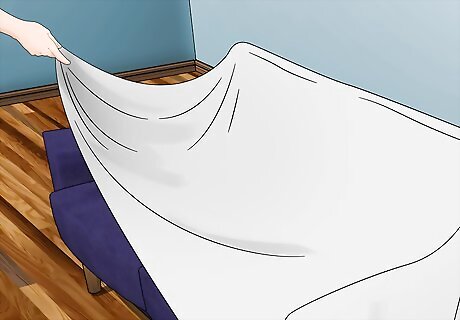
Cover furniture in the space with thick tarps or sheets. If there are items of furniture that have to stay in the space or cannot be moved, make sure you cover them with thick tarps or sheets. Use tape to attach the tarps or sheets to the bottom of the furniture so they are fully covered and protected from dust.
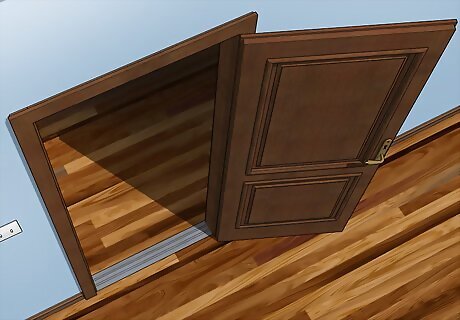
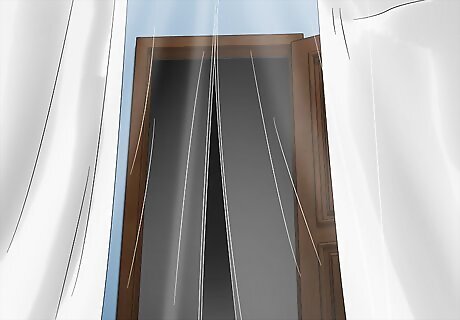
Have one door open as the only entrance and exit. Close all the doors in the space except one. You can use the one open door as the sole entrance and exit. Keep all the other doors closed so dust can not blow out into other areas of your home. Tape the doors shut, sealing them on the top and bottom, so the dust is contained.
Setting up Dust Barriers
Put plastic sheets down on the floors. Lay down 6-mil polyethylene plastic sheets on the floor. Tape them down with masking tape, making sure there is a 6 inches (15 cm) overlap on the sheets. You can then put a layer of foam-board insulation to protect the floors from dust and debris. Plywood would also work well.
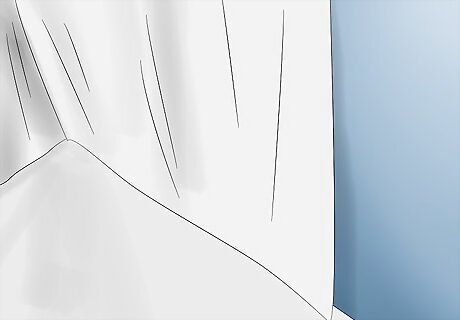
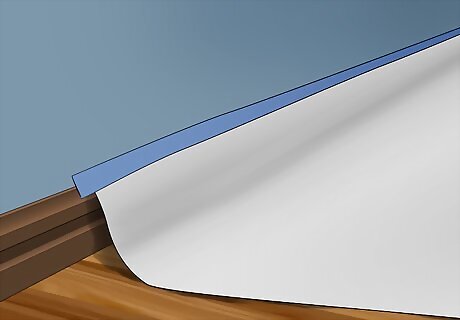
Hang plastic sheets on the walls and baseboards. Protect the walls from dust by hanging 6-mil polyethylene plastic sheets from the ceiling to the floor. Secure the plastic sheets with masking tape. Attach plastic sheets to the baseboards using painter’s tape. You should also cover all closed doors with plastic sheets. You can then add a layer of plywood or foam-board insulation on the walls and doors to protect them from dust.
Use a zip wall for the open doorway. A zip wall is a specially made plastic sheet that zips open and closed. Hang the zip wall over the doorway that will act as the entrance and exit. This way, you can zip the door open and closed as you come and go, preventing dust from entering the rest of the house. You should also place sticky mats by the doorway so the dust on your shoes can be contained on the mats and does not get in the rest of the house.
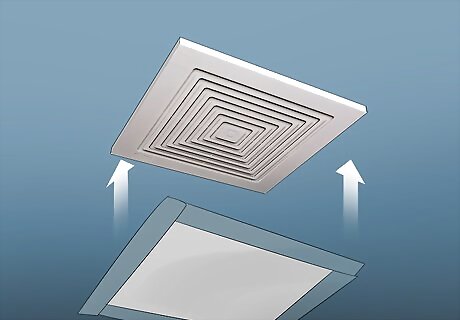
Block off vents in the space with plastic. If you have a heating or air conditioning unit that runs through vents in the room, block off the vents with plastic so dust does not get in. Use tape to secure the plastic over the vents. If there is a return vent in the space, you may have to shut off the system for one to two hours while the work is being done. This will prevent dust from circulating in the house.
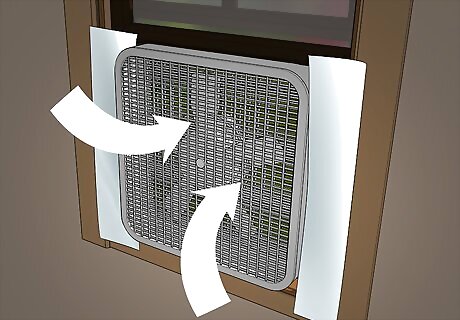
Depressurize the area with a fan. Place a small fan near a window at the far end of the work area and face it outward. Make sure the fan and window frame are sealed with plastic. Tape the plastic to the sides of the fan so just the blades are exposed. Then, leave the fan on during construction to draw air into the work area and prevent dust from drifting into other areas of your home. Do not place the fan by an open window so it can blow the dust outside. This can taint the air outside and blow dust onto your neighbors.
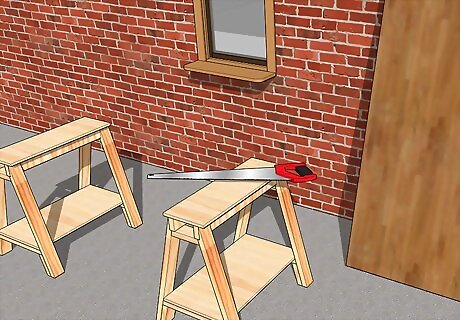
Keep dusty work outside as much as possible. Cut wood and sand drywall outside so the dust does not get indoors. Avoid doing these jobs indoors, as this can create more dust. When you cut wood or sand drywall, attach a dust-collecting vacuum to your power tools. This will help to minimize dust circulating as you work.
Using Air Scrubbers and Vacuums
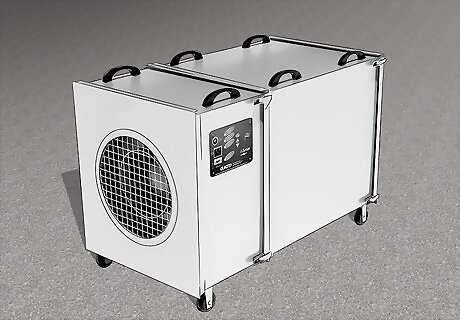
Get an air scrubber. An air scrubber helps to capture dust when it is airborne. It sucks in the dusty air, filters it, and blows it outside. Depending on how much dust you have, you may need to replace the filter regularly so the dust is safe to blow outside. You can rent a portable air scrubber for $150-$200 USD a week. You can also invest in an air scrubber if you plan to do a lot of demolition and remodeling. They can be pricey, around $980 USD, but they tend to last for a long time and are the best option for removing dust effectively.

Run the air scrubber while you work. Air scrubbers run on electricity. They can be plugged into an outlet and left running while you are working. They will refresh the air and suck up the dust as it becomes airborne. At the end of the work day, check the filter in the air scrubber. If it is covered in dust and dirt, you may need to change it so you can have a fresh one in for the next work day.
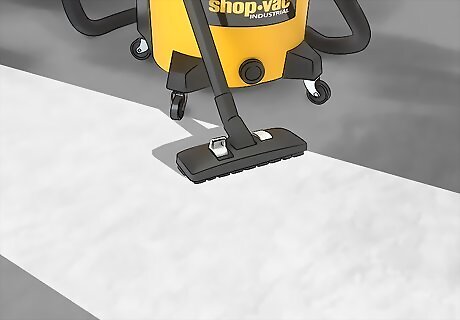
Clean the area with a shop vacuum at the end of the day. Keep the dust under control by doing a thorough vacuum of the work area at the end of each day. Use the shop vacuum to blow the dust off of surfaces and into dust collection bags. You can also try misting the filter with water to help trap fine dust in the vacuum as you use it to clean the area. Make sure you clean and brush off the filters in the shop vacuum once you are done so it is ready to use the following day.
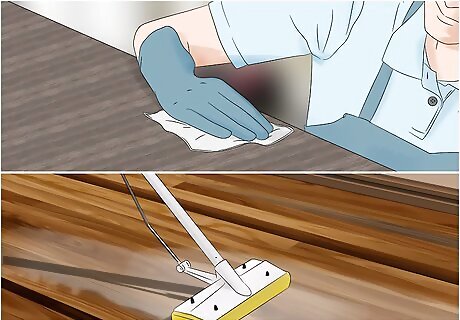
Do a major clean when the remodeling is finished. Once the demolition and remodeling is done, make sure you do a deep clean of the area. Plan for about six hours to remove any remaining dust and debris in the area. Use the air scrubber as well as the shop vacuum to get rid of the dust so the space is clean. Remove the plastic sheets and plywood once you clean out the dust. Then, do a final vacuum of the area once the sheets have been removed to get rid of any remaining dust.


Comments
0 comment