views
Defogging Headlights with WD-40
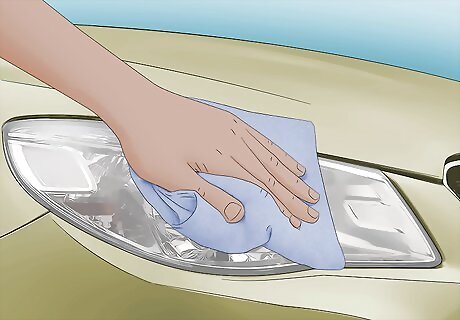
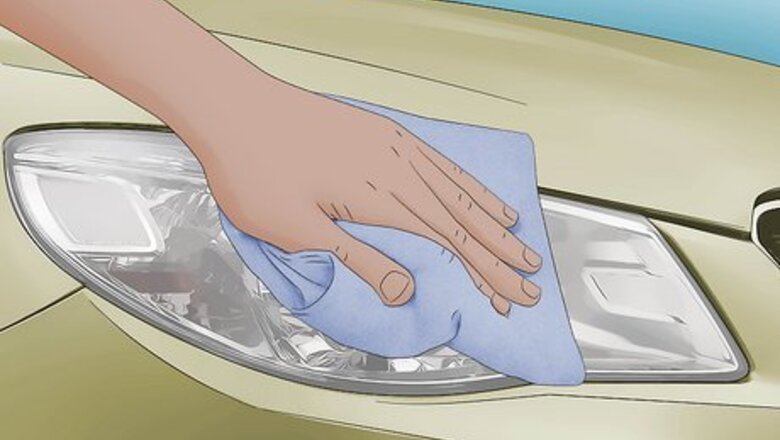
Wipe your headlights clean with a lint-free rag. Go over the entire plastic headlight cover with your rag to lift up any dirt, dust, and grime that might be stuck on the surface. If you apply WD-40 over a dirty headlight, the clean finish won’t last as long. If there’s still residue leftover after you clean your headlight covers, wipe them with a damp rag with car wash soap.

Spread WD-40 onto the headlight with a clean microfiber cloth. You can use standard WD-40 spray to clean foggy headlights. Instead of spraying the WD-40 directly onto the headlight, apply it to the cloth. Work the WD-40 into the headlight covers using circular movements so you don’t leave any streaks. Within a few seconds, you’ll notice your headlights clearing up. WD-40 helps cut through even more stuck-on grime that’s on the surface to make your headlights clear again. It’s okay if you get some WD-40 on your vehicle’s paint since it won’t cause any damage.
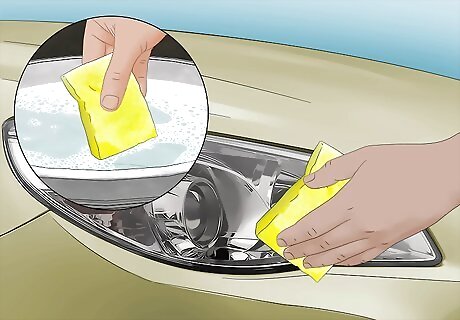
Clean off any excess WD-40 with a sponge and soapy water. Put a dab of car wash soap into a bucket with some warm water and mix it up with your sponge. Gently wipe your headlights and the area around them with the sponge. Finish up by patting your headlights dry with a clean lint-free cloth. You can apply a layer of car wax over your headlight to help them stay clear for longer.

Check your headlights for fogginess 1–2 weeks after cleaning them. Since WD-40 is only a temporary fix, you may have to clean your headlight lens covers after you’ve driven for a little while. If your headlights look hazy, then it’s time to clean them off again.
Alternative Ways to Clean Headlights
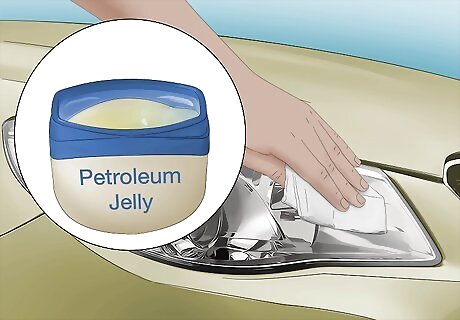
Rub a layer of petroleum jelly on the headlight as a quick DIY. Simply dip the corner of a microfiber cloth in a tub of petroleum jelly and spread it over your headlights. Work the jelly into a thin layer on the surface and it will keep your headlights defogged until rain rinses it away. Petroleum jelly fills in spots on your headlights that are scratched or have been broken down by the sun.

Apply olive oil to your headlights if you need a temporary fix. You can take the olive oil right from your kitchen to clean your car headlights. Pour a coin-sized amount of olive oil on a lint-free rag and rub in an even layer over your headlights. The oil will only last for a day or two, but it will help keep your headlights clear during the drive. You can also use olive oil spray, but apply it to your rag rather than directly onto your headlights.
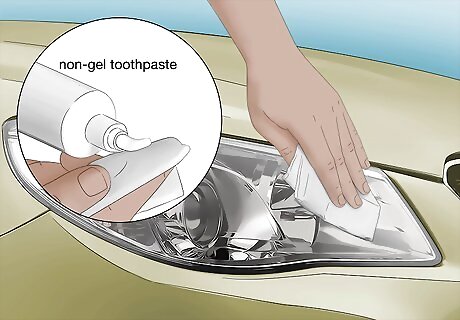
Try cleaning headlights with toothpaste to buff them. Pick a non-gel toothpaste with peroxide and baking soda for the strongest clean. Scrub your headlights with toothpaste using circular motions until the fogginess starts to disappear. Toothpaste is slightly abrasive, so it helps smooth and polish any damaged areas of your headlight lenses.
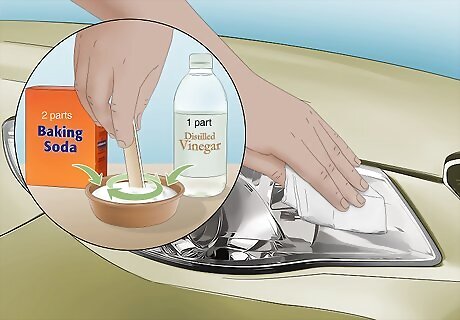
Defog headlights with a vinegar and baking soda scrub. Mix 2 parts of baking soda with 1 part distilled white vinegar in a small bowl until they form a thin paste. Apply the baking soda and vinegar paste on your headlights with a clean microfiber towel. After you finish, rinse the headlights with clean water and let them air-dry. Baking soda acts as an abrasive and reacts with the vinegar to help loosen up any dirt that’s still stuck on your headlights.

Use a headlight restoration kit to remove foggy residue. Headlight restoration kits have abrasive sheets of emery paper, polish, and sealant so you have everything you need to buff and protect your headlights. You’ll usually start by rubbing the headlight with the emery paper followed by applying the polish and the sealant, but the instructions may vary depending on what kit you use. The Sylvania Headlight Restoration Kit is really effective since it has fine-grit emery paper for a smooth finish and it gives you the best improvement to your headlight brightness. The Turtle Wax Headlight Lens Restorer is a cheap alternative that comes with a sealant you can wipe on to protect your headlights for even longer. The 3M Headlight Lens Restoration System comes with an abrasive sanding disk that you can attach to a power drill so you don’t have to put in as much elbow grease.
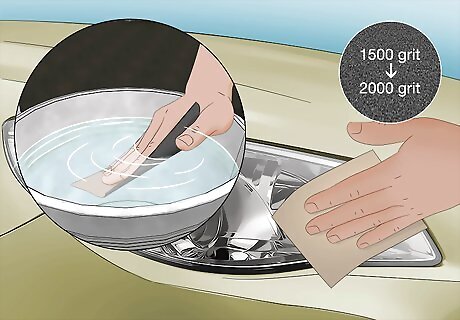
Wet-sand and polish your headlights for a permanent solution. If you need to clean oxidized headlights, wet a piece of 1,500-grit sandpaper with water and gently rub it over the headlight to remove any yellowed or foggy areas. Rinse the headlight with clean water, and then rub it with a wet piece of 2,000-grit sandpaper to get an even smoother finish. After a final rinse, apply wet car polish with a microfiber applicator. If your headlights still look a little hazy, try ending with 3,000- or 4,000-grit sandpaper. Put masking tape around the edges of your headlights so you don’t accidentally scratch off any paint or finish.






Comments
0 comment