views
- Joy-Cons take 3.5 hours to charge, and the Pro Controller takes 6 hours to charge.
- If you don't have your Switch available, you'll need a separate charging accessory to charge your Joy-Cons.
- Your Joy-Cons will only charge when connected to your Switch if your Switch is charging and not turned off.
Charging Joy-Cons Without Switch
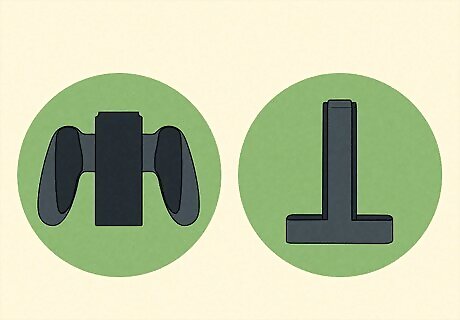
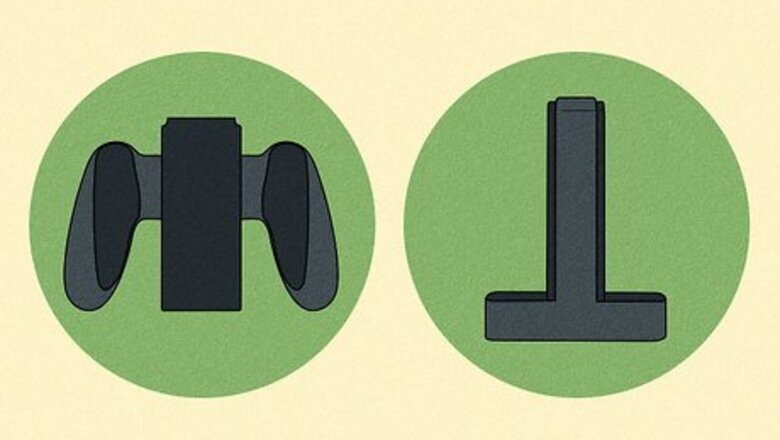
Purchase a separate Joy-Con charging accessory. There are a few accessories sold that will charge your Joy-Cons without needing to connect them to your Switch. Nintendo Joy-Con Charging Grip: If you want to continue playing while your Joy-Cons charge, the charging grip allows you to do so. It looks almost identical to the Joy-Con grip that is sold with the Nintendo Switch, but plugs into your dock to charge your Joy-Cons. Power A Joy-Con Charging Dock: This is a separate dock for charging your Joy-Cons, and has space for 2 sets (4 Joy-Cons total). With this accessory you don't need to connect your Joy-Cons to your Switch to charge them, but you also can't use the Joy-Cons until they're charged.
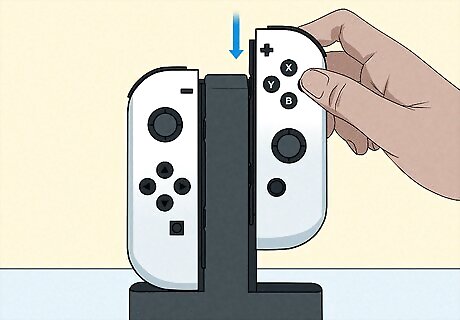
Connect your Joy-Cons into your charging accessory of choice. Your Joy-Cons connect to these accessories just like they connect to your Switch's main body: slide the straight edge of the Joy-Con into the groove on the charger, and push down until the Joy-Con clicks into place.
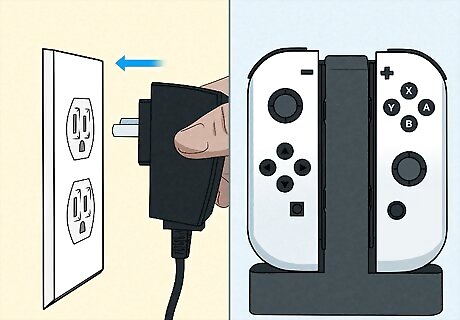
Plug your charging accessory into power. Both the grip and the dock are USB powered, so you can plug them directly into your Nintendo Switch dock or any other USB power source.
Charging Joy-Cons With Switch
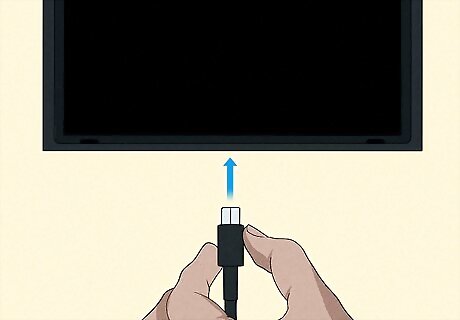
Plug your Switch into a charger. You can either place your Switch in its dock, or you can plug your Switch in via a USB-C charging cable.
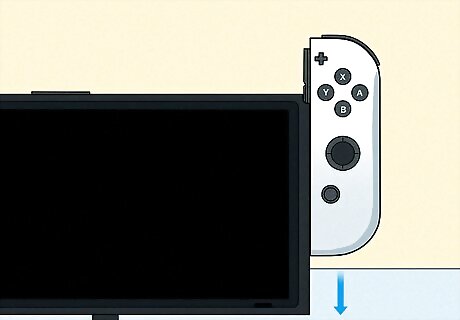
Connect the Joy-Cons to your Switch. Your Joy-Cons will charge while they're connected to your Switch while it is charging. If your Joy-Cons are connected to the Switch but the Switch is not charging, the Joy-Cons will not actively charge. Note that your Switch must be on or in sleep mode for the Joy-Cons to charge. If your Switch is completely powered down, your Joy-Cons will not charge.
Charging a Pro Controller
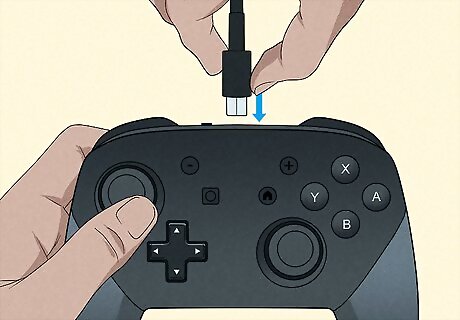
Plug your Pro Controller's USB-C cable into the Pro Controller. The simplest way to charge your Pro Controller is with the provided USB-C charging cable, though any USB-C charging cable will work. You can also use the USB-C to AC adapter from your Nintendo Switch dock, if you prefer.
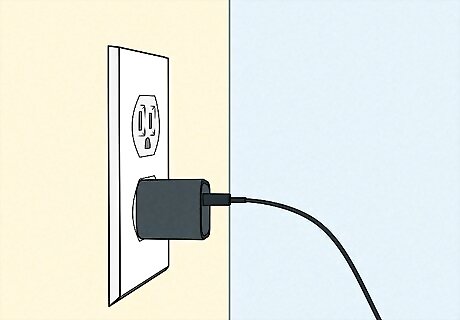
Plug the USB-C cable into a power source. You can plug the cable directly into your Nintendo Switch dock, but any USB power source (such as a charging brick or USB slot on a charging strip) will work. You can also purchase separate charging docks for your Pro Controller. Simply plug the dock into power, then set the Pro Controller into the dock to allow it to charge.
Troubleshooting
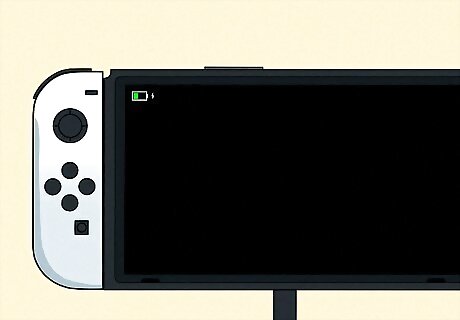
Ensure your Switch is charging and not turned off. If you're charging your Joy-Cons by plugging them into your Switch, your console must be connected to a charger (either a dock or charging cable) and it must be either powered on or in Sleep Mode.
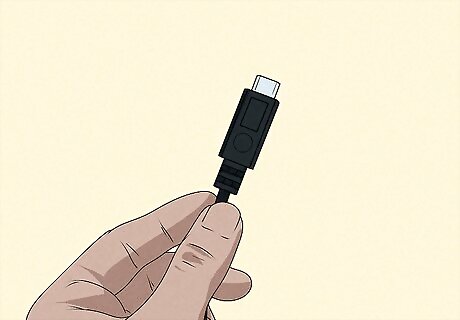
Check your cables or charging accessories for damage. If your AC adapter, USB-C charging cable, or your charging accessories are damaged, they may not work correctly. If you notice any damage, replace the cable or accessory, or try a different charging method.
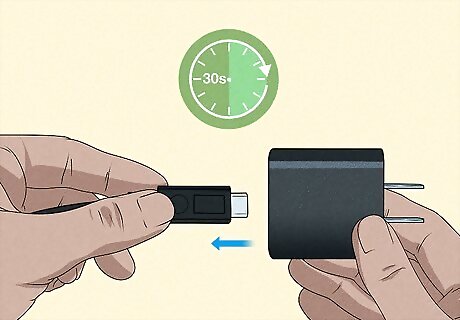
Reset your AC adapter, if using. If you're using the AC adapter to charge your Switch or Pro Controller, or it's plugged into your dock that is charging your Switch, you can reset it by unplugging both ends for 30 seconds. After 30 seconds, plug the AC adapter back in and try again.
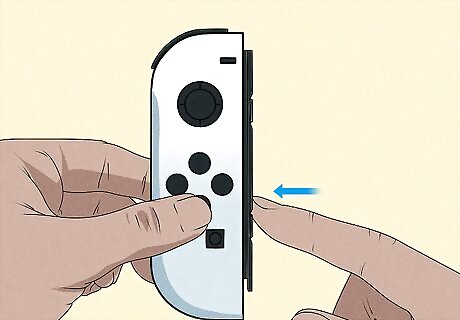
Reset your Joy-Cons. Disconnect each Joy-Con from the console and press the SYNC Button. The SYNC Button is located on the straight edge of each Joy-Con, and is a small circular button between the SL button and SR button.
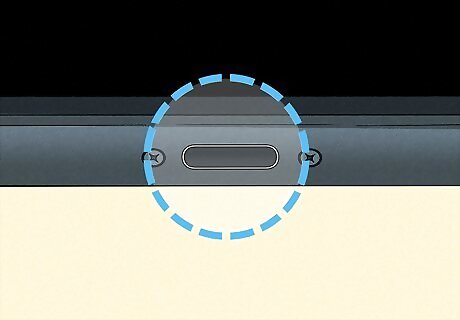
Check the USB-C port of your Pro Controller for damage or dirt. If the USB-C port of your Pro Controller is damaged or dirty, it may not charge. Use a flashlight to check for damage or debris. If you notice the port is dirty, clean it with compressed air. If the port is damaged, you should contact Nintendo Support.






Comments
0 comment