views
Disassembly
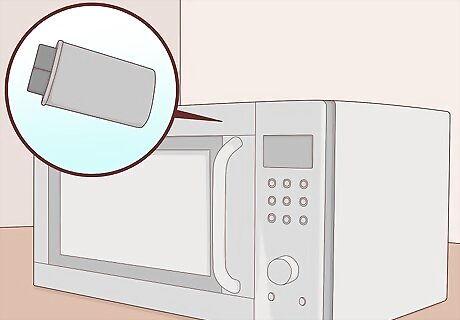
Evaluate your electrical experience. Even when unplugged, a microwave contains high-voltage capacitors that can cause serious injury or death. Although fuse replacement is easy (but not necessarily safe), a blown fuse is often a sign of other electrical problems which may be difficult for a layman to handle. If you are not experienced with electrical repair, hire a professional.

Take safety precautions. Microwaves are among the most dangerous household items to repair. Protect yourself before you begin: Remove all jewelry and watches, which could snag on components and conduct electricity. Magnetic microwave components may damage some watches. Wear rubber soled shoes and consider wearing insulated gloves. Have someone nearby to call emergency services if necessary. Take care not to touch any metal parts within the microwave, especially circuit boards and capacitors.
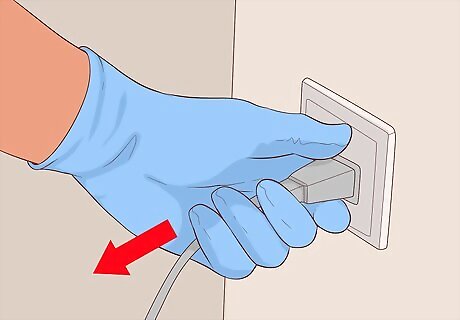
Unplug the microwave. If your microwave is mounted under a cabinet, the power cord is usually threaded through the overhead cabinet.
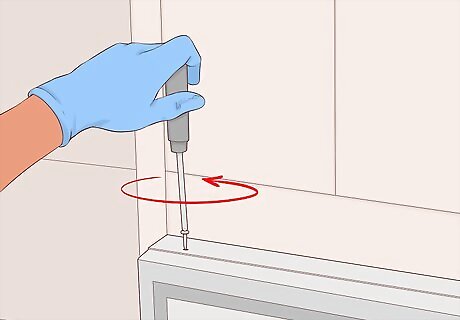
Remove the vent grille. The vent grille is usually located at the top of the microwave, attached with a couple screws on the upper surface. After removing the screws, unhook the plastic tabs by sliding the grille (usually left or upward). Set it aside. Label all screws with their original location. On some models, you'll need to open the microwave door to access the grille. Some models have the grille on the back of the machine. You may not need to remove this rear grille to remove the other panels, but there could still be a fuse behind it.
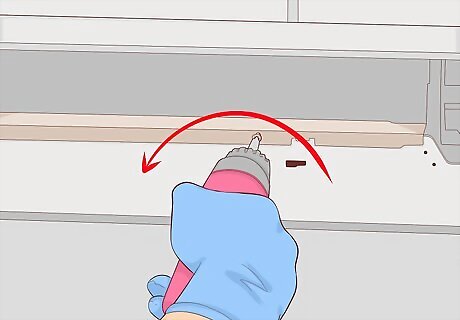
Detach the control panel. Look for screws on the side of the control panel revealed by the grille removal. Also remove any screws on the upper surface of the panel. Lift the control panel and pull forward to detach it. Prop it up in a stable position without unplugging any wires.
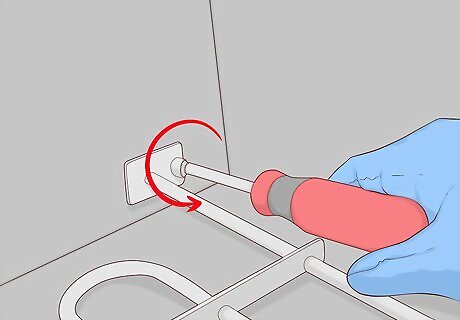
Remove exterior panels if necessary. You now have access to some but not all of the microwave's interior. You may look for an electrical problem now, or unscrew and remove the remaining panels for full access.
Discharging the Capacitor
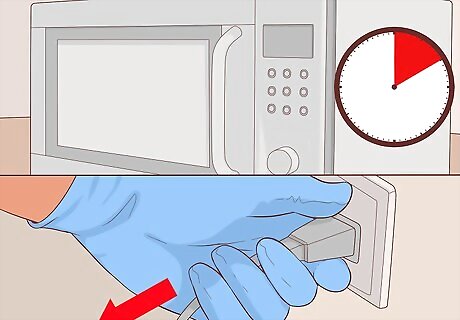
Wait several minutes (recommended). The capacitor can hold a potentially lethal charge even when the microwave is unplugged. Although the charge is supposed to drain when the microwave is turned off, this may take several minutes. Even after waiting, do not assume the capacitor is safe. This safety feature may have failed, or may not be present in your model. Always confirm the microwave is unplugged before you continue.
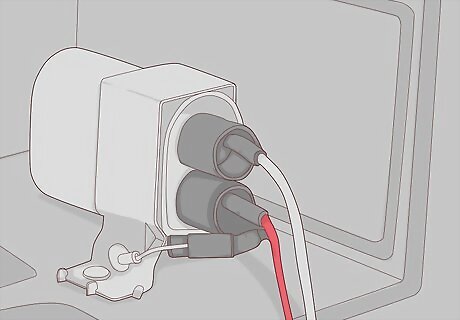
Locate the capacitor. In most models, the capacitor is a metal cylinder with two or three electrical terminals. If you cannot identify the capacitor, hire a professional repairman. Never disassemble interior components to look for it. Do not touch any part of the inverter board that contains the capacitors. The aluminum heat sink, windings, and choke coil are all high voltage.
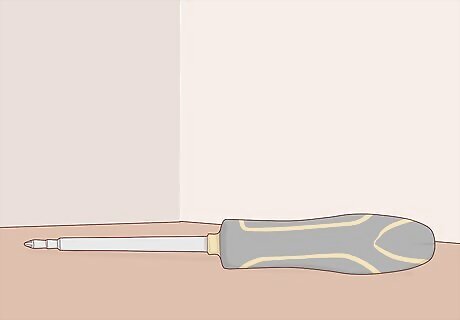
Choose a screwdriver with an electrically insulated handle. You may also wish to wear insulated gloves, especially if you are not sure what voltage the handle is rated for. Voltages up to 5000 volts may be present.
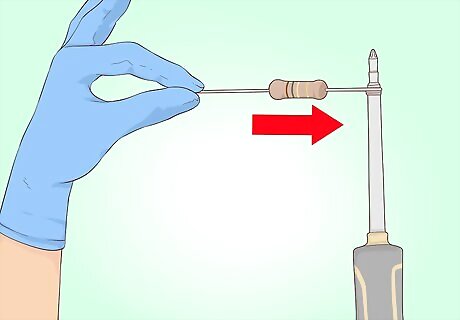
Clip a resistor to the screwdriver tip. Clip a 100K Ω resistor rated for 25 watts or higher to the blade of your screwdriver. This will slow the rate of discharge, preventing damage to your screwdriver or microwave components.
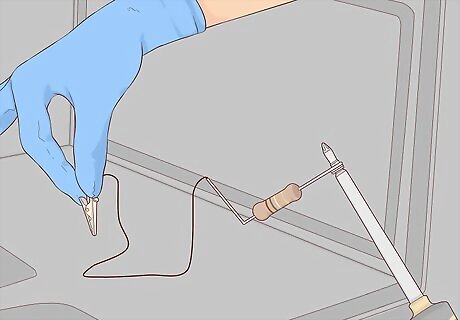
Clip the other end to the metal chassis. Attach the other end of the resistor to the metal chassis of the capacitor, using an alligator clip. Insulated gloves are recommended for this step to avoid brushing against the terminals of the capacitor.
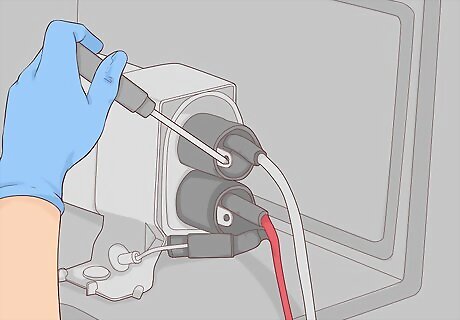
Touch the screwdriver tip to one terminal of the capacitor. Hold it there for a few seconds while the charge drains. According to the GE service manual for a JES series microwave, you may discharge at the magnetron filament terminal instead.
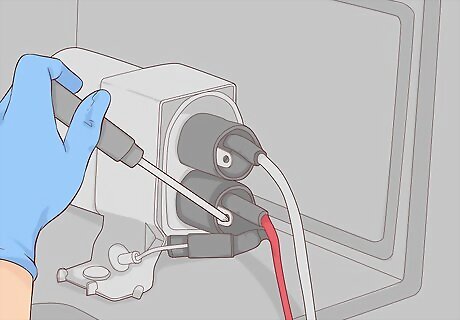
Repeat with the other terminal. Confirm the clip is still grounded, then touch the screwdriver tip to the other terminal. Repeat with the third terminal if present.
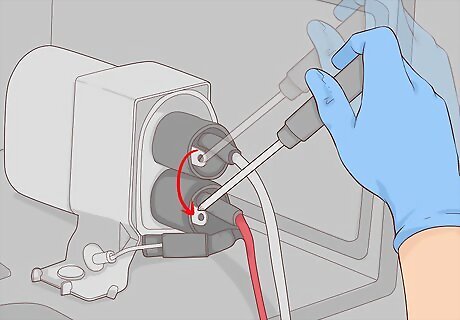
Check for charge. Withdraw the screwdriver and unclip the resistor. Touch the screwdriver tip to one terminal, then slide it to the other. If there is a popping noise or spark, the capacitor has not discharged properly. The voltage should now be gone, but drain each terminal to ground again just in case. Never test for voltage using a standard multimeter. They are not made to handle the extreme voltage found in microwaves.
Replacing Fuses
Check for obvious problems. A blown fuse is usually a sign of an electrical fault. Perform a visual inspection for scorch marks, dead insects or other debris causing a short circuit, and broken or leaking components. If any of these are present, you will likely need to replace or repair additional parts besides the fuse. There are many possible causes for a blown fuse, and these are not covered in this guide. One common cause is a broken door interlock switch, which may require replacing several door components or realigning the door. WARNING: Do not touch or disassemble an unidentified component. If you cannot identify the broken part or do not know how to handle high-voltage equipment safely, hire a professional repairman.
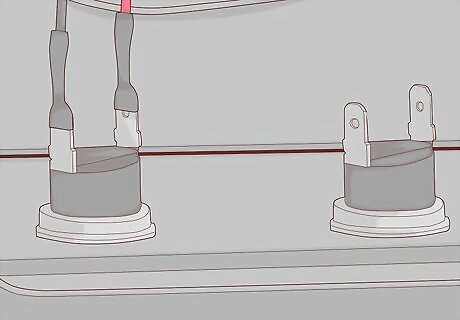
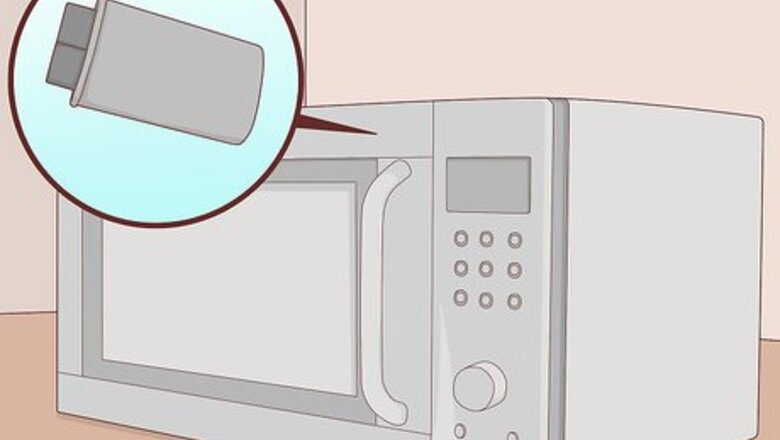
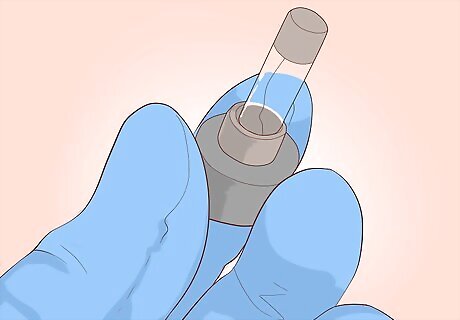
Locate the fuses. Your microwave may have two types of fuse. The line fuses are usually familiar ceramic tubes, about 1¼ inches (3 cm) long. The thermal cutoff fuses are typically squat black cylinders with two prongs on the same side. Their exact location depends on your model, but check behind the control panel. If you are having trouble, consult the wiring diagram printed on the inside cover of the microwave (or occasionally on the underside or back of the exterior panels). Some fuses may be hidden by other components. Only remove these components if you are familiar with their function and know how to handle them safely.
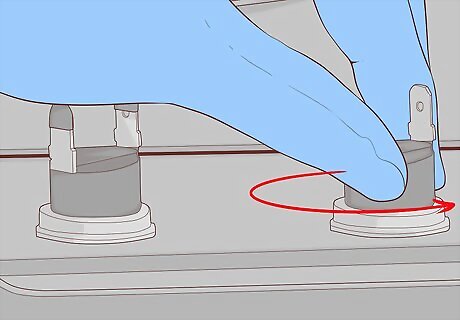
Remove the fuses safely. Pop out the fuses with a fuse puller or the tip of a screwdriver with a well-insulated handle. To remove thermal fuses, pull the wires off the prongs. Make a note of where each fuse came from.
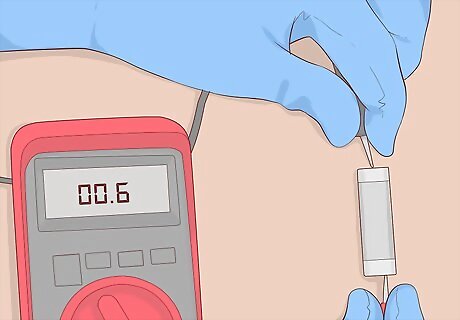
Test the fuses with a multimeter. Most microwave fuses do not look any different after they are blown. To test them, set your multimeter dial to the continuity test if present, with the symbol ))). Otherwise, set it to the lowest Ohm setting. Test the fuse resistance: Touch the two probes together. You should hear a tone if the multimeter is set to continuity. If set to measure resistance, the multimeter should read 0 Ohms. (Analog multimeters may need calibration.) Touch the two probes to opposite ends of the fuse. If the multimeter reads 0 Ohms or you hear a continuity tone, the fuse is working. If the multimeter measures resistance or displays "OL" for overload, or if there is no continuity tone, the fuse is blown.
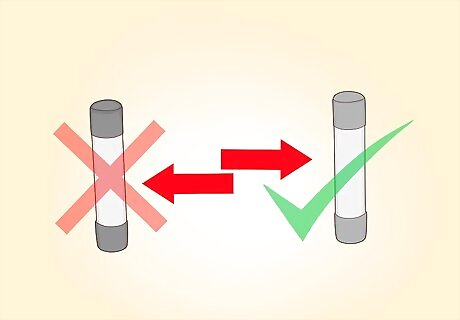
Replace the fuse with an identical component. The fuse must be exactly the same size and have the same amperage rating as the original. This information should be displayed on the fuse, although you may need a magnifying glass to read it. Pop the new fuse back in with the fuse puller or insulated gloves. Buy a couple spare fuses. If there is an underlying electrical problem, the new fuse could blow as well.
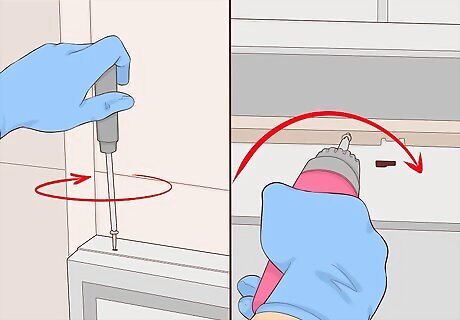
Reassemble the microwave. Replace all panels and screws in the reverse order you removed them. Check all tabs around the edge of panels to make sure they fit securely in their slots, without pinching any wires. Improper reassembly could cause radiation to leak out of the microwave during operation. Make sure all screws are in their original position, as some may be responsible for grounding the cover. Never plug in or run the microwave until it is fully assembled. Place something inside the microwave before testing to avoid overheating.




Comments
0 comment