
X
Research source
While it’s not officially recommended by the company, there are a few at-home methods you can use to preserve your Play-Doh creation for a longer amount of time.
Baking

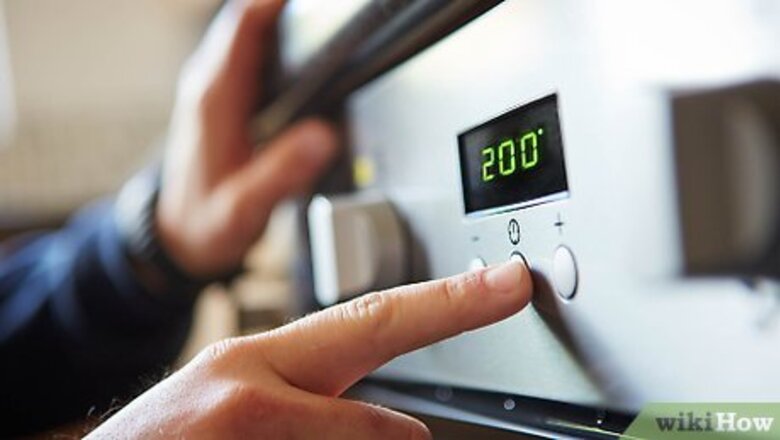
Preheat the oven to 200 °F (93 °C). You don’t need to toss your Play-Doh into a kiln for it to dry. Some Play-Doh hobbyists recommend using a low oven temperature to preserve your creations. This method works best with small, thin keepsakes, like holiday ornaments.

Bake your Play-Doh for 5-10 minutes. Set your Play-Doh creation on an oven-safe tray, and set a timer for at least 5 minutes. Then, check on the baked clay to see if it’s hardened. If the clay is firm and hard to the touch, you can display your Play-Doh masterpiece around your home! If your Play-Doh isn’t quite hardened, you might have more luck sealing it.

Check the Play-Doh with a toothpick and let it cool. Gently press a toothpick against the clay to check the hardness. If the Play-Doh feels soft, leave it in the oven for a couple more minutes. If your Play-Doh creation is hardened, pull it out of the oven so it can cool off. If your Play-Doh sculpture is pretty thick, it might need a little more time in the oven.
Sealing
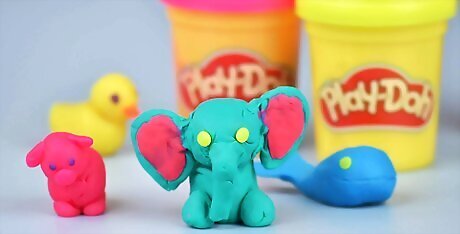
Air-dry the Play-Doh for 1-3 days before sealing it. Play-Doh is meant to be reused, so the compound is naturally moist and flexible. Before sealing your creation, place it in an open area for at least 1 day so it can air-dry. You might see a white crust forming on the dough—this is totally normal, and is just the salt in the Play-Doh rising to the top. Don’t worry about fixing this, since it isn’t very noticeable. You’ll only be air-drying your Play-Doh for a short amount of time, so it shouldn’t start cracking.

Seal your Play-Doh creation in sections to prevent sticking. Apply your sealant of choice to the top and sides of your creation first. Then, let the sealant try completely. At this point, coat the other side of your Play-Doh creation with sealant. Some people only seal the parts of their creation that will be visible to the naked eye.
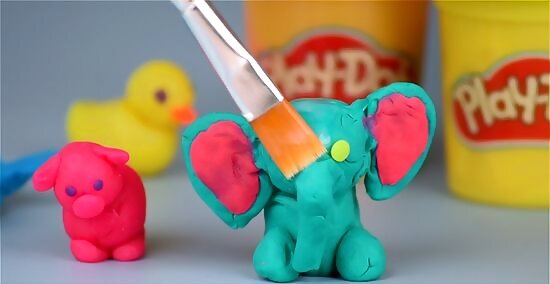
Coat the Play-Doh with school glue as an easy, non-toxic solution. Pour ⁄2 tsp (2.5 mL) or so of water into a small cup. Then, mix 2 drops of school glue into the water. Dip a small, clean paintbrush into the glue mixture and spread it all over your Play-Doh creation. Let the first layer of glue dry completely, and then add a second layer for good measure. If the glaze seems too runny, add another drop or 2 of glue into the mixture. This glue takes about an hour to set, and a full day to cure.

Spread a layer of Mod Podge on your creation so it looks glossy. Coat a small paintbrush with extra glossy Mod Podge, and paint it over the surface of your Play-Doh. Wait 3 days for your Play-Doh to dry, and then add 2 more coats, giving each layer another 3 days to air-dry.

Cover the Play-Doh with clear nail polish for a fast-drying option. Grab a bottle of clear nail polish and spread a thin layer over your clay creation. Check the side of the bottle for the recommended drying time. This is a better solution for smaller projects. If your finished project doesn’t look very glossy, you might want to add a second coat of nail polish.
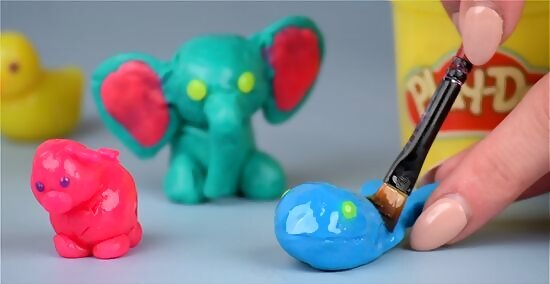
Paint on 1 coat of polyester resin to make your Play-Doh extra shiny. Dip a small paintbrush into a jar of clear resin. Spread a thin coat of the product all over your Play-Doh, so it’s protected with a nice, hard coating. Scan over the resin bottle to see what the recommended drying time is. Resins are made with a lot of strong chemicals. Always work in a well-ventilated area, and consider wearing a respirator.


Comments
0 comment