
Installing SMS Backup & Restore
Open the Play Store Android Google Play. You’ll usually find it on the home screen or in the app drawer.
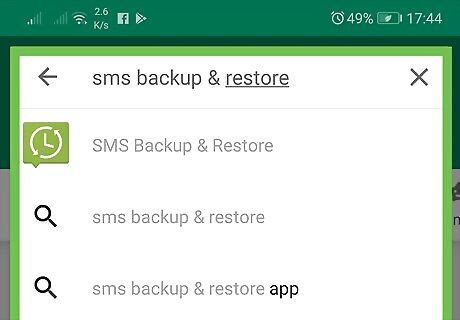
Type sms backup and restore into the search bar. A list of matching results will appear.
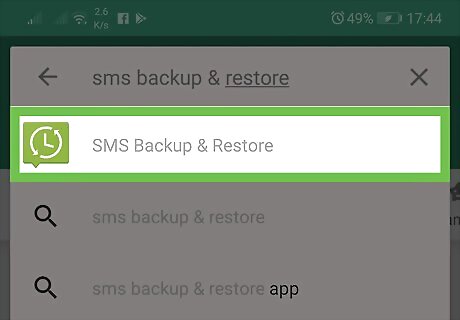
Tap SMS Backup & Restore. This app, developed by Carbonite, has a green chat bubble icon with a white clock inside.
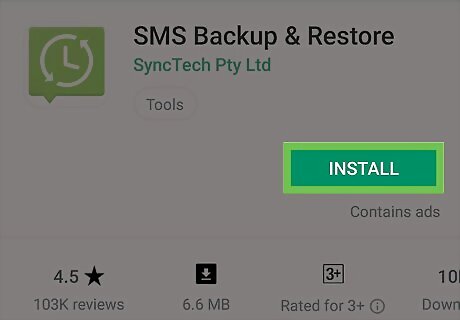
Tap Install. The app will now install to your Android. Depending on your settings, you may have to grant the app permission to your phone or tablet before the download begins. When the app is finished downloading, the “Install” button will change to “Open” and a new icon will appear in the app drawer.
Backing Up Messages
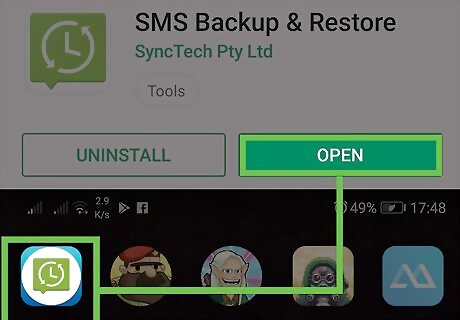
Open SMS Backup & Restore. It’s the green chat bubble icon containing a clock made of arrows. Since it’s your first time using the app, you’ll need to set it up.
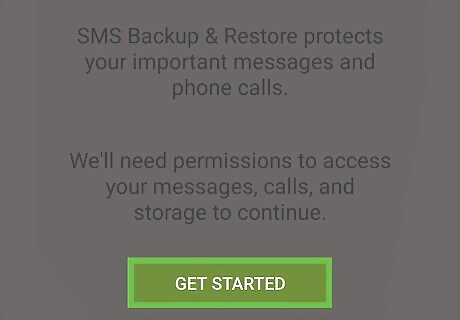
Tap Get Started. A series of permissions windows will appear.
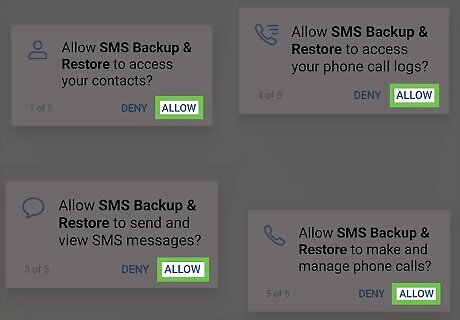
Tap Allow on all 4 screens. This gives the app permission to backup and restore your SMS messages.
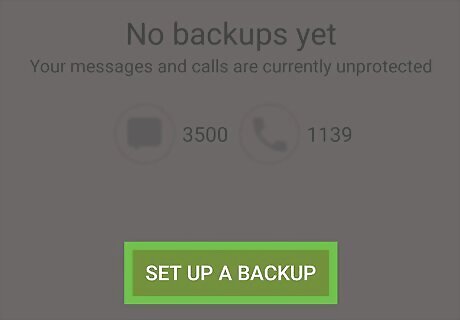
Tap Set Up a Backup.
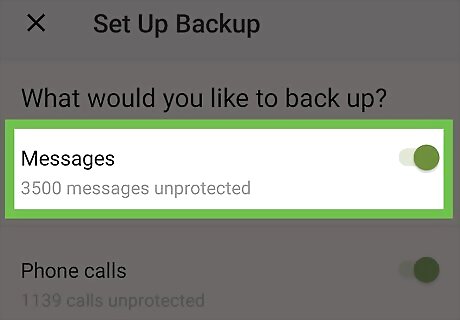
Select which items to backup. You can back up your messages and/or your call history. Since you definitely want to back up your messages, slide the “Messages” switch to Android 7 Switch On.
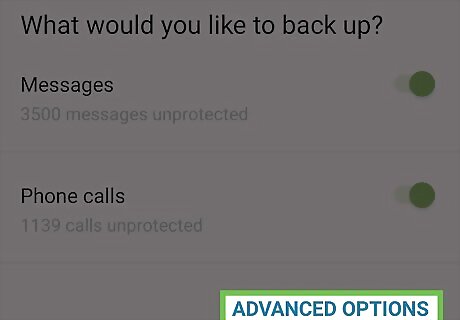
Tap Advanced Options. This expands additional options at the bottom of the screen.
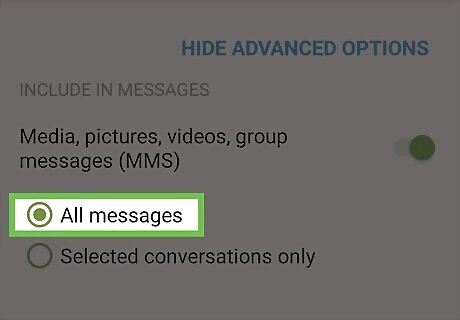
Choose which messages to back up. To include group, photo, and video texts, slide the “Media, pictures, video, group messages (MMS)” switch to Android 7 Switch On. Side “Emoji & special characters” to Android 7 Switch On if you want these included in your backup. To back up all of your messages, select All Messages. If you want to select only specific messages to back up, select Selected conversations only, then choose which conversations to save.
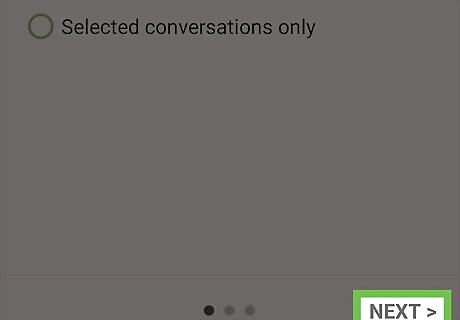
Tap Next. It’s at the bottom-right corner of the screen.
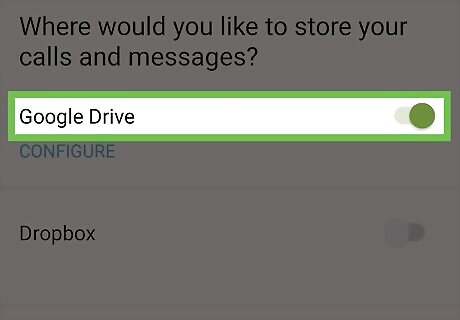
Select a backup location. You can back your messages up to any of the accounts listed by sliding the corresponding switch to Android 7 Switch On. Since you’re using an Android, we’ll assume you’re going to back up to your Google Drive account for the rest of this method. The steps should be similar for other options as well.
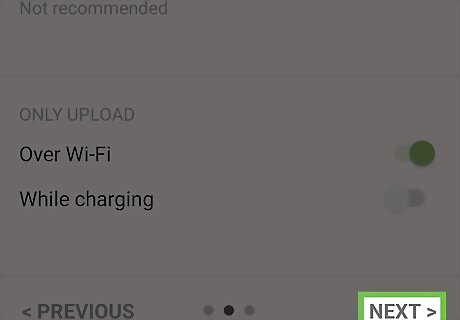
Tap Next. This brings you to the Google Drive setup screen.
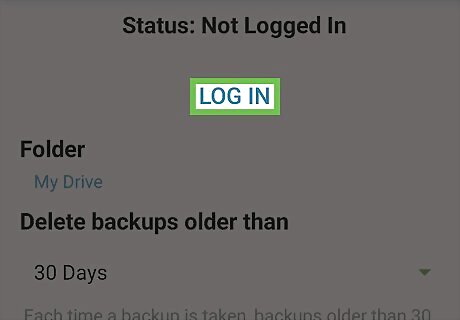
Sign in to your Google Drive. Tap Log In, select the account to which you want to back up, then tap OK. A pop-up window will appear.
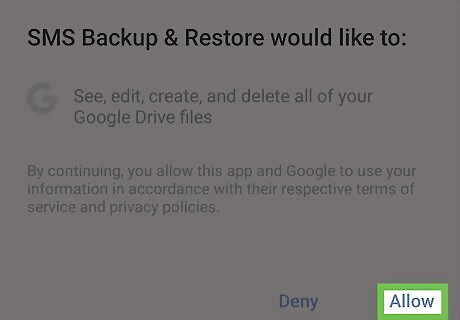
Tap Allow. This gives the application permission to save messages to your Google account.
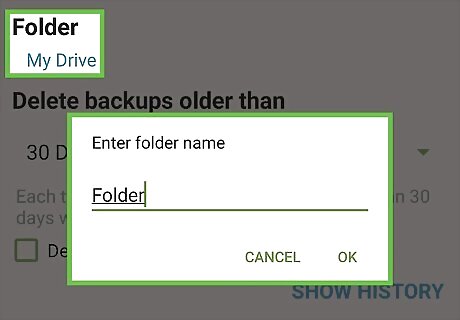
Select a folder for your backed-up messages. This is optional. If you want your messages to be saved to a new folder, type a name for that folder into the “Folder” blank.
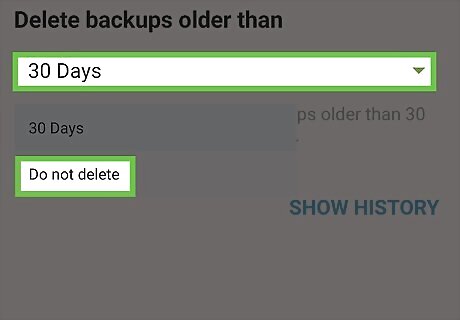
Choose how to handle old backups. If you want old backups to be deleted after a certain period of time, tap the drop-down menu under “Delete backups older than” and select a period of time. If not, select Do not delete.
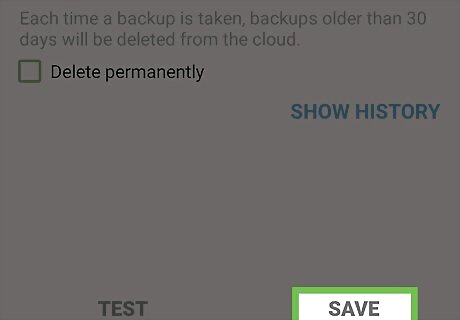
Tap Save.
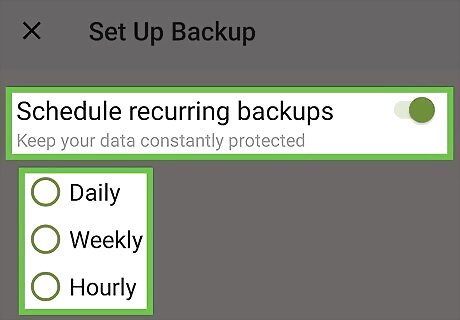
Select recurring backup options. If you’d like the application to back up your messages on a certain schedule, slide the switch to Android 7 Switch On and select your desired schedule. To back up your messages just this one time, make sure the switch is set to Android 7 Switch Off.
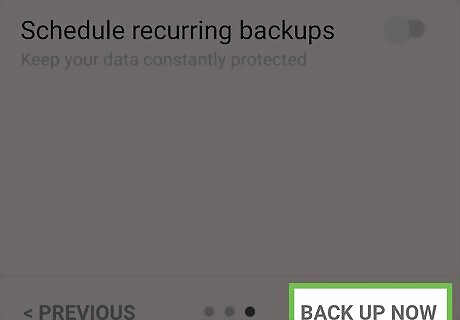
Tap Back Up Now. It’s at the bottom-right corner of the screen. Your messages will now back up to the desired location.


Comments
0 comment