
X
Expert Source
Andres MatheuCommercial Painter
Expert Interview. 28 July 2020.
Apply the varnish in several thin layers, letting each one dry thoroughly before proceeding to the next. To varnish a painting, let it dry completely and then carefully brush the varnish on. One coat is enough for many paintings, but you can add an additional layer as long as you first let the previous one dry thoroughly.
Preparing to Varnish Wood
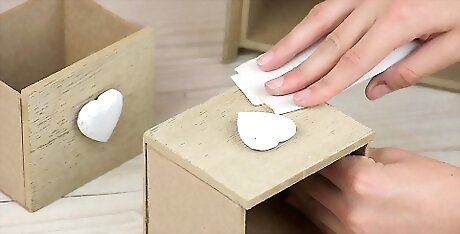
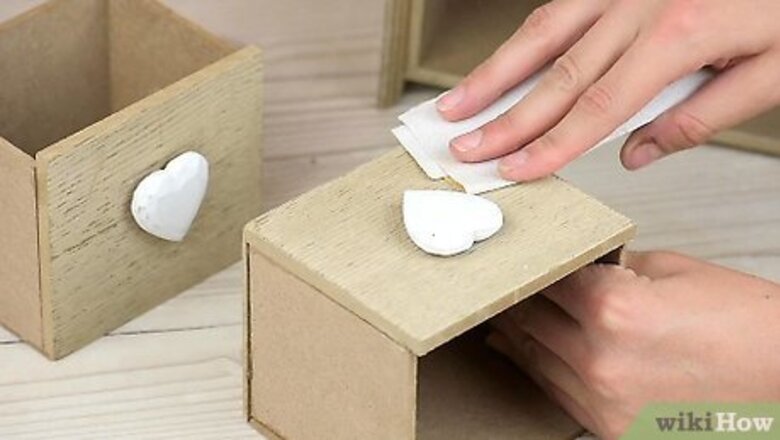
Sand your wood. This will remove any imperfections and blemishes before applying the varnish. Use 100 grit sandpaper for unfinished pieces, and work with the grain of the wood. Sand gently until the piece is smooth. If your piece is stained, use 240 or 280 grit sandpaper.
Clean your workspace. Varnish is beautiful, durable finish, but it is prone to attracting dust, hair, and other impurities before it dries. Plan to varnish your piece in a place that is clean and will not be disturbed. Try to apply the varnish in a different location than the one you sanded your piece in. If you have to use the same location, vacuum (don’t sweep) thoroughly after sanding. Wet mopping the floor before you begin can also help keep dust down.
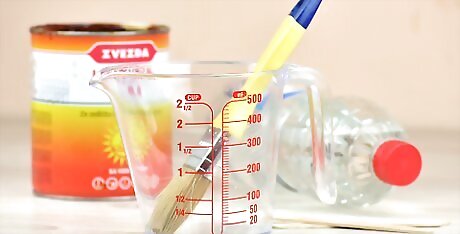
Gather your varnishing supplies. You’ll only need a few basic supplies to varnish wood. All of them are readily available at your local hardware store. Make sure to get: Varnish (read the label carefully to make sure it is true oil-based varnish, not polyurethane) A paintbrush (natural bristle is preferable) A stirring stick A large, clear measuring cup with markings on the side Paint thinner (turpentine or mineral spirits) Rubber gloves and a respirator (optional)
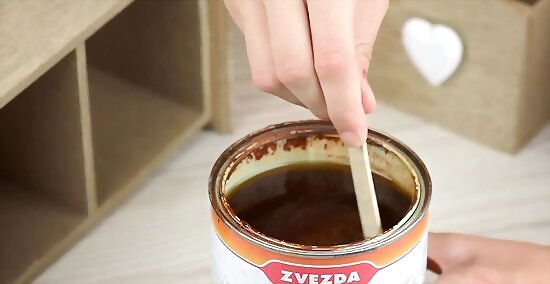
Stir the varnish carefully. Avoid shaking the container of varnish. Open it carefully, and use your stick to stir the varnish thoroughly. Work slowly and gently -- you don’t want to introduce air bubbles into the varnish.
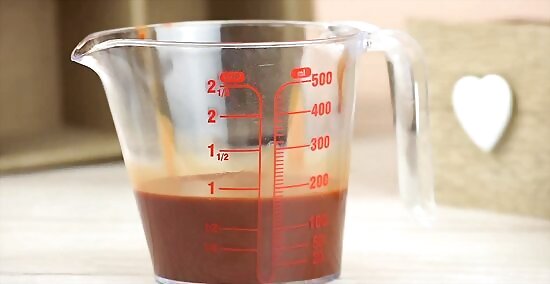
Thin your varnish. Pour enough varnish for the first coat into your measuring cup. The exact amount will vary depending on how large your piece is, but generally it pays to start small - you can always add more. Then, add some paint thinner directly to the varnish and stir carefully. Experts suggest using 20-25 percent thinner for the first coat of varnish, and 5-10 percent for subsequent coats. For instance, if you pour three quarters of a cup of varnish for your first coat, add one quarter cup of thinner. For subsequent cups, you can pour 9 ounces of varnish and 1 ounce of thinner.
Applying Varnish to Wood
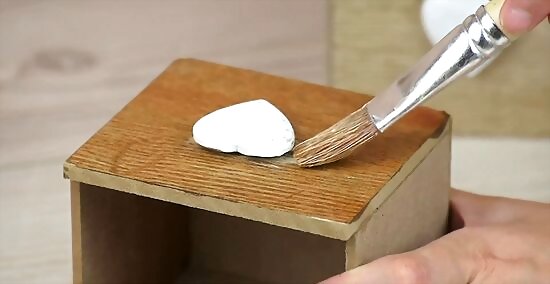
Brush varnish lightly onto your wood. Dip just the tip of your brush into the varnish-thinner mixture, and gently apply it to your piece. Work in the direction of the wood grain, not back-and-forth. Start in one corner and do a one foot square. When that is finished, move your brush and start another square right next to it. Repeat until the entire surface is covered. Keep dipping your brush into the varnish to keep it wet. Wear rubber gloves and a respirator, if you want to protect yourself from fumes and spills.
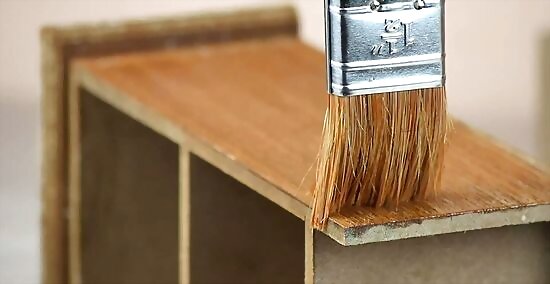
Tip off while the varnish is still wet. “Tipping off” smoothes out the surface of the varnish and helps prevent any bubbles and streaks. Hold the brush at a right angle to the work surface, and lightly brush just the tip of the brush over the whole varnished surface. Once again, work in the direction of the wood grain.
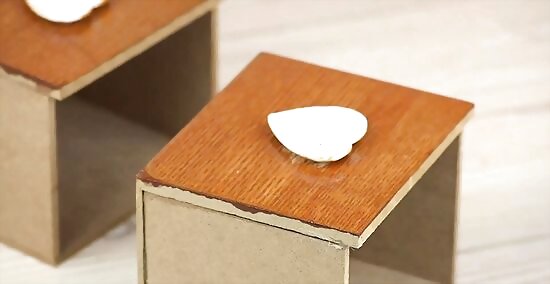
Apply two thin coats of varnish, then sand and apply another. Most projects will need several coats of varnish. Let each coat dry thoroughly. This will take at least 6 hours, and probably 24 or more. After the second coat has dried, sand the piece with 320-grit sandpaper. Wipe away the residue, then apply at least one more coat of varnish. Varnish is dry when it does not feel tacky to the touch. If your sandpaper becomes clogged with residue, it’s a sign the varnish has not sufficiently dried. Light-wear projects, like trim, may only need one coat of varnish. Heavy-duty pieces like furniture may need around five. Let the final coat cure for several weeks before using the item.
Varnishing a Painting
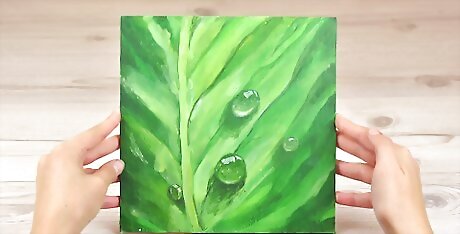
Wait until your painting is completely dry. Attempting to apply varnish to a painting before it is totally dry will create a mess and possibly ruin your work. Oil paintings should cure for several months before they are ready, while acrylic paintings should be completely dry in 24 hours.
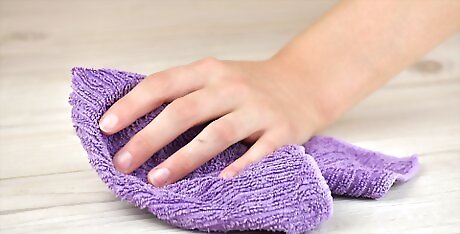
Clean your workspace. Varnish attracts dust and other impurities, so minimize these by vacuuming your workspace beforehand. Avoid sweeping, as this will only stir up more dust. Close doors and windows to keep additional dust out.
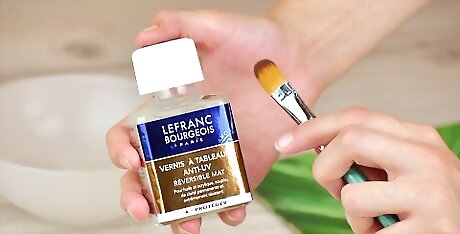
Gather your varnishing supplies. A wide, flat, and soft brush is ideal for varnishing. To keep impurities out, dedicate a brush solely to varnishing, not painting. Clean it after each use. You will also need some artist-quality varnish (for acrylics or oils, depending on your paints), and a shallow tray to pour the varnish into.
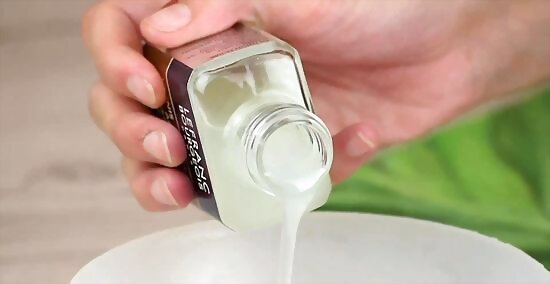
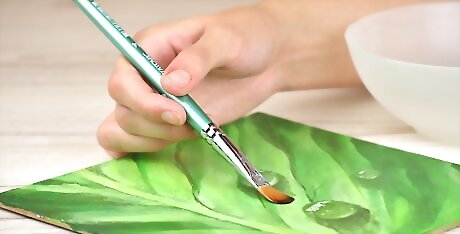
Prepare your varnish for application. Open the container of varnish and stir it gently but thoroughly. Pour a small amount onto your shallow tray. Load your brush by running it through the varnish, then wiping it on the side of the tray.
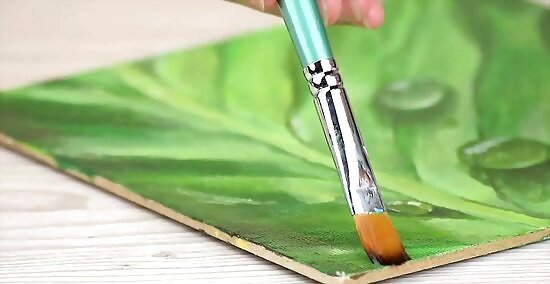
Apply the varnish to your painting. Keep your work flat so the varnish does not run. Run your brush in long, even strokes from the top to the bottom of your painting. Proceed from one side to the other. Apply only a thin coat.
Add another layer, if desired. One coat is enough varnish for many paintings. If you would like thicker coverage, let the first dry for 24 hours before applying a second coat. For the second coat, run your brush horizontally rather than vertically, as you did for the first coat. This will provide optimal coverage. If you missed spots in the first coat, don’t go back over it until it has dried thoroughly. For a very thick coat, you can add a third coat of varnish after waiting for the second to dry.


Comments
0 comment