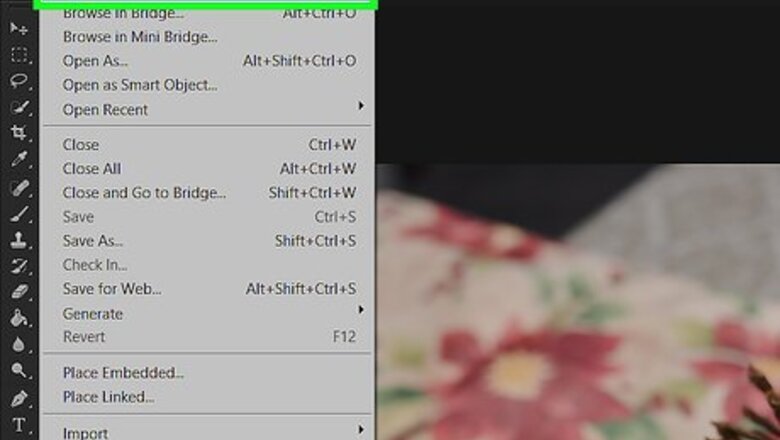
views
- You can a layer more transparent or opaque using the Opacity slider.
- To find the opacity slider, click the layer in the Layers panel, then click the down-arrow next to "Opacity."
- Drag the arrow left to decrease opacity, and right to increase it.
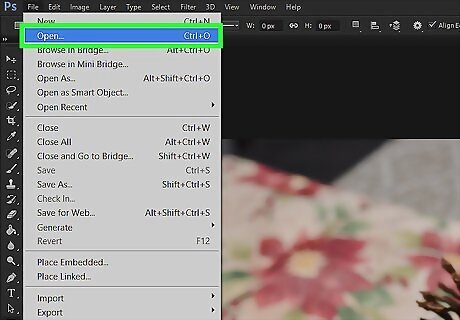
Open the image you want to edit. Do so by pressing CTRL+O (Windows) or ⌘ +O (Mac), selecting the image file you wish to open, and then clicking Open in the lower-right corner of the dialog box.
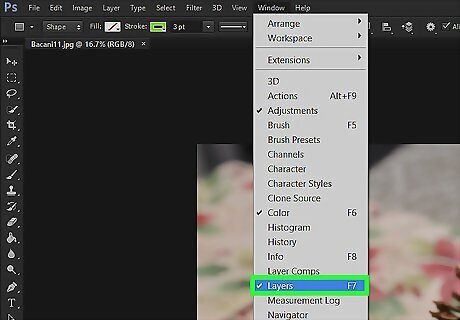
Display the Layers panel (if not visible). If you don't see the Layers panel, follow these quick steps: Click the Window menu at the top of the screen. Click Layers to show the panel.
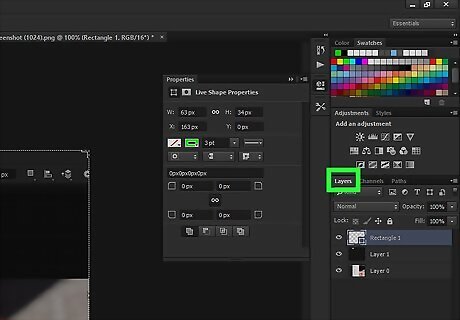
Click the Layers tab. You should now see the Layers panel on the right side of the screen. If the tab isn't active, click the Layers tab to display it.
Select the layer you want to adjust. Each layer is listed with a thumbnail in the lower part of the "Layers" menu window.
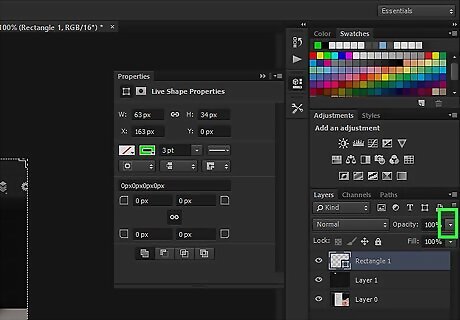
Click the down-arrow ????. This icon is to the right of the percentage next to Opacity near the top of the "Layers" menu. A slider will appear below. If the Opacity options are grayed out and you cannot click on them, you may need to first unlock the layer you have selected. If a layer is locked there will be a padlock icon to the right of the layer name. To unlock the layer, simply click the padlock icon.
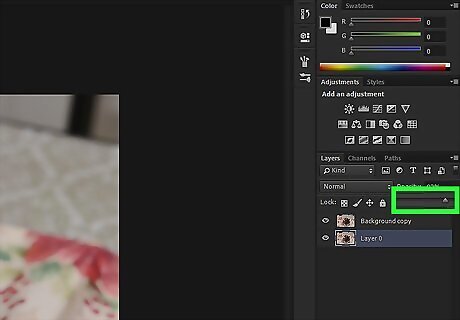
Drag the slider arrow to set the opacity of the layer. Drag the arrow to the left to make the layer more transparent (lower percentage) or to the right to make it more opaque (higher percentage). If a padlock icon appears in a layer, it's locked or partially-locked. In this case, double-click on the layer, and set the opacity percentage in the dialog box that pops up.






Comments
0 comment