
- View old Street View photos in Google Maps, and historical maps and terrain in Google Earth Pro.
- In Google Maps, drag the orange person icon to a location, then click "See more dates" to view past images.
- In Google Earth, search for a location, go to View > Historical Imagery, and drag the slider left to go back in time.
Google Maps
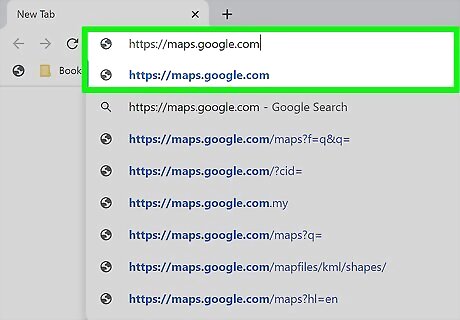
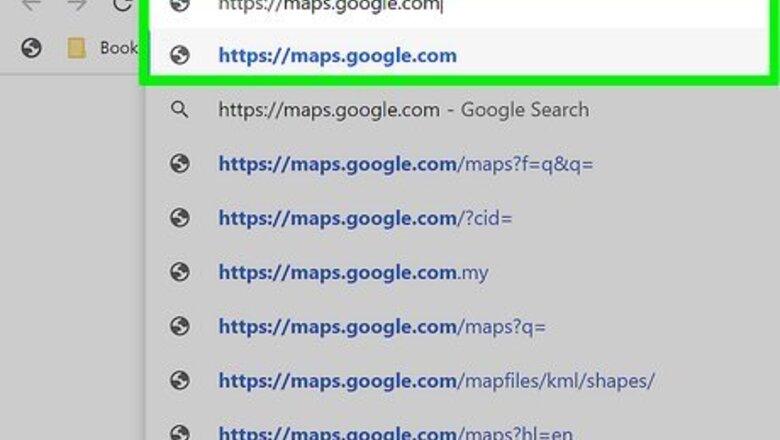
Go to https://maps.google.com in a web browser. You can use any web browser on your computer or laptop to go back in time with Google Maps. Going back in time is only available for Street View images. If you want to see historical satellite images and maps, use this method instead.
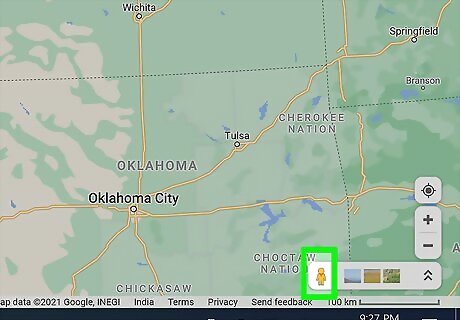
Drag and drop the orange human icon to a location on the map. The orange icon is in the bottom right corner of Google Maps. This will switch you to Street View, which will show you photos of the area with a first-person view.
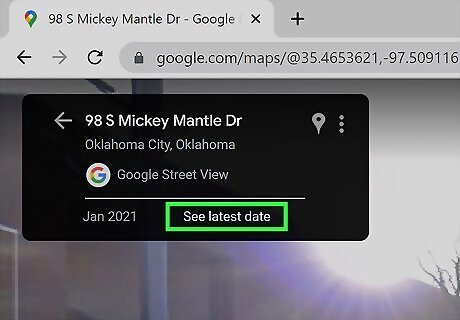
Click See more dates. You'll see this option near the top-left corner. This expands a list of Google Street View photos from previous dates at the bottom of the window. You may not be able to go back in time for some Street View images.
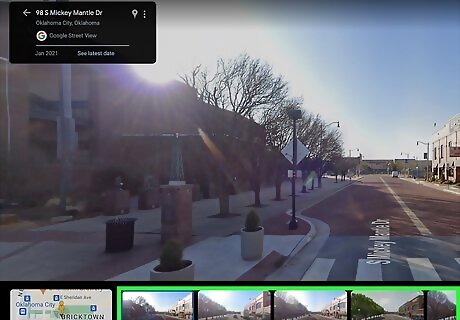
Click an image from a previous moment in time. As you click through the previews at the bottom, the full-size image will expand at the top of the window. You can now walk the streets and see photographs of your surroundings from that date.
Google Earth Pro

Install Google Earth Pro. If you want to see historical maps and satellite images from other moments in time, you'll need to install Google Earth Pro on your PC or Mac. But don't worry—even though the app has "Pro" in its name, it's totally free. To download Google Earth Pro, go to https://www.google.com/earth/versions/#earth-pro and click Download Earth Pro on desktop. Once you download the installer, double-click it, then follow the on-screen instructions to install. Open Google Earth Pro after installing it by clicking its icon in your application list.
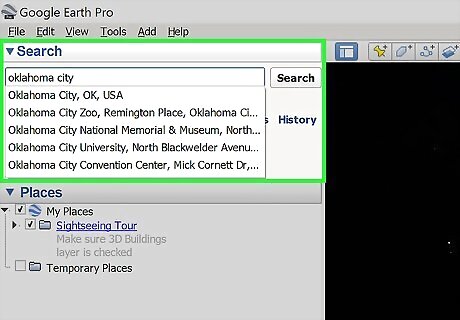
Search for a location. Type any location, such as a landmark, address, or city name, into the top-left corner of Google Earth, then click Search to zoom in. You can control which elements are visible on the map (such as weather, roads, and 3D buildings) using the "Layers" panel at the bottom-left corner. Use the zoom bar on the left side of the map to zoom in or out.
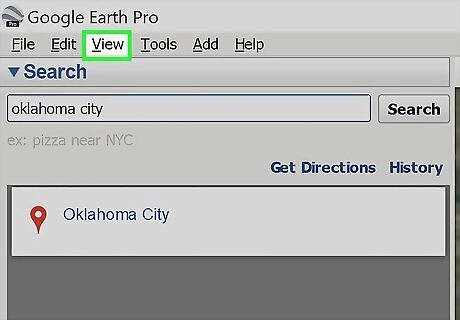
Click the View tab. It's at the top of Google Earth.
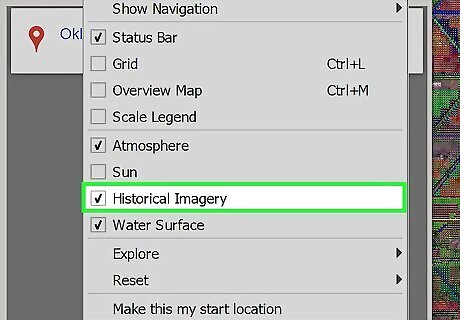
Check the box next to "Historical Imagery." This adds a slider to the top-left corner of the map. You can also toggle this option quickly by clicking the clock icon in the toolbar.
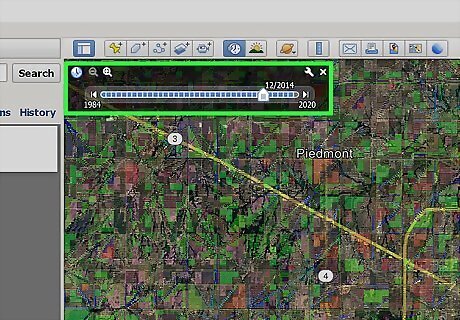
Drag the slider left to go back in time. As you drag the slider to the left, you'll see the current area as it appeared on maps in previous years. At the top of the slider, you'll see two magnifying glass icons. You can use these icons to change the start and end times available on your slider.


Comments
0 comment