views
Fake Braces
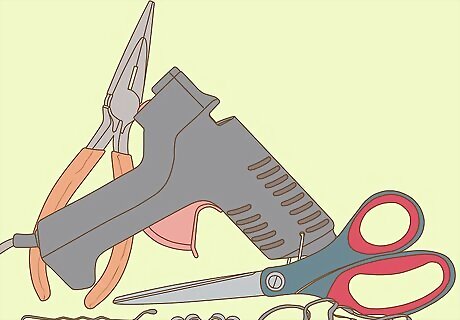
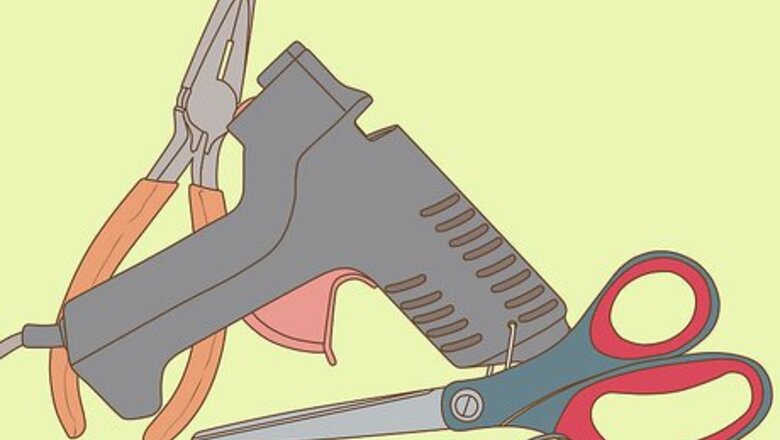
Gather your materials. Before you start making your fake braces, you'll need to gather some materials. To make fake braces, you'll need the following: A bobby pin A small rubber band Butterfly earring backs A pair of pliers Scissors Silly bands in multiple colors, if you want colored braces A hot glue gun
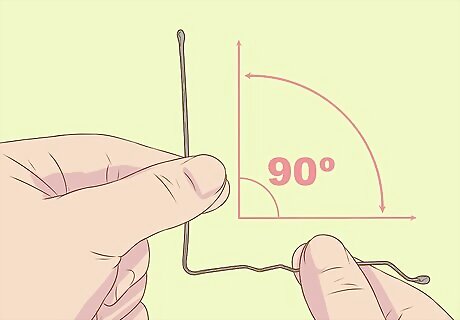
Pull your bobby pin apart until it forms a 90 degree angle. To start, unbend your bobby pin. Fold it outward, forming a 90 degree angle. Bobby pins are not very strong, so you should be able to do this with your fingers.
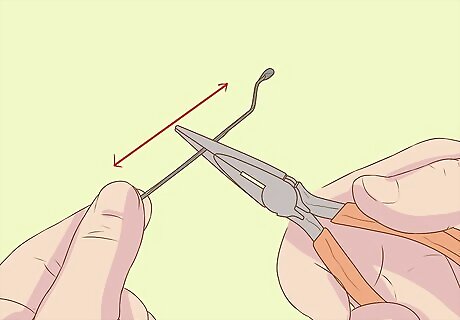
Straighten out your bobby pin with your pliers. You want your bobby pin as straight as possible. This will help your fake braces look realistic. Use your pliers to form a straight line with your bobby pin. Then, use the pliers to smooth out any waves or wiggles in the pin. Have patience. This can take quite awhile depending on how uneven your bobby pin is. The more straight you make your bobby pin, the more realistic your fake braces will look when you put them in your mouth.
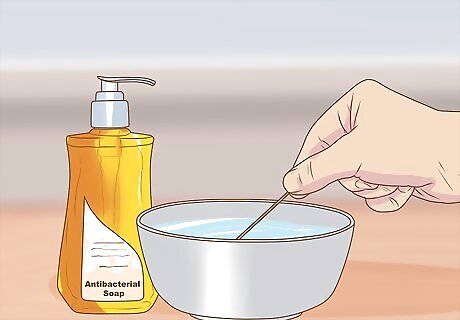
Wash and dry your bobby pin. Once the bobby pin has formed a straight line, wash the pin with antibacterial soap in warm water. As you'll be putting the bobby pin in your mouth, you want it to be clean. Pliers can be very dirty. Then, set the bobby pin aside until it's dry to the touch. Bobby pins are not very big, so this should not take too long.
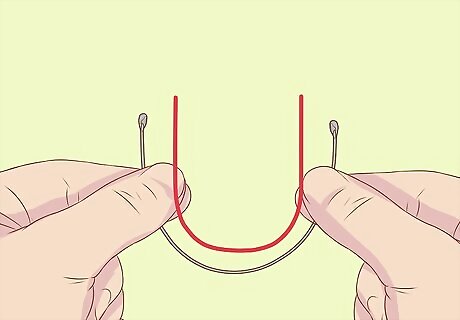
Bend the bobby pin into a U-shape until it fits in your mouth. From here, use your fingers to bend the bobby pin into a U-shape that fits in your mouth. It can help to place the bobby pin in your mouth and shape it around the curve of your top teeth. Make sure the curve is smooth, as this will help the braces look more realistic.
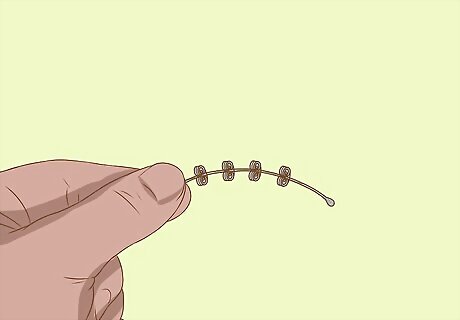
Snap the earring backs onto the bobby pins so the flat backs are facing your teeth. Now you will need to add the earring backs to the bobby pin. Place about four earring backs along the bobby pin, so the flat backs of the earring backs are facing your teeth. You want to place the earring backs so each back fits over the front of one of your teeth. You may have to put the bobby pin in your mouth on occasion to gauge where to place the earring backs. This can take a long time, as earring backs may slip off easily. Be patient. Snap on the earring back at equal distances. Butterfly earring backs have two small loops on the front. The idea is to push the bobby pin into the space between these loops. This can be difficult, so go slowly. Do not be surprised if the earring backs occasionally slip out of your hand. Four earring backs should be sufficient to create fake braces. However, if you have a wider mouth, you may need slightly more earring backs. You'll need enough earring backs to cover all your teeth when you smile.
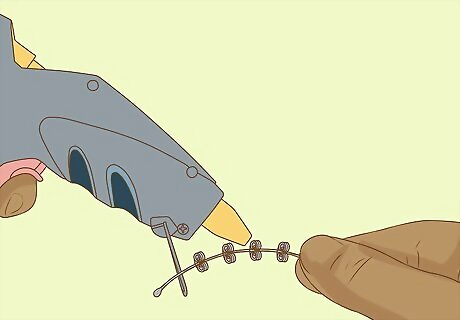
Use hot glue to secure the earring backs. Earring backs slip off easily, so you will want to put a dab of hot glue on each earring back. This will help them stay attached to the bobby pin. Make sure the glue dries completely before continuing to construct your fake braces.
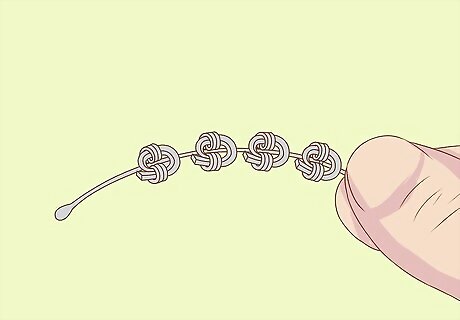
Weave silly bands through the loops in the earring backs. If you want to add some color to your braces, take a silly band. Push one end of the band through a loop in the earring back. Then, move the silly band around the earring back and pull it through the other loop. Trim excess silly band and repeat the process with all the other earring backs. You may have to trim down the end of a silly band with your scissors so it forms a point. This way, it'll be easier to slip through the earring loop. This step is optional. If you do not want colored braces, you can skip it.
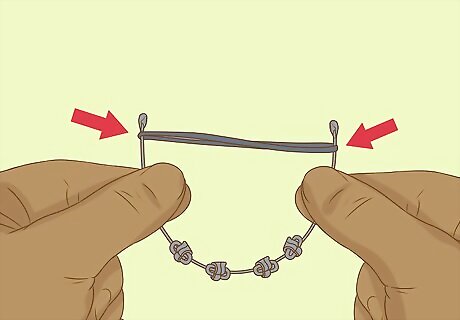
Place the elastic rubber band around the braces. Take your small rubber band. Loop it around the ends of the bobby pin. This holds the braces in a u-shape. It also provides a way to hinge the braces in your mouth. Your fake braces should look something like a "D" shape once you've looped the rubber band in place. It's a good idea to secure the rubber band by bending both sharp ends of the bobby pins into a small loop. Not only does this keep the rubber band from moving, it eliminates some of the sharper aspects of the fake braces. You do not want anything too pointy in your mouth for long.
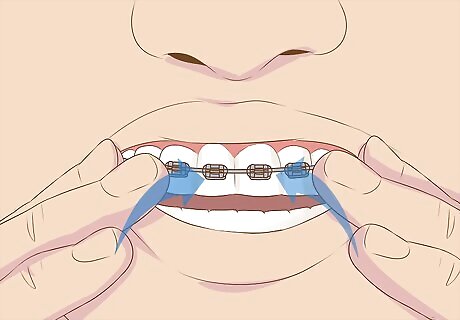
Put the braces in your mouth. Now, you can place the braces in your mouth. Push the loop over your teeth. Place the rubber band between two teeth in the back of your mouth on both sides of your mouth to secure the fake braces in place.
Fake Retainer
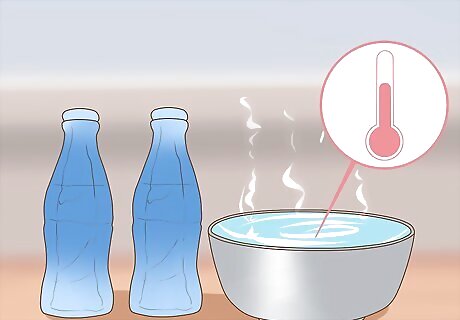
Prepare your materials. Now, you can make a fake retainer to go with your fake braces. To start, gather your materials. You do not need much for this project other than hot water and wax containers. You'll need wax bottles that contain juice. You can buy such bottles at a local supermarket or even a craft store. Packages usually contain multiple bottles, so you can make many different fake retainers with a bottle. You'll also need access to hot water. If you want to add color to your retainer, you'll need food coloring in your chosen color.
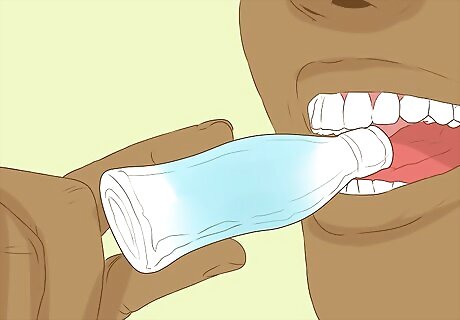
Bite off the top of the wax bottle and squeeze out the juice. To start, bite off the top of the juice bottle. Then, squeeze out the juice. You can drink it if you want, or you can squeeze it down the drain. Make sure you get every drop of juice out of the bottle.
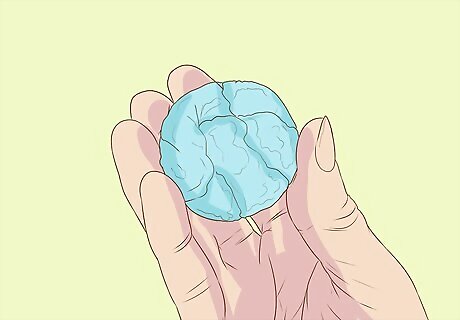
Roll the bottle into a tight ball. Now, use your hands to roll the bottle into a tight ball. It can be helpful to roll the bottle sideways first between your hands, creating a long cylinder. Then, roll up the cylinder to form a spiral. Squash this spiral between your hands and then roll it between your palms until it forms a small, tight circle.
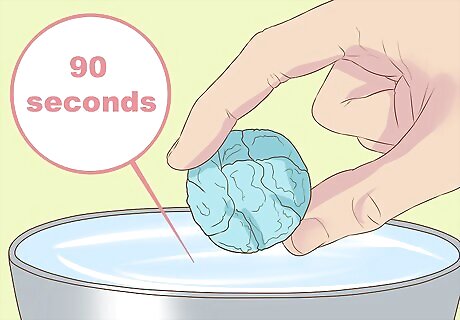
Place the ball under hot water for 60 to 90 seconds. Run the tap water in your bathroom until it becomes hot to the touch. Place the ball in the sink underneath the running water. Leave it in place for 60 to 90 seconds. To test if the balls is ready, touch it. It should be soft and easily moldable.
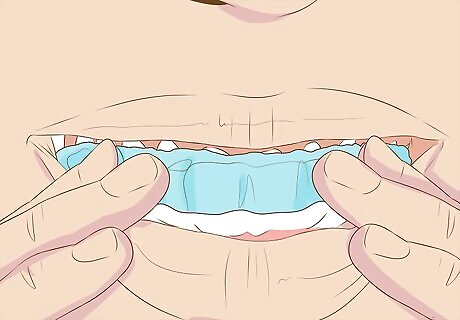
Place the wax inside your mouth and mold it to your mouth. You may want to let the ball cool slightly first if it is very hot. You do not want to burn your mouth or tongue. Then, place the wax ball in your mouth. Use your tongue and fingers to flatten it against the roof of your mouth. Keep flattening and molding the wax until it fits comfortably in the roof of your mouth.
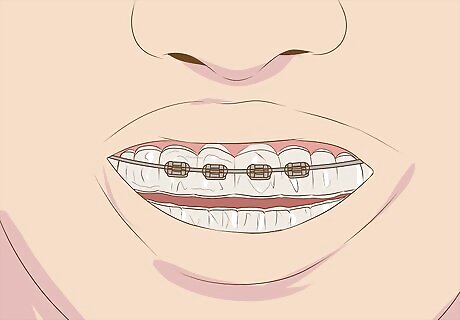
Wear your retainer with fake braces. Now, put in your fake braces. You should have a nice braces/retainer look. This can work well for a costume or to wear to school if you feel like having braces for a day.
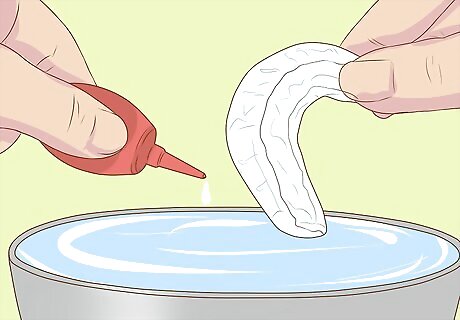
Dye the retainer for added effect. Many people have dyed or colorful retainers. If you want yours to look more realistic, take food coloring and mix with water. Add enough food coloring so the water takes on the color you want. Then, submerge your fake retainer in the food coloring for about 10 minutes.
Safety Precautions
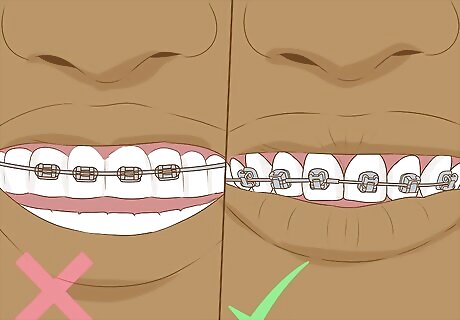
Do not use fake braces as a replacement for real braces. Fake braces can be fun for a costume. However, they cannot replace actual braces. If you need braces, or are worried that you do, ask your parents to make an appointment with your orthodontist. Never use fake braces instead of actual braces. Fake braces will not correct damage such as crooked teeth.
Do not wear braces for too long. Fake braces can cause tooth damage over time. You should not leave them in for long periods. Stick to wearing them on special occasions, like a costume party. If your teeth or mouth feel sore, remove the braces. You should also work on eliminating sharp parts of your fake braces. Make sure the flat backs of your earring backs are pressed on your teeth. You should also bend the ends of the bobby pin inward to lessen the pointy effect.
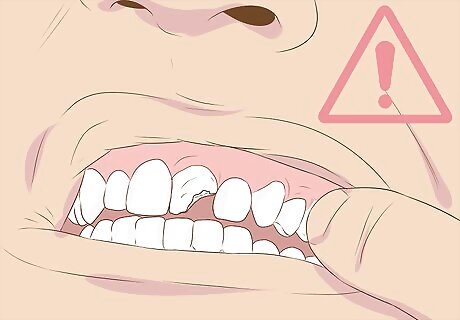
Cease use if you notice signs of tooth damage. Fake braces can accumulate food and cause a buildup of plaque. If you notice things like yellow teeth or sore gums, your fake braces may be damaging your teeth. Cease use immediately and make an appointment with your dentist.
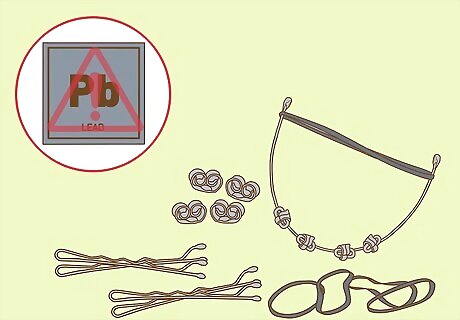
Refrain from using products containing lead to make fake braces. Read the labels on any products you use in fake braces. Products containing lead should be avoided. Using lead products in your mouth can lead to poisoning.





Comments
0 comment