
Creating a Facebook Page
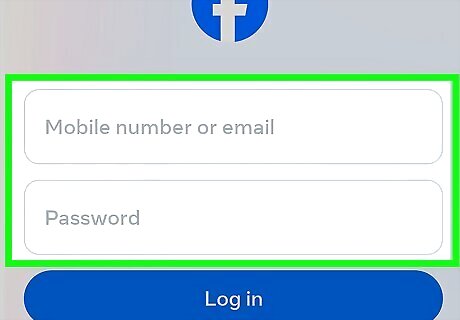
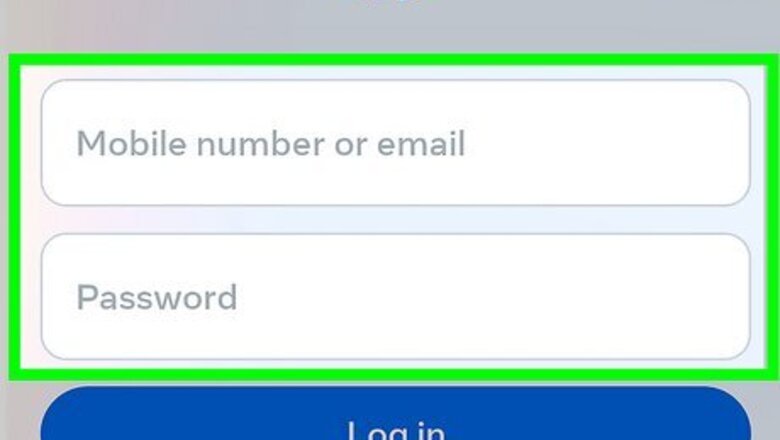
Log into your Facebook account. Launch Facebook on your mobile device. If you are not already logged in, log in using the email address or phone number and password associated with your primary account.

Tap your profile icon. It's the circular icon in the upper-right corner. This displays the menu.
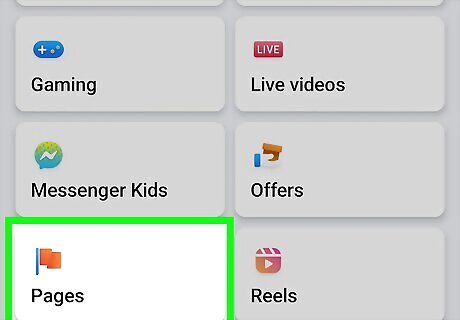
Tap Pages. It's below the "Your Shortcuts" header. It's the tile that has an icon that resembles an orange flag. This displays a list of pages you manage. If you don't see this option in the list of tiles, tap See more at the bottom of the tiles.
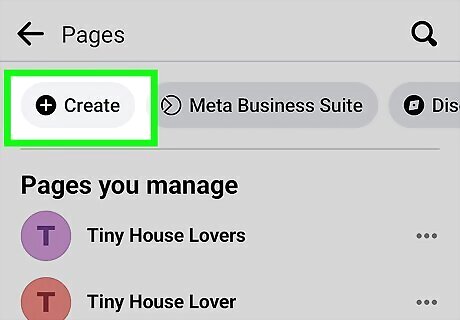
Tap + Create. It's the first tab at the top of the page.

Tap Get Started. It's the blue button at the bottom of the page.
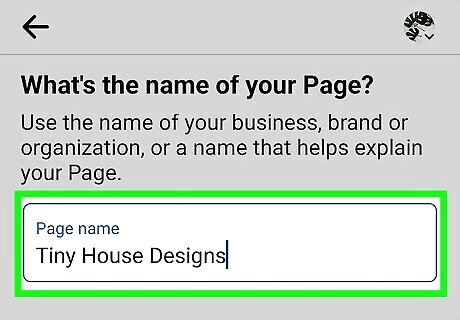
Enter a name for your page and tap Next. Enter the name you want to give your page in the field that says "Page Name." Then tap the blue button that says Next.

Select categories for your page. Enter a category in the bar and then tap one of the matching categories. You can select up to three categories. This can be the type of business or organization you are creating a page for (i.e. consulting, grocery story, health & beauty), an occupation (i.e, musician, actor), or the type of page you are creating (i.e., fan page, band, church).
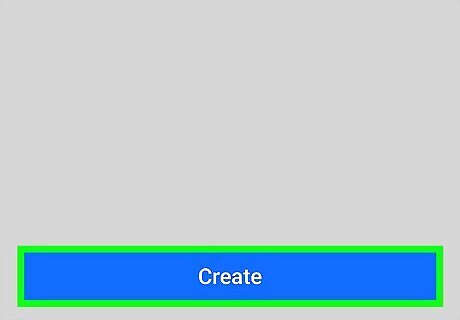
Tap Create. It's the blue button at the bottom of the page. This creates your page. Next, it will walk you through the process of adding details to your page.
Adding Optional Details
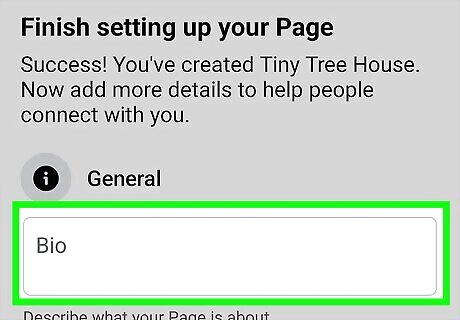
Enter a page description. You can add a brief description of your page in the field that says "Bio."
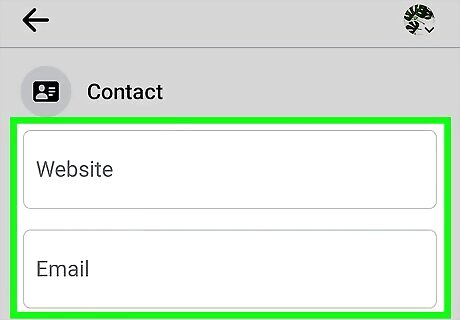
Add contact information. You can add a website, email address, phone number, and address in the appropriate fields.

Add hours of operation and tap Next. If you have specific hours of operation, tap the radio option next to "Standard Hours" and select the days of the week that you are open. Then entire the hours you are open. Alternatively, you can tap the radio option next to "Always Open" or "No Hours Available." Then tap the blue button that says Next at the bottom of the page.

Add a profile picture and cover picture. To do so, tap the camera icon next to the icon that resembles a person and select a profile picture. Then tap the camera icon in the lower-right corner of the large grey box and select a cover picture.
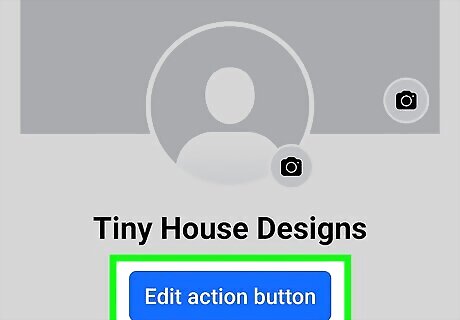
Add an action button. An action button is a call-to-action button you can put on your Facebook page. Use the following steps to add an action button. Tap Edit action button. Tap Try it. Select an action and tap Next. Follow the prompts to create an action button.
Tap Next. It's the blue button at the bottom of the page.

Invite friends and tap Next. To invite friends to your page, tap Invite friends in the center of the page. Then tap the checkbox next to the friends you want to invite. Tap Send Invites at the bottom. Tap Next when you are finished.

Add your favorites from your primary page and tap Next. If you want to add favorites from your primary page, tap See More Suggestions in the center of the page. Check or uncheck the favorites you want to add and tap Continue. Tap Next when you are ready to continue.

Turn notifications on or off and tap Done. If you want to receive notifications about your page, tap the toggle switch next to "Page notifications on your profile," or "Marketing & promotional emails about your Page." Tap Done when you are ready to continue. Your page is now complete and ready to go


Comments
0 comment