
Connecting to a Device
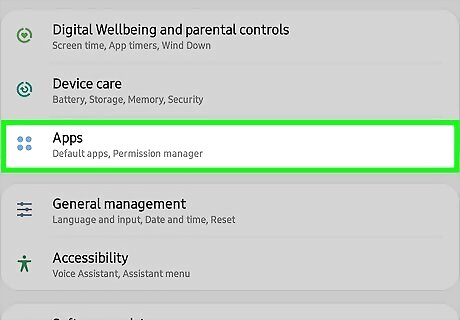
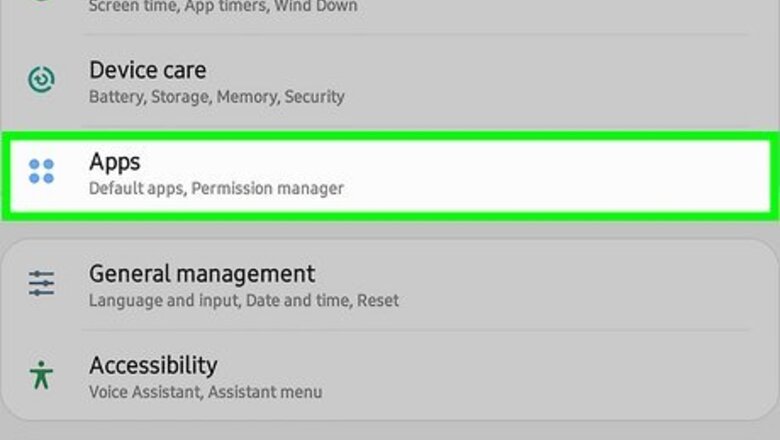
Open your Android's Apps list. This is the list of all apps installed on your device.
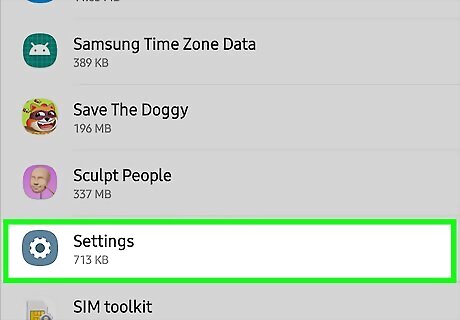
Find and tap the Android 7 Settings App icon. It will open your Settings app.
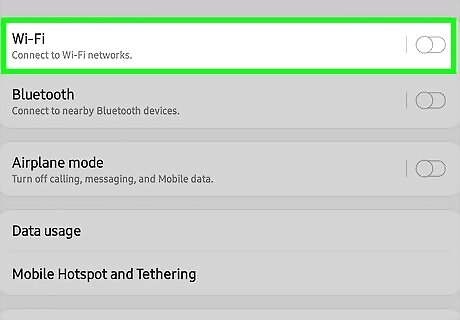
Tap Wi-Fi on your Settings menu. Here you can change your Wi-Fi settings, and connect to other devices.
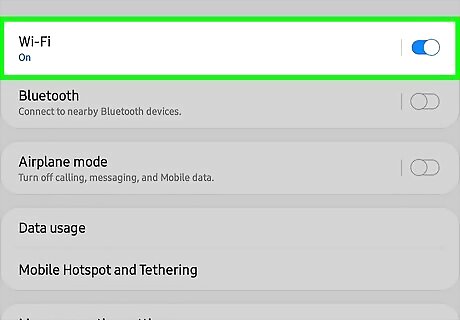
Slide the Wi-Fi switch to the Android 7 System Switch On position. You have to enable your device's Wi-Fi before you can use Wi-Fi Direct.
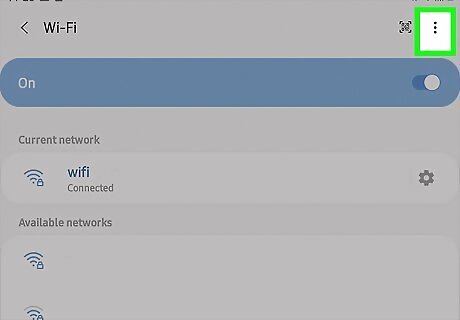
Tap the three vertical dots icon. This button is in the upper-right corner of your screen. It will open a drop-down menu.
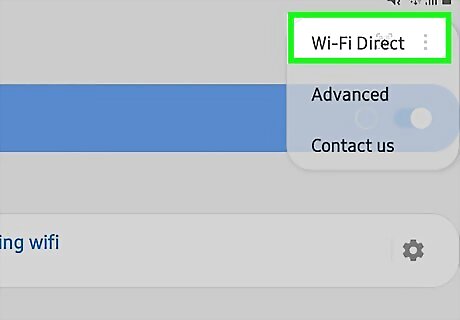
Tap Wi-Fi Direct on the drop-down menu. This will scan your surroundings, and list all devices around you available for a Wi-Fi Direct connection. Depending on your device and current software, the Wi-Fi Direct button may be located at the bottom of your screen on the Wi-Fi page, instead of a drop-down menu.

Tap a device to connect. Tapping will send an invitation to the device you've selected. Your contact will have 30 seconds to accept the invitation and connect with you via Wi-Fi Direct.
Sharing Images
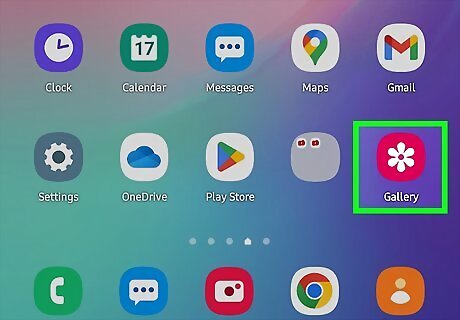
Open your device's image gallery.

Tap and hold an image. This will highlight the image file, and reveal new icons at the top of your screen.
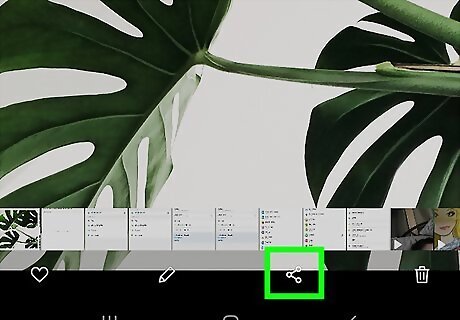
Tap the Android Share icon. This is the Share button. It will open a new window where you can select an app to share this file.
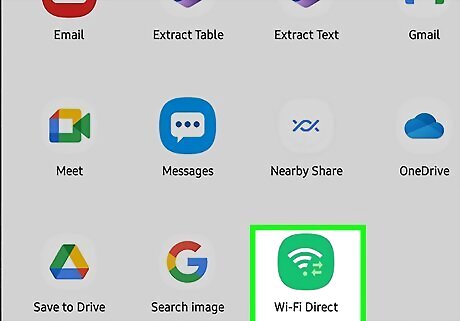
Tap Wi-Fi Direct. It will open a list of devices around you available for a Wi-Fi Direct file transfer.
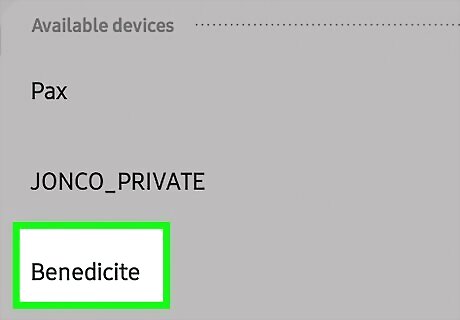
Tap a device on the list. Your contact will receive a notification on their device, asking if they want to accept a file transfer from you. If they accept, they will receive the image you're sending on their device.


Comments
0 comment