
- Open the phone app and press and hold 1. Then, tap Add number/Service/My carrier/Setup/Voicemail number.
- Type your phone number and click OK. Then, return to the phone app and press and hold the 1 again to dial your voicemail.
- Listen to and follow the prompts to set up a greeting, password, and playback settings.

Open your Android’s Phone app. It usually looks like a phone receiver at the bottom of the home screen.

Press and hold the 1 key on the keypad.
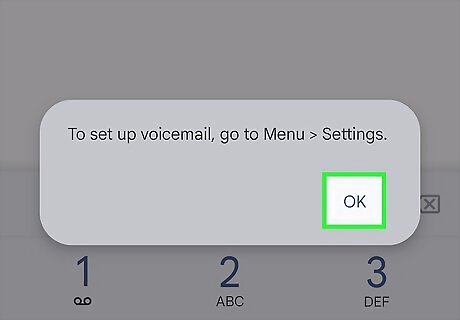
If it’s your first time setting up voicemail, you’ll likely see a message that says “To set up voicemail, go to Menu > Settings”. Tap OK on the message prompt. If pressing this button dials your voicemail service, listen to the prompts for instructions on completing the setup process.
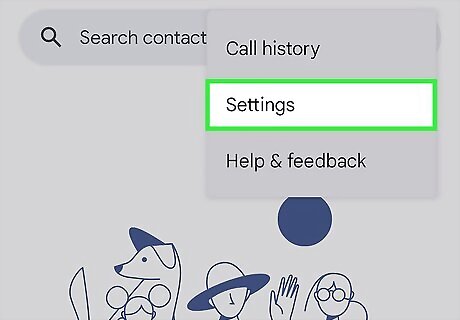
To go to call settings, Tap the three vertical dots on top right of screen and then tap Settings.
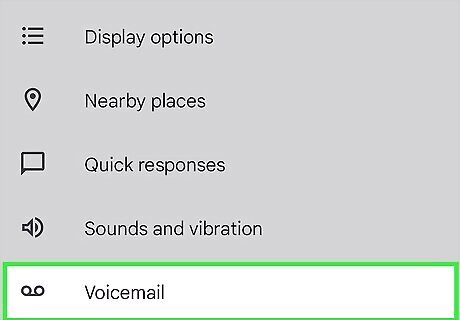
Scroll down and tap Voicemail option.
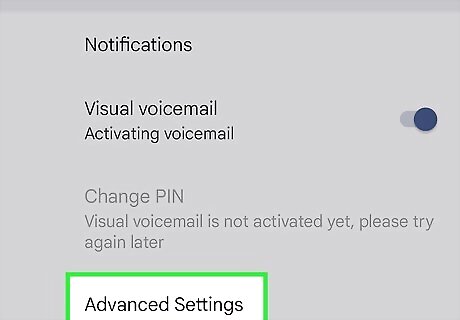
Tap Advanced Settings.
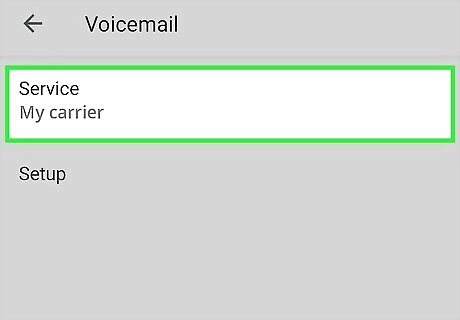
Tap Service. It’s the first option in the list.
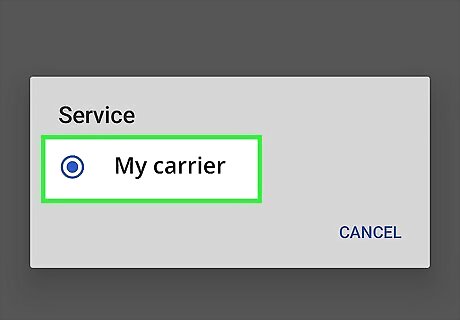
Tap My carrier.

Tap Setup. You should now see an area labeled “Voicemail number” with the value “Not set.”

Tap Voicemail number.
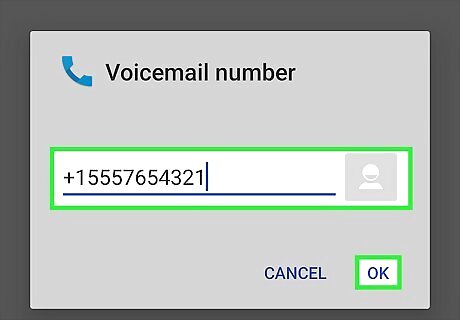
Type your mobile phone number and tap OK. You are now ready to set up your voicemail.

Return to the phone app. Try tapping the back button until you see the keypad. If this doesn’t work, tap the Phone icon on the home screen.
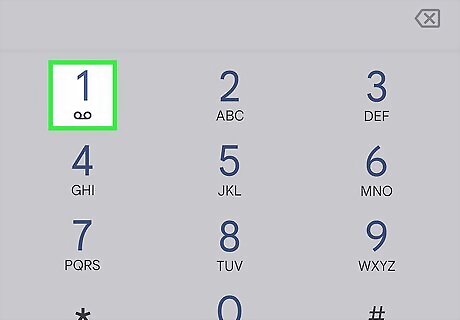
Press and hold the 1 key on the keypad. This will dial your voicemail.

Listen to and follow the instructions to complete the process. The rest of the steps will vary by provider, but you’ll usually be asked to set up an outgoing greeting, configure a password, and select some playback settings. To check your voicemail in the future, tap and hold 1, or tap the voicemail notification on the screen.


Comments
0 comment