views
X
Research source
To set up your Fire HD, you’ll need an Internet connection to register your Kindle to Amazon and get started. Then, you can begin using the apps and settings to read, browse, view emails and more.
Connecting to the Internet
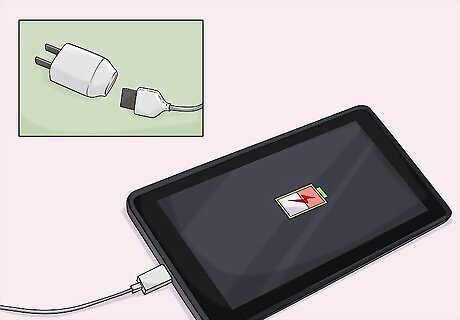
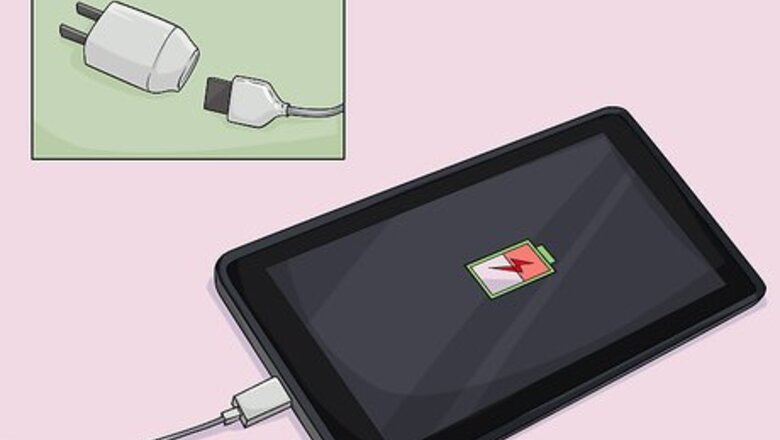
Charge the battery of your Kindle completely. Your Kindle should have come with a USB cable with which you can connect your new device to a computer or a USB charging port to start charging your battery. Power adapters for your Kindle are sold separately, but will charge your Fire HD more quickly than a USB charger. Charge your Fire HD by: Connecting your USB cable into your kindle. Plugging the USB cable into a power adapter or USB port. Waiting until your Kindle notifies you it is fully charged on its main screen, or the orange charging light on the bottom of your device turns green, signifying a full charge.
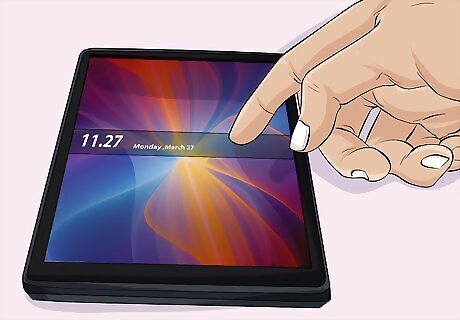
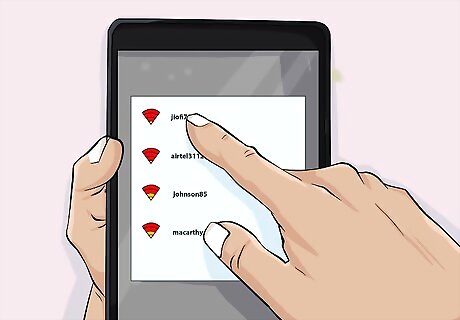
Access the Welcome wireless connection screen after charging. Now that your device is fully charged, you can press the power button at the bottom of your Fire HD to wake the device from sleep mode or turn it on from being off. Then you’ll see: A slide bar which you should tap, hold, and slide right to left to unlock your Kindle. A screen with the heading “Welcome,” followed by a list of available Wi-Fi networks. Select your network, enter your password and hit the confirmation button.
Change Wi-Fi setting by swiping the top to bottom on your screen. In the future, you may need to change your wireless network, the password for your network, or connect to a new network. You can open your wireless settings easily by swiping your finger down from the top of the screen in a downward motion. Then you’ll be able to enter the network name and password to access new Wi-Fi networks.
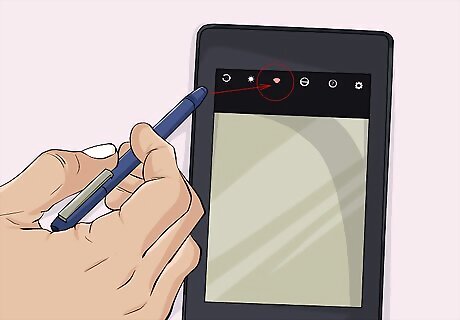
Troubleshoot Wi-Fi issues, if necessary. If other devices in your home can connect to your wireless network but your Kindle cannot, you might have to contact your Internet service provider. Before you do, though, try these common fixes for connectivity issues: Turn Airplane Mode off. Swipe from the top of your screen to the bottom, tap the “Wireless” option, and tap “Off” if the Airplane Mode option is set to “On.” Reset your Wi-Fi connection by swiping from the top down on your Kindle screen, tapping Wireless → Wi-Fi → Off. Then tap “On” to reset your devices connection to your wireless network. Restart your Fire HD by pressing and holding the power button on the bottom for 40 seconds. Once the device begins to restart, let go of the power button. If your Fire HD doesn’t restart, press the power button again to turn it on. Position your device closer to the router. Especially if you cannot find your network in the list of networks, move closer to the router and from the Wi-Fi menu, accessible by swiping from the top of the screen down and tapping Wireless → Wi-Fi, select “Scan.”
Connecting to Amazon
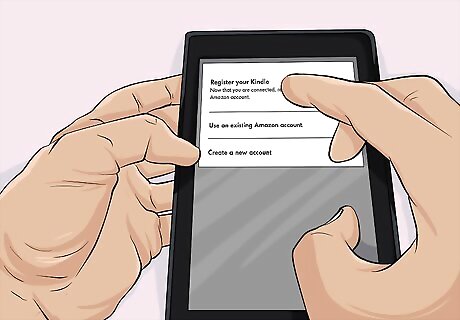
Continue to the “Register Your Kindle” page. When setting up your Fire HD for the first time, a series of screens will automatically populate your screen. After you finish connecting your Kindle to your wireless network, the “Register Your Kindle” page should be prompted to appear on your screen. On this page you should see: The subheading “Enter Amazon Account Info” Following the subheading should be two text entry boxes, one for entering your email address and another for your password.
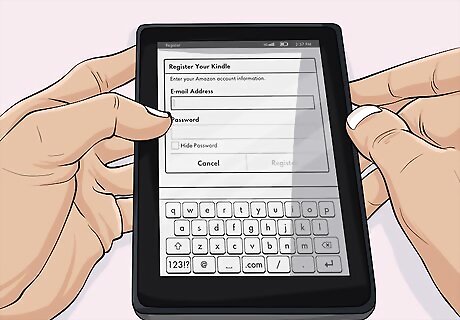
Enter your Amazon account information or create an account. You’ll need an Amazon account to continue the Fire HD setup process, so if you don’t have one tap Create Account toward the bottom of the screen and create an account. If you already have an Amazon account, enter the email associated with it and enter your account password. If your Kindle is not registered, you won’t be able to access, purchase, or receive items through Amazon’s Kindle store. Your Amazon account will also link to your preferred source of payment to buy content from Amazon, so you will need to enter credit card information for your Amazon account.
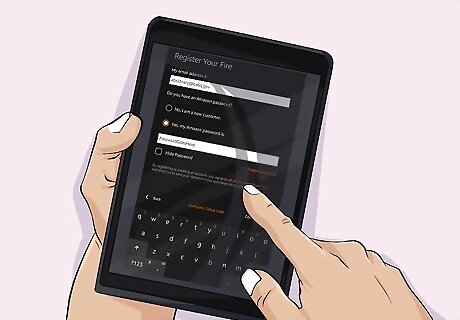
Agree to terms and conditions to finish registration. On the registration page there should also be a link to the terms and conditions for using a Kindle Fire HD. Read through the terms and conditions and then, if you agree, tap register.
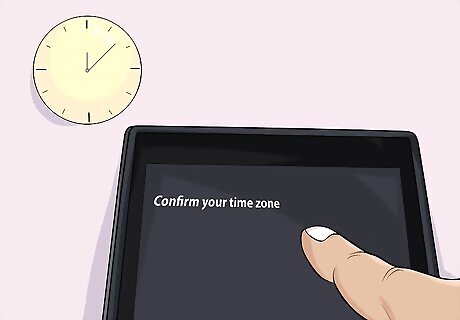
Set your time zone. After registration, a screen should appear with the heading “Select Your Time Zone.” Beneath this should be a list of time zones in the USA, but if you live in another country, you can access other time zones by scrolling to the bottom and tapping “More.” Then, simply choose your time zone and select the Back button in the left corner of the bottom of your screen.
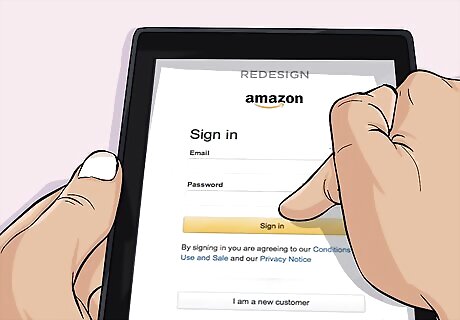
Confirm your account. This should be the last of the required automated setup screens. It will also contain a link stating the account you are registering your device to asking if that account is “Not ‘’Your Account Name’’?” If you have entered your account information incorrectly, or if the account of a friend or relative has accidentally been used instead of your own, click the link and input your account information.
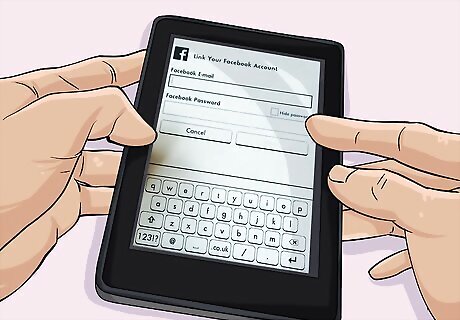
Link your Kindle account to your social media if you desire. The next screen that appears is optional, but it will give you a chance to link your Kindle to social media now that your device has been registered. For example, you might link your Facebook account or Twitter profile to your Kindle. Simple: Select the social media you’d like to add. Input your account information, such as your associated email and password. Click Get Started Now
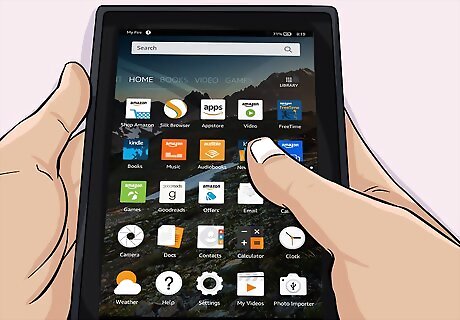
Familiarize yourself with Fire HD features with the tutorial. After tapping Get Started Now, several tutorial screens should appear to acquaint you with the features of your new device. Swipe through the series of screens with your finger to show learn about various features of your Fire HD. You can revisit this helpful tutorial by navigating to the User’s Guide in your Kindle Fire HD Docs library, accessible from your home screen.
Using the Kindle Fire HD
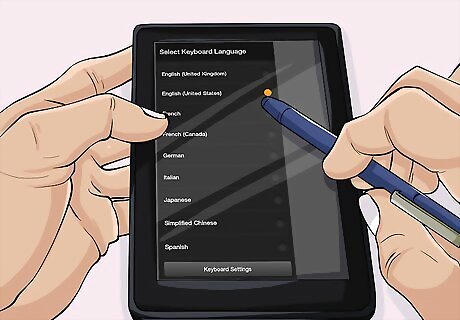
Change your language settings, if you desire. After bringing your Kindle out of standby mode by pressing the button located at its bottom and swiping your finger to access your home screen, draw your finger downward from the top of your screen. This should pull down a menu containing "Settings." Tap this and: Select "Keyboard and Language" from the following list of options. Choose "Language" from the resulting list. Select your language from the list of languages. Change your keyboard language by selecting "Current Keyboard" from the "Language and Keyboard" menu. Then select "Keyboard language" → "Use System Language", and manually select your keyboard. You may need to download a new keyboard for your language, which can be done on the "Current Keyboard" menu by selecting "Fire Keyboard" and then choosing your desired language.
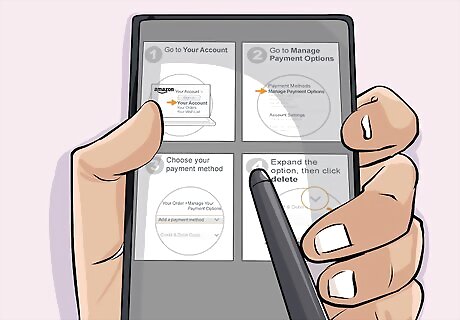
Manage your billing settings and account information. Bring your Kindle Fire HD out of sleep mode or turn it on by pressing the button located at the bottom of your Kindle. Then unlock it by swiping your finger or inputting your password and then swiping. From your home screen: Select "Manage Your Content and Devices." In the following menu, choose the option labeled "Edit Payment Method." You should be able to find this beneath the option "Digital Payment Settings." Select your current payment method to make adjustments or enter new payment information. Select "Continue" when you've finished updating your information. Verify your information is correct once your Kindle redirects you to the "Digital Payment Settings" page.
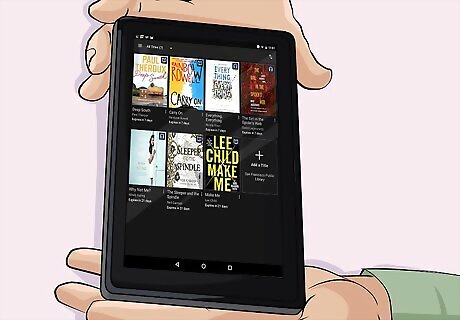
Explore your library for ebooks and other media you’ve already purchased. You should see an icon shaped like a little house; this is the home icon. You should tap it to navigate to the home screen, which will contain your content libraries where you can access content associated to your account. Your content should sync automatically. All you need to do is tap your desired content library to open it. For example, you can tap “Books” to open your library of ebooks, though if you have just setup your Amazon account, your content libraries will be largely empty.
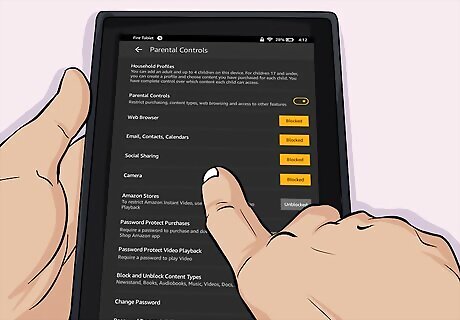
Set parental controls for Kindle’s used by children. You may want to protect younger children from adult content be setting parental controls. You can do this by swiping down from the top of the screen. This will open your settings, among which there should be a “More” option. Tap it and then select “Parental Settings” and: Tap “On.” This will prompt a request for a password to protect the parental control settings for the Fire HD. Enter and confirm your parental control password. Next you will see a list of features you can restrict. Tap “On” for each feature you want restricted. Then tap “Finish.” A small lock icon on the top status bar of your Kindle will indicate Parental Controls are enabled.
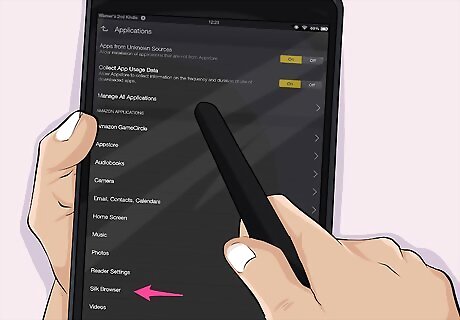
Change your default browser search engine if you desire. The default browser for the Kindle Fire HD is Bing, but if you prefer a different browser, such as Yahoo or Google, you can change this through your menu options. Enter your browser by tapping “Web” from the home screen, then select the menu icon which will be represented by three vertical dots. Go to “Settings” and select “Search engine.” Select the search engine you prefer. Start browsing websites with your Kindle Fire HD.
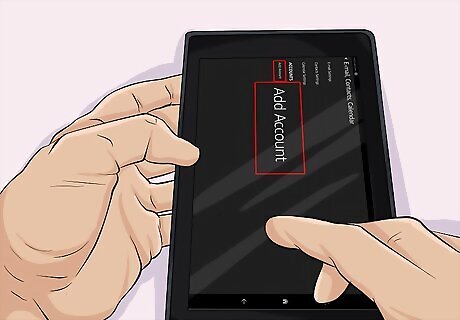
Access and set up your email. Navigate to your home screen by tapping the house shaped icon if you are not already on the home screen. From there, you should tap “Apps” and select the “Mail” mail icon. The following menu should list common email services, select one of these and follow the prompt or input your email information. You’ll need to type in both your email and password to link your email account to your Kindle Fire HD.
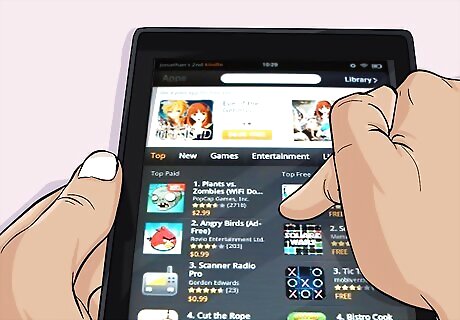
Experiment with other apps. You can explore various other apps provided through the Amazon Appstore to find potential services and features that personalize your Kindle Fire HD to your preference. Click the home icon → Apps → Store to open the Amazon Appstore. Some apps in the Appstore will cost money for you to purchase, others may be free. Be sure you check the cost of the app before you purchase.




Comments
0 comment