
Identifying and Attaching Your USB Flash Drive
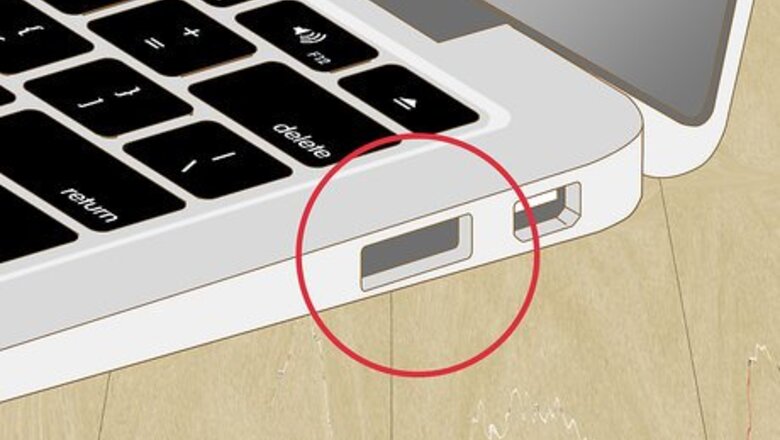
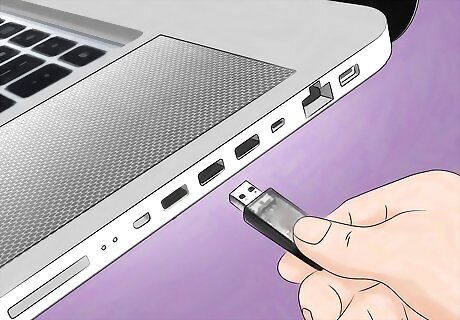
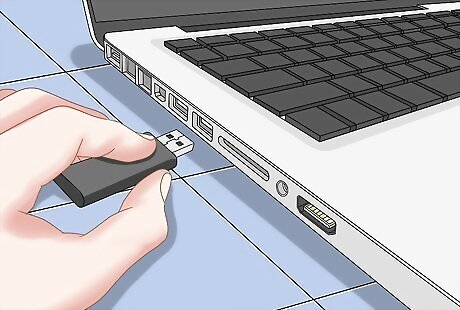
Locate your computer's USB port. If you have a laptop, the USB ports are probably on the left or right side of the housing. Desktop users may find the USB ports on the back or the front of the desktop tower, though iMacs have the USB ports on the back of the monitor itself.

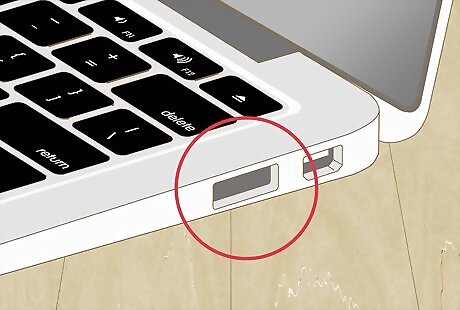
Determine your computer's USB port type. There are two main types of USB ports found on modern computers: USB 3.0 — A thin, rectangular slot that's about 3/4 of an inch (a little under two centimeters) wide. You should see a chunk of plastic in the upper half of this slot. USB 3.0 slots are found on the majority of Windows computers and on most Mac computers manufactured prior to 2016. USB-C — A thin, oval slot that's about 1/2 of an inch (a little over a centimeter) wide. These are most commonly found on MacBook and MacBook Pro computers, though some Windows laptops also have USB-C ports. If your computer has both types of port, you're free to use whichever port you like depending on your USB flash drive type.
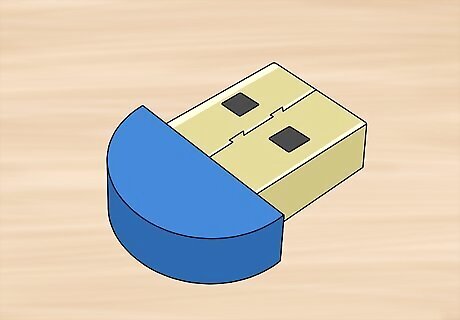
Figure out which type of flash drive you have. Look at the metal connector end of your flash drive: If the connector is rectangular and has a piece of plastic taking up part of the connector, you have a USB 3.0 flash drive. If the connector is oval and has no piece of plastic inside of it, you have a USB-C flash drive.
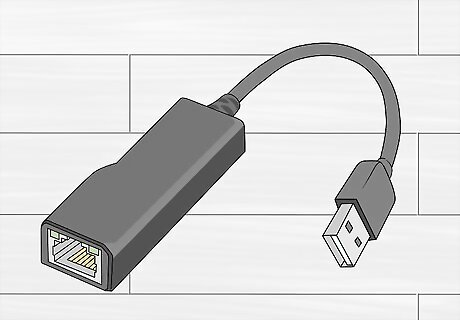
Buy and attach an adapter if necessary. If the flash drive that you want to use is a USB 3.0 version but your computer uses USB-C ports, you'll need to buy a USB-C adapter and plug it into the USB-C port on your computer. This is most common on MacBooks and MacBook Pros from 2016 and up, though some Windows computers also have only USB-C ports.

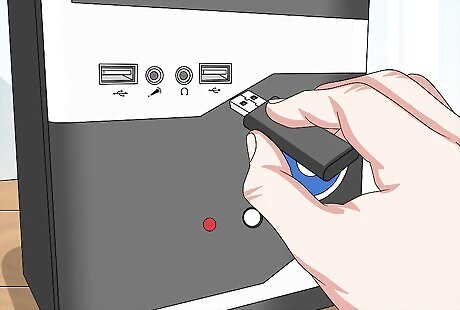
Plug your flash drive into your computer. If you're using a USB 3.0 flash drive, make sure that the plastic piece in the flash drive's connector is at the bottom of the flash drive so as to slide under the piece of plastic that's at the top of the USB 3.0 port. USB-C flash drives can be inserted either way. If you're using a USB-C adapter, you'll plug your USB flash drive into a USB 3.9 slot in the adapter instead.
Copying Files to the USB Flash Drive on Windows

Make sure your USB flash drive is plugged in. If your flash drive isn't plugged into your computer, plug it in before proceeding.
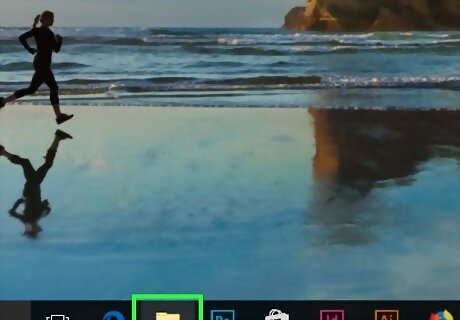
Open Windows File Explorer File Explorer. Click the folder-shaped File Explorer window in the taskbar, or press ⊞ Win+E.
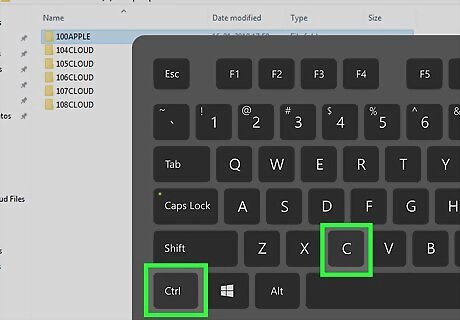
Copy your file. Go to the location of the file you want to copy, then click once the file and press Ctrl+C. If you want to copy multiple files, hold down Ctrl while clicking each file you want to copy.
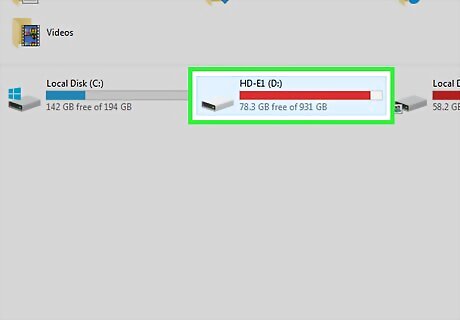
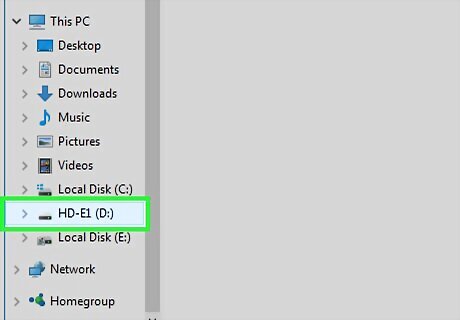
Click your flash drive's name. It's in pane on the left-hand side of the File Explorer window, though you may first have to scroll down on the left side of the window. If you don't see your flash drive's name, click This PC near the top of the left-hand pane, then double-click your flash drive's name in the "Devices and drives" section.
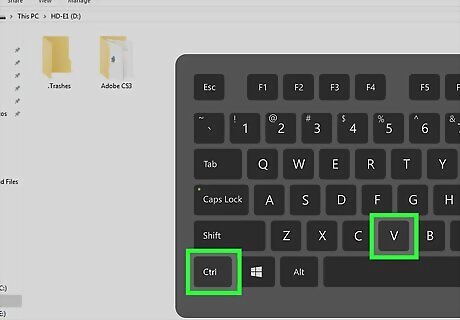
Paste in the file(s). Click a blank space in the flash drive's window, then press Ctrl+V. You should see your copied file(s) appear in the File Explorer window. If you want to paste the file(s) inside of a specific folder inside of your flash drive, double-click the folder before pasting in the files.

Eject the flash drive before removing it. Ejecting the flash drive causes your computer to save the files on it, thus preventing you from losing your files when you unplug your flash drive: Click the flash drive-shaped icon in the lower-right corner of the screen (you may first have to click Android 7 Expand Less here), then click Eject Flash Drive.
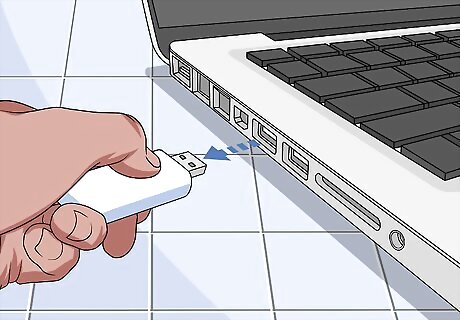
Remove the USB drive. After ejecting the drive, you can pull it out of your computer by gently tugging on it.
Copying Files to the USB Flash Drive on Mac

Make sure your USB flash drive is plugged in. If your flash drive isn't plugged into your computer, plug it in before proceeding.
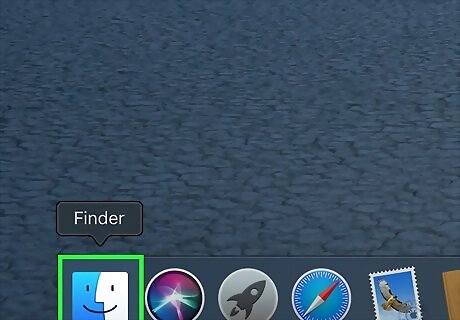
Open Mac Finder Finder. Click the blue face icon in the Dock.
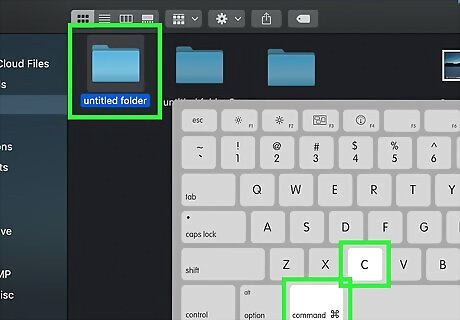
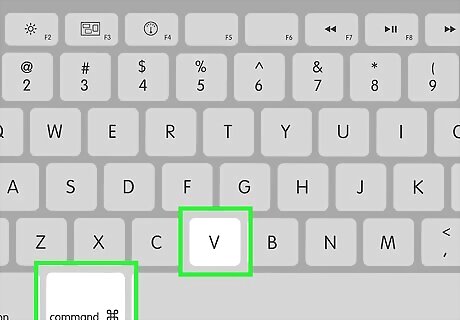
Copy your file. Go to the location of the file you want to copy, then click once the file and press ⌘ Command+C. If you want to copy multiple files, hold down ⌘ Command while clicking each file you want to copy.
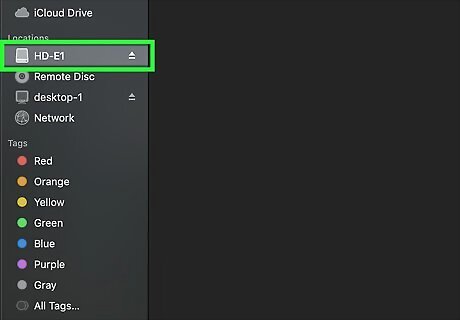
Open your flash drive. Click your flash drive's name in the lower-left side of the Finder window. You'll find it under the "Devices" heading.
Paste in your copied file(s). Press ⌘ Command+V to do so. You should see your copied file(s) appear in the Finder window. If you want to paste the file(s) inside of a specific folder inside of your flash drive, double-click the folder before pasting in the files.
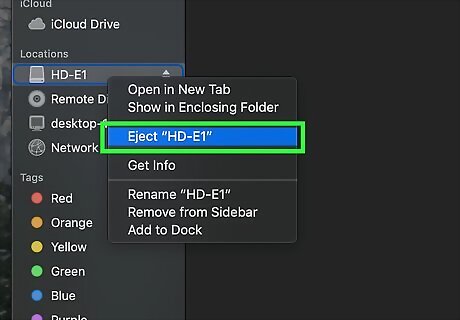
Eject the flash drive before removing it. Ejecting the flash drive causes your computer to save the files on it, thus preventing you from losing your files when you unplug your flash drive: Open Finder, then click the "Eject" Mac Eject icon to the right of the flash drive's name in the bottom-left side of the window.

Remove the USB drive. After ejecting the drive, you can pull it out of your computer by gently tugging on it.
Saving Files Directly to a USB Flash Drive
Make sure your USB flash drive is plugged in. If your flash drive isn't plugged into your computer, plug it in before proceeding.
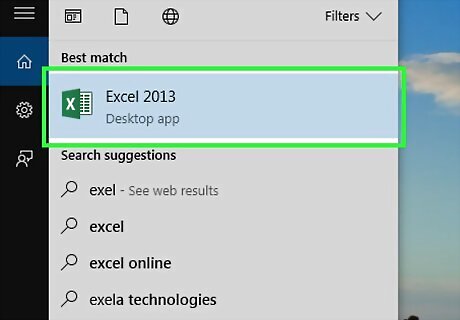
Open the program you want to use. Use your computer's Start Windows Start menu (Windows) or Spotlight Mac Spotlight menu (Mac) to search for the program if necessary.

Create your file if necessary. If you're using the program to create a new file to save on your flash drive, create the file before proceeding. Skip this step if you just want to create a copy of the file on your flash drive.
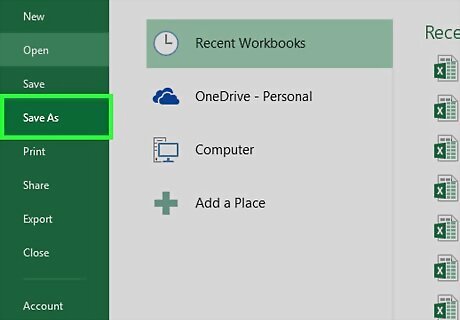
Open the "Save As" window. If the document hasn't been saved before, you can just press Ctrl+S (Windows) or ⌘ Command+S to bring up this window. Otherwise, do the following: Windows — Click File, then click Save As. If you're using Microsoft Office, double-click This PC after clicking Save As to bring up the File Explorer. Mac — Click File, then click Save As... in the resulting drop-down menu.
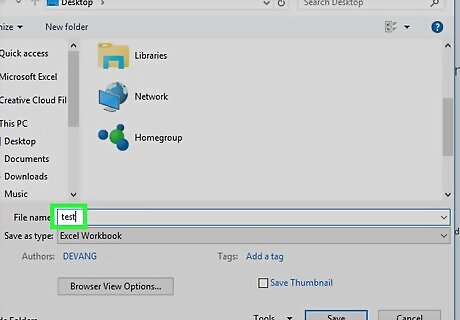
Name your document if necessary. If you want to add a different name to your file, type it into the "File name" (Windows) or the "Name" (Mac) text box.
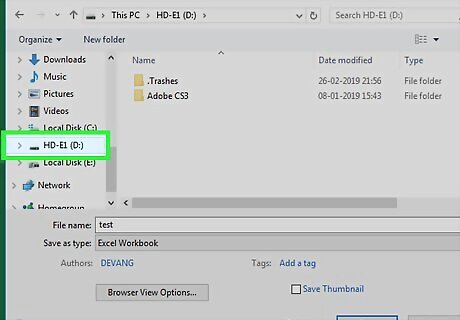
Select your flash drive. Click your flash drive's name in the lower-left side of the window. You may first have to scroll down on the left side. On a Mac, you may have to click the Where drop-down box and then click your flash drive's name either in the drop-down menu or on the left side of the Finder window.
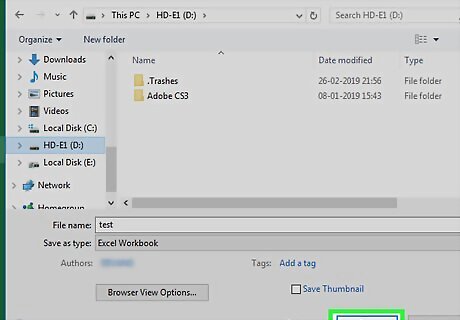
Click Save. It's in the bottom-right corner of the window. This will cause your file to save onto your flash drive.

Eject the flash drive before removing it. Ejecting the flash drive causes your computer to save the files on it, thus preventing you from losing your files when you unplug your flash drive: Windows — Click the flash drive-shaped icon in the lower-right corner of the screen (you may first have to click Android 7 Expand Less here), then click Eject Flash Drive. Mac — Open Finder, then click the "Eject" Mac Eject icon to the right of the flash drive's name in the bottom-left side of the window.
Remove the USB drive. After ejecting the drive, you can pull it out of your computer by gently tugging on it.
Downloading Directly onto a USB Flash Drive

Make sure your USB flash drive is plugged in. If your flash drive isn't plugged into your computer, plug it in before proceeding.
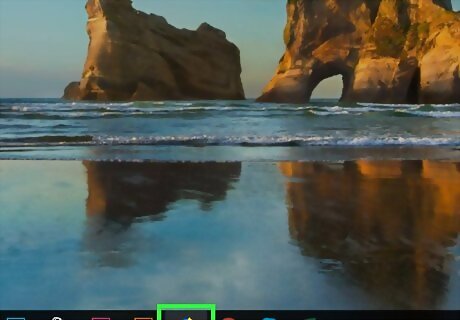
Open your preferred browser. If you want to download a file from the Internet onto your USB flash drive, open a web browser (e.g., Chrome).
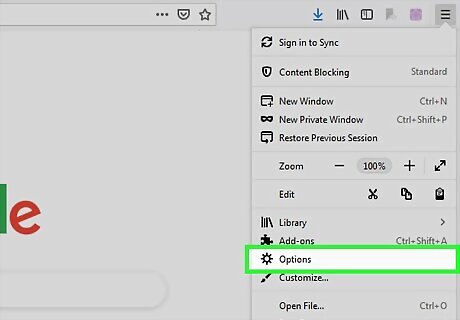
Make sure download confirmation is enabled. Most browsers will automatically download into your computer's default "Downloads" folder, but you can prompt your browser to ask you where to save your files by doing the following: Chrome — Click ⋮ in the top-right corner, click Settings, scroll down and click Advanced, scroll down to the "Downloads" section, and click the "Ask where to save each file before downloading" switch if it's grey. Firefox — Click ☰ in the top-right corner, click Options (or Preferences on a Mac), scroll down to the "Files and Applications" section, and check the "Always ask you where to save files" box. Edge — Click ⋯ in the top-right corner, click Settings, scroll down and click View advanced settings, and click the grey "Off" switch in the "Ask me what to do with each download" section (if the switch is blue, you're set). Safari — Click Safari in the top-left corner, click Preferences..., click the "File download location" drop-down box, and click Ask for each download in the drop-down menu.
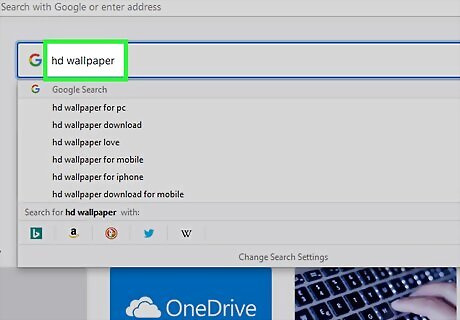
Go to the file you want to download. In your web browser, navigate to the page or service from which you want to download a file.
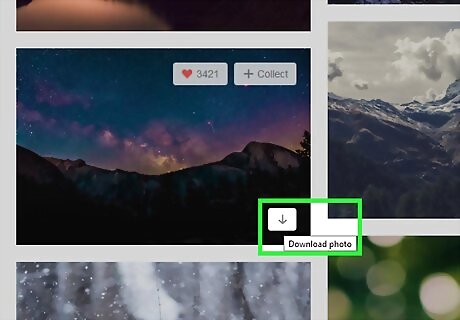
Click the Download button or link. This will vary depending on what you want to download. Indicating that you want to download a file will prompt a pop-up window to open.
Select your USB flash drive. When prompted to select a save location, you'll need to click your flash drive's name in the left-hand menu and then click Save. Doing so will cause the file to download directly onto your flash drive. On a Mac, you may click Choose instead of Save. If you want to save a file inside of a specific folder inside of your flash drive, double-click the folder before clicking Save.

Eject the flash drive before removing it. Ejecting the flash drive causes your computer to save the files on it, thus preventing you from losing your files when you unplug your flash drive: Windows — Click the flash drive-shaped icon in the lower-right corner of the screen (you may first have to click Android 7 Expand Less here), then click Eject Flash Drive. Mac — Open Finder, then click the "Eject" Mac Eject icon to the right of the flash drive's name in the bottom-left side of the window.
Remove the USB drive. After ejecting the drive, you can pull it out of your computer by gently tugging on it.
Troubleshooting a USB Flash Drive
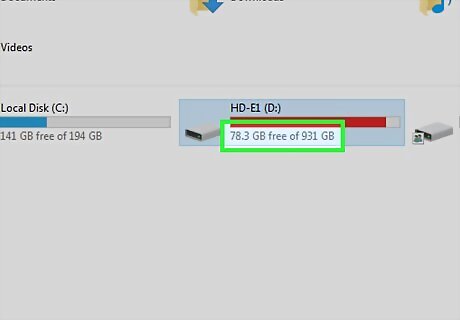
Ensure the drive isn't full. USB drives tend to fill up quickly—especially older drives that don't have much storage. Try clearing out some files that you don't need if your drive is full. You can quickly clear a drive of files by dragging the files in question into your computer's Recycle Bin (Windows) or Trash (Mac).
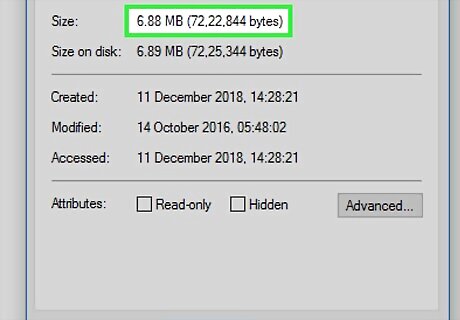
Check the size of the file you are trying to transfer. Many USB drives cannot store files larger than 4 GB. If you need to transfer files larger than this, you'll have to format the USB drive with a different file system. See the next step for details.
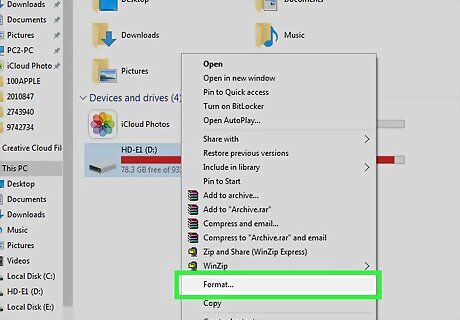
Format the USB drive. Formatting allows you to change the file system of the flash drive, which is handy if you either need to store files larger than 4 gigabytes or need to set up the flash drive for use on your computer. Formatting will erase the flash drive's contents. If you want to store files larger than 4 gigabytes, select exFAT (Windows) or ExFAT (Mac). Flash drives formatted for Windows-only use aren't compatible with Mac computers, and vice versa. Formatting the flash drive for a compatible format will fix this issue.


Comments
0 comment