views
Replacing the Bulb
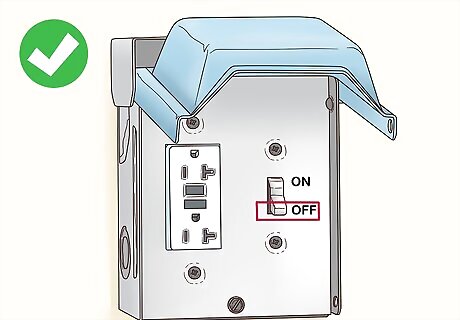
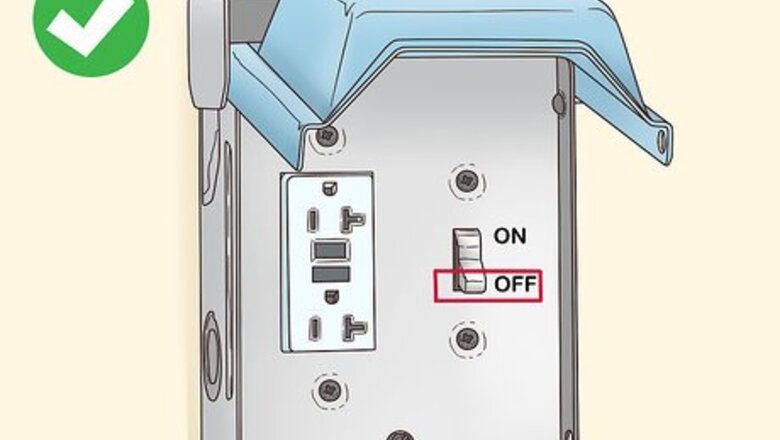
Make sure that the power is switched off. Before replacing a fluorescent light, you should make sure the fixture is not powered on. Do not simply use the wall switch to remove power to the fixture. You can use the fuse box to shut off power to the lamp's circuit. Use a voltage tester to verify that there is no power in the fixture.
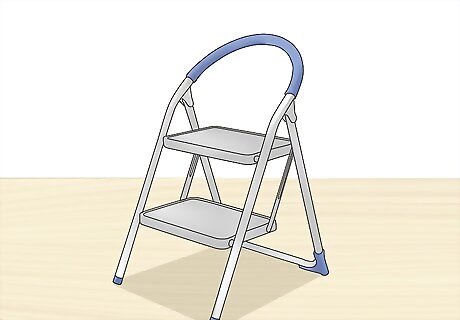
Prepare a stepladder or other support. Most likely, you will not be able to reach the fluorescent light fixture comfortably from ground level. Position a stepladder underneath the fixture to replace the lamps comfortably and safely.
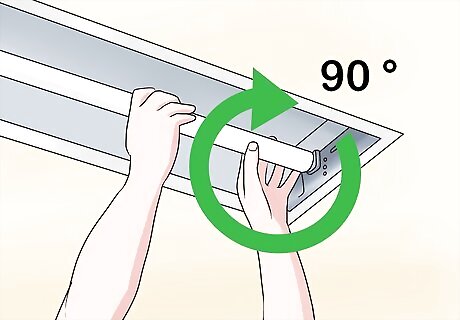
Rotate the first tube 90 degrees. Reach up, and gently support the first fluorescent tube with both hands, keeping your hands as close to the ends of the bulb as possible. You will be able to rotate the tube in either direction a quarter-turn until it stops. This action rotates the prongs, that project from each end of the bulb, to a vertical alignment, and so allows you to slide the tube downward and out of the fixture.
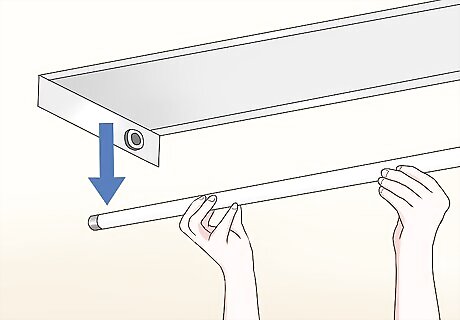
Gently lower the fluorescent tube straight down through the slot. Place the tube gently out of the way, where it cannot roll or be disturbed.
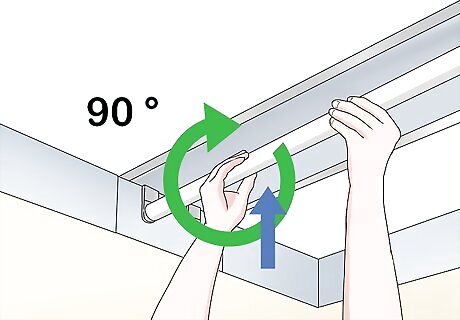
Lift the new fluorescent tube into place. To install the new light, line its prongs up with the slots in either socket. Push the tube straight up into the sockets, and then rotate it 90 degrees until you feel it lock into place. You can give the lamp a gentle tug to ensure that it is firmly in place. Consider installing LED lighting instead, which uses less energy, lasts longer, and produces a more natural light.
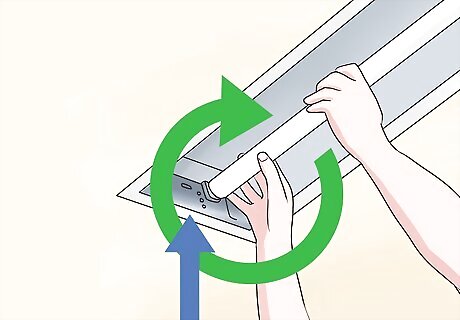
Repeat this process with the other lamp. Most often, fluorescent light fixtures are designed with two tubes side-by-side. The process for replacing each tube is the same.
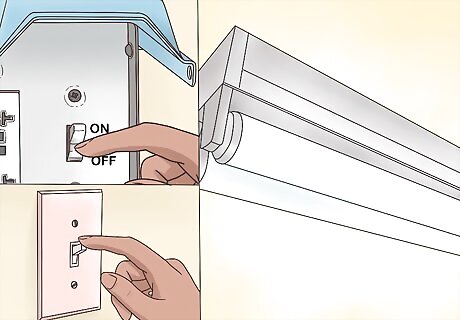
Test the new bulb. Flip the fuse box switch back on, then flip your wall switch on. See if the new fluorescent bulbs light up properly, noting that fluorescent lamps take a minute or so to reach full brightness. If the new bulbs do not work properly, you may have a defective component in your light fixture that needs to be replaced.
Troubleshooting Problems
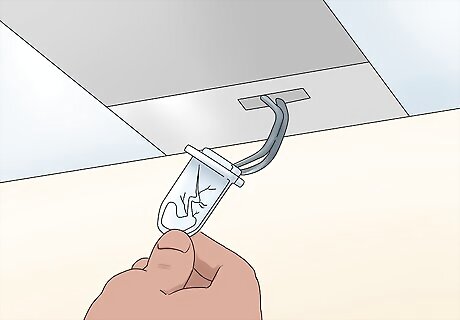
Change out cracked sockets. Cracked sockets are often caused by other objects bumping into the fixture, or too much stress while removing a bulb. First, turn off the power to the light, and remove the bulbs. Keep the wiring order straight as you take out the old socket. It is important to cut only one wire lose at a time. Strip each wire back by 1/2 in., and put the stripped wire end into the terminal slots of the new socket. Do this for each wire.
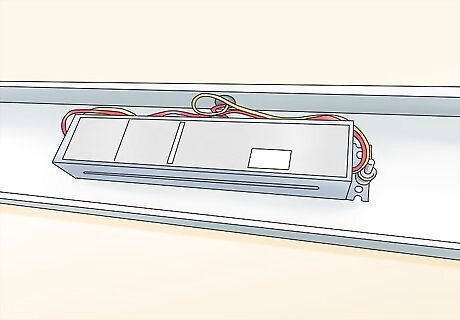
Inspect the ballast. The ballast controls the amount of incoming voltage that start the light tubes. It also regulates the electricity to give constant light. If you believe that the ballast needs replacement, you may want to consider purchasing a whole new fixture. Ballast replacement may cost the same amount as a new fixture. A humming sound produced by your fluorescent light fixture usually indicates that the ballast, rather than the bulbs, needs to be replaced.
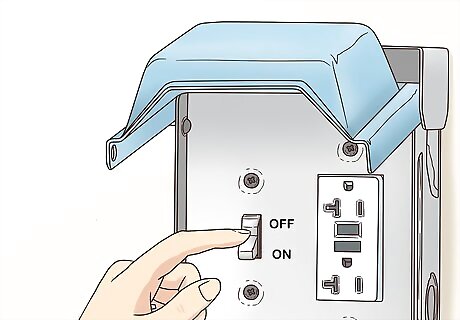
Check the fuse box for flickering lights. The bulb may not be getting enough power. Try resetting the fuse box by flipping the power switch off and on. If the bulb is still flickering, try replacing the bulb.
Working with Office or Recessed Lighting
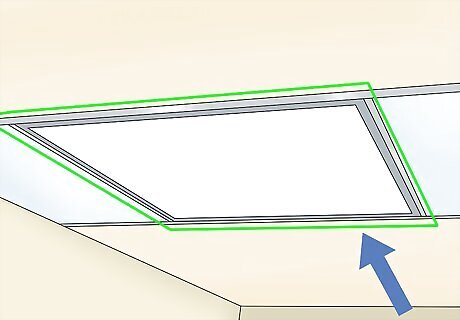
Check for light frames. Office lighting is usually behind a bezel lens with a frame. These types of recessed fixtures are holding the light tubes in place to minimize accidents and breakage. They can be very frustrating due to the lack of wiggle room or freedom of movement. The frame is held in place by lever locks or snaps that you have to take out.
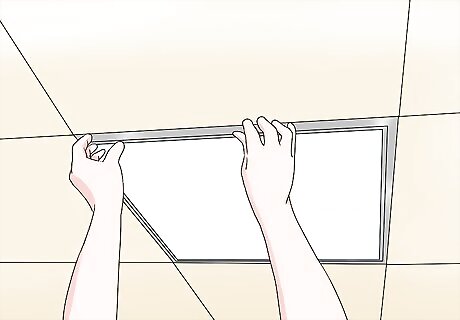
Remove the cover. First, use a screwdriver to pry down the levers, while supporting the frame in the middle. It is important to support the frame because it can ruin the locks or swing down and hit you in the head.
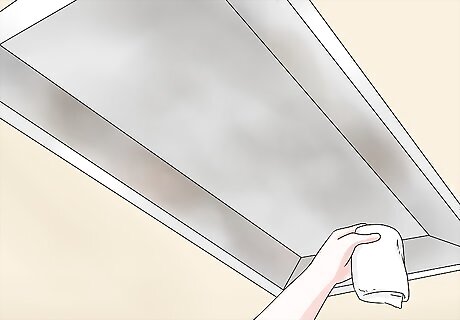
Clean the fixture. Take the opportunity, while the lens is down, to remove insects, dust, condensation or mold from the lens surface.
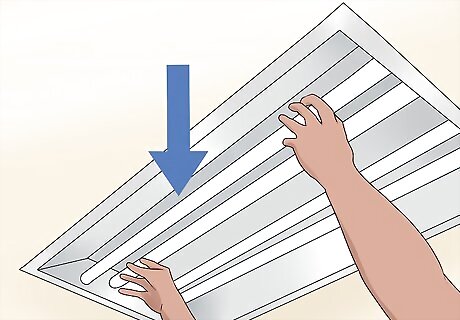
Take out the bulb. Depending on the bulb, you will either need to twist, or unsnap, each end of the fluorescent tube. Be sure to only do one end at a time to maintain more control over the bulb. Once you wiggle the first tube out, the other tubes will come out much more easily. Search for holes, or a recessed area, that the cathode/anode pin can sink into that permit freedom of movement.
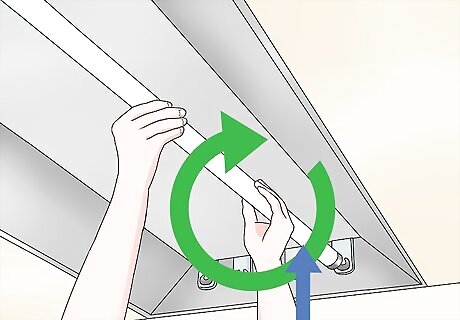
Lock in the new bulbs. To install the new light, line its prongs up with the slots in either socket. Push the tube straight up into the sockets, and then rotate it 90 degrees until you feel it lock into place. You can give the lamp a gentle tug to ensure that it is firmly in place.
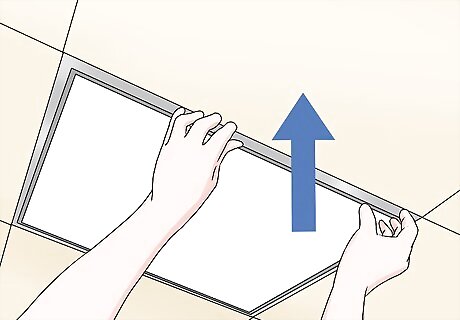
Finish the job. When the last tube is in, swing the lens frame back in. Use both hands to support the frame in place. Then, use your thumbs to swing the frame lock back in. Snap locks may need to be pressed firmly to snap back in.







Comments
0 comment