
views
Constructing an Elevated Ceiling
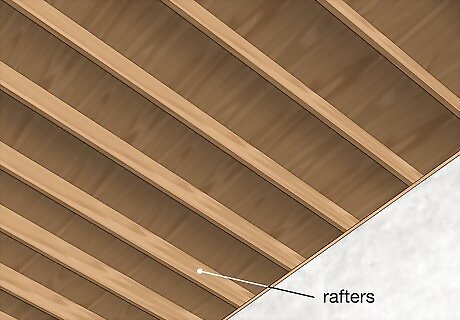
Look for rafters underneath the roof. Go into the room you wish to remodel and look at the ceiling. If your home has rafters, you will notice sets of beams running across the ceiling. If you see crisscrossing beams, your home has tresses that make the work much more expensive. Trusses are more common and can prevent you from being able to raise a roof. If your home has attic space, you may be able to elevate the ceiling without touching the roof. It typically involves removing horizontal beams called joists and installing a new ceiling. If you don’t have sufficient space above the room, then a contractor has to raise the roof in order to elevate the ceiling. They make the surrounding walls taller, often by adding taller support beams.
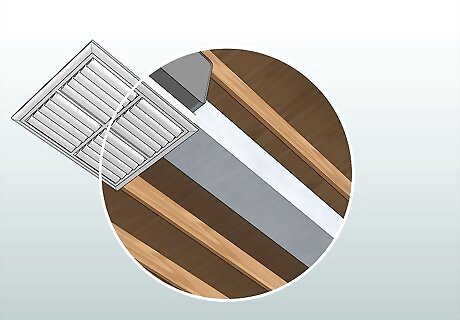
Note the location of any plumbing and ductwork in the room. Raising a ceiling involves opening up the walls, so these features often need to be repositioned. Locate any exposed pipes or ducts. You won’t be able to see where they are inside the walls, but you may be able to trace their general route from the exposed parts. Plastic pipes are much easier to reroute than metal ones. They can be cut and extended as needed to fit the new design. Most duct systems can be moved the same way. If you have metal pipes or ducts in an inconvenient spot, they increase the project’s price. Metal components often have to be routed underneath your home.
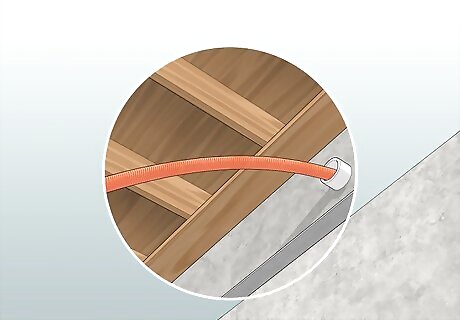
Identify any exposed wiring that needs to be removed during the project. Electrical wiring is always an obstacle when you’re raising a ceiling. Look for any visible wires near the ceiling, but also, locate any spots where they appear to cross through the ceiling. Complicated wiring systems could make the project much more difficult and expensive to complete. In most cases, removing the wiring is routine. It can be taken out and then reinstalled after the ceiling has been raised. If your home has a tangle of wires crisscrossing throughout the ceiling, then you may need a contractor to rewire your entire home.

Contact an experienced contractor for an estimate. This isn’t a DIY type of job, so find a trustworthy contractor that has raised ceilings before. Ask the contractor for a cost estimate and possibly a sketch of what the finished job will look like. The contractor likely will speak to a structural engineer to plan out the work. Look for online reviews and recommendations from other customers before choosing a contractor. Also, vet contractors by asking for their credentials and experience with raising ceilings. The contractor should explain what work they need to do to raise the ceiling. If they don’t, ask for more information before going ahead with the project.

Ask the contractor for the building permits required for the project. Make sure the permits are in order before the contractor starts working. Most contractors have a good idea of how to deal with the permit system, so they will submit applications for you. Your local permit office handles building requests. Since raising a ceiling is a big project, the city could take a couple of weeks to approve the required permits. If you need to apply for permits yourself, head to your city’s permit office. Fill out an application detailing what kind of work you plan on having done to your home. Without a valid permit, you could face fines or have to stop the work. City officials may also come out to inspect your home before and after the work has begun.
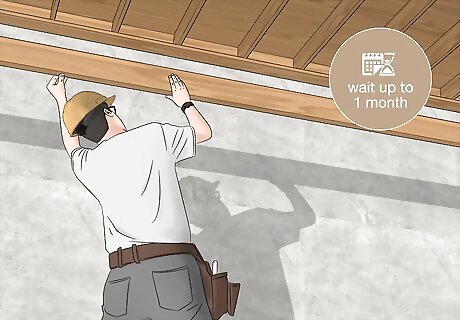
Wait up to 1 month for a contractor to complete the work. You can stay in your home as long as you are able to deal with the inconvenience. The contractor usually has to strip away the existing walls to install new supports. They then have to complete other work, such as rerouting electrical wires and plumbing, before finishing the ceiling. It can be a long process involving a lot of noise and debris. The project can be messier if the contractor needs to raise the entire roof. They may need to open up an outside wall.
Choosing a Ceiling Style
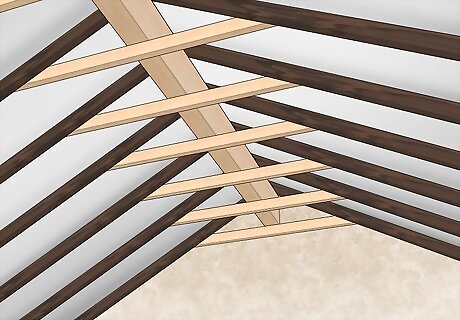
Select a vaulted ceiling to take advantage of the available space. A vaulted ceiling is a sloped ceiling. It usually means making a triangular-shaped ceiling with the highest point in the middle, although you could also ask for a curved ceiling. It takes advantage of available attic space and requires new support beams to be installed. The result is a tall, broad ceiling that makes a room look much bigger. The work can be extensive, so a vaulted ceiling isn’t possible in all homes. The shape and height of the ceiling also makes cleaning and maintaining the room a little harder.
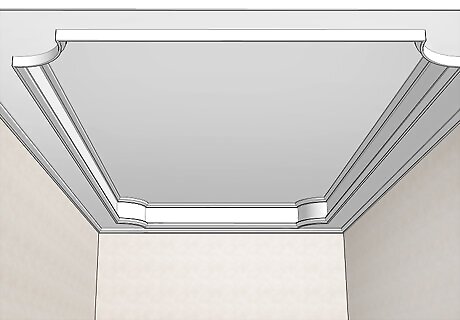
Get a tray ceiling if you have less space to work with. In a tray design, the center part of the ceiling is higher than the rest. The surrounding ceiling leads up to the elevated center like a series of steps. It doesn’t require as much work as a vaulted ceiling, so it’s often less expensive to create. It leads to a simple but versatile design that can make any room look a little grander. Tray ceilings fit well in rooms designed to impress guests, such as entryways and dining rooms. Tray ceilings don’t add as much space as vaulted ceilings. The existing ceiling also has to be about 8 ft (2.4 m) high in order to properly raise the center.
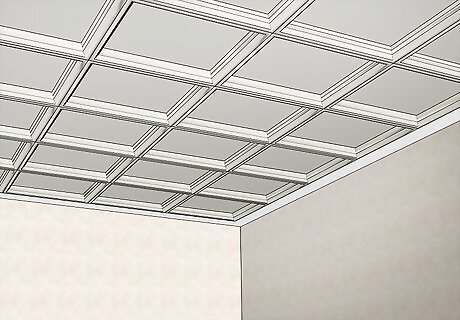
Choose a coffered design if you need to cut down on ceiling height. Coffered ceilings are very similar to tray ceilings, but they consist of multiple raised panels. Think of a checkerboard where the squares made by support beams on the ceiling are elevated. The additional material used to create the coffered design causes the ceiling to be a little lower than normal. However, it can also cause rooms to feel a little cozier. Coffered ceilings are great in rooms where you don’t necessarily need the highest ceiling possible to feel comfortable. Your living room or kitchen are a couple of good options. Coffered ceilings often require less work than tray ceilings to construct. However, the total price is often the same due to the amount of material used.
Decorating to Expand a Room
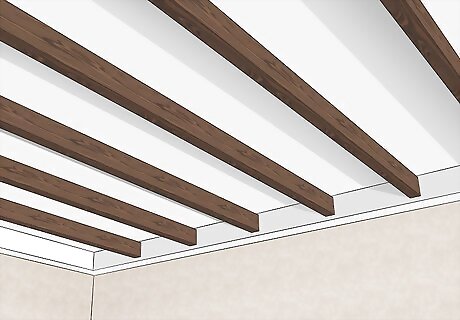
Uncover the ceiling beams to create more natural space. Remove the drywall from the ceiling to expose the support beams. It creates a recessed look that makes the room look bigger even if you are unable to elevate the ceiling. It could leave pipes and ducts exposed, so choose this strategy only if you don’t mind looking at them. This is a good strategy to take if your ceiling has noticeable rafters. All you have to do is remove the material around the rafters. It isn’t possible in a regular, thin ceiling.
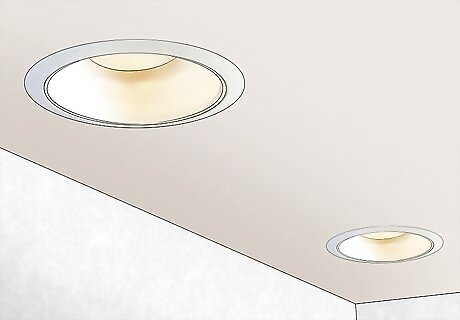
Select recessed lighting if you need more headspace. Most ceiling light fixtures hang down and take up valuable space. Make the room look bigger by installing light fixtures directly in the ceiling. Another option is to install fixtures that hang on the wall or make use of table and floor lamps. Avoid big ceiling fans that take up a lot of space as well. If you’re able to get a vaulted ceiling, you may be able to install a skylight, which is like a window in the roof. For tray and coffered ceilings, try placing strip lighting around the molding.
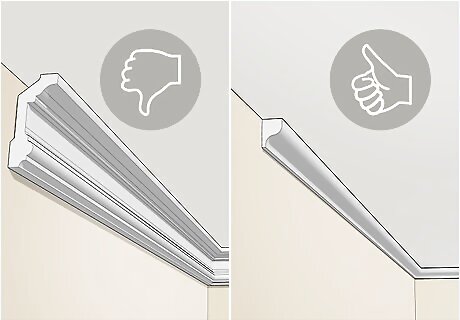
Remove or thin out molding on the ceiling if it is too thick. Many rooms, including ones with a tray or coffered design, have molding on top of the walls. Crown molding is a decorative wood strip meant to cap walls. Although it looks nice, it can also make the walls and ceiling look closer together. Install thinner trim that doesn’t take up much space or remove it altogether to open up the room. Molding can be a good feature to add some class to walls or keep dust out of the corners. However, it often isn’t a necessity. It’s also easy to pry off the walls and replace.
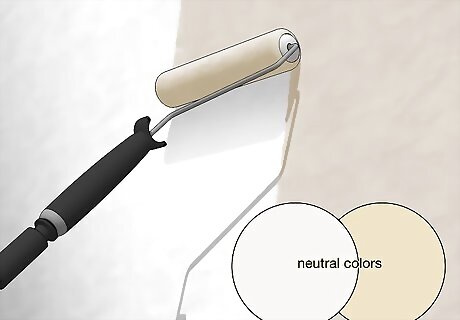
Paint the walls and ceiling a neutral color if you need brightness. Lighter colors, such as white, add brightness that makes a room look more spacious than it is. Try to paint the walls pale yellow, blue, cream, white, or a similar color. Keep the ceiling white or at least a lighter color than the walls. Avoid darker colors most of the time, since the visual weight they carry will make the room look darker and more enclosed. If you have a raised ceiling, such as a coffered design, you could try using dark colors. For example, paint the coffered part a dark gray, then paint the surrounding trim white. Another option is to vary the wall colors to take advantage of vertical space. For example, paint vertical stripes or extend the ceiling paint down over the top of the wall. It makes the ceiling look taller.
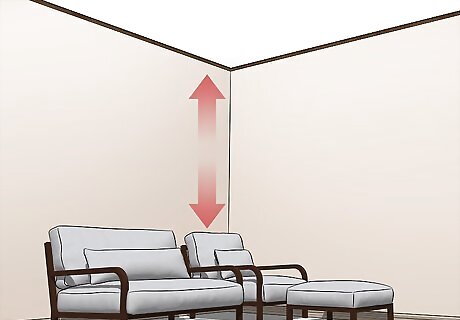
Use short furniture if you have to fill a small space. Set up horizontally-oriented furniture in the room. Long, squat couches, chairs, tables, and bookcases fit well in a room that isn’t as tall as you would like. Avoid high-backed furniture that covers up more wall space. The extra space left by low furniture will make the ceiling seem higher than normal. Low-backed furniture leaves much more wall space exposed in the room. You can include the occasional tall piece of furniture, such as a vertical bookcase, but limit their inclusion.
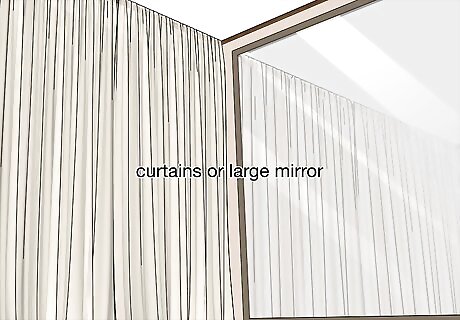
Hang decorations high if you plan on covering the walls. Take advantage of the vertical wall space available to create the illusion of a higher ceiling. One way to do this is by hanging art up high. You could also use multiple small pieces of art that draw your attention up toward the ceiling. Long mirrors and curtains are also great ways to fill the space. Large mirrors are useful since they reflect more light into the room. When you look in a mirror, the reflection you see makes a small room look much larger than it is. If the room has windows, hang curtains or drapes a little higher than normal. It will make the windows look taller than they are, which also makes the room seem taller. You could also leave tall windows exposed.


Comments
0 comment