views
Printing with Microsoft Word
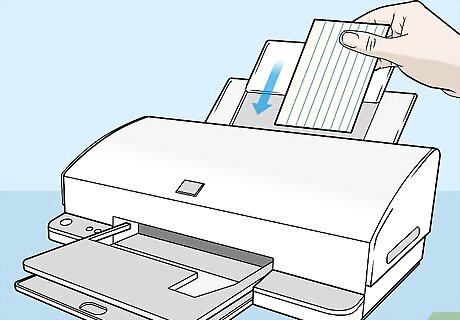
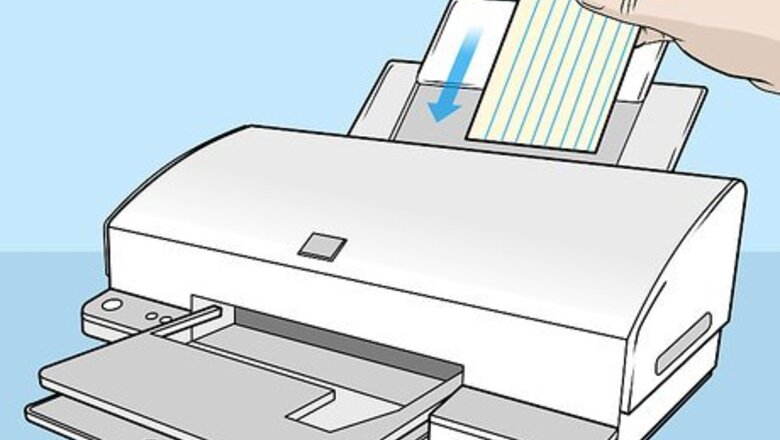
Place your notecards in the printing tray. Set them up like you would regular sized printing paper.
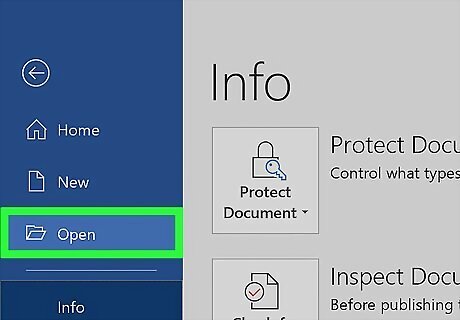
Open your flashcards in Microsoft Word. You can also make them in a Word document to start. To make a flashcard in Microsoft word just type out what you want to see on the card. Make sure it doesn’t go over 500 characters or the font may end up being too small.
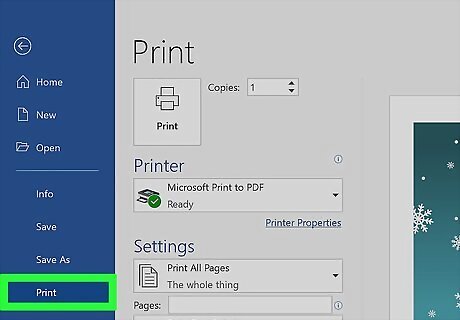
Click File and then Print. This will open up your print settings.
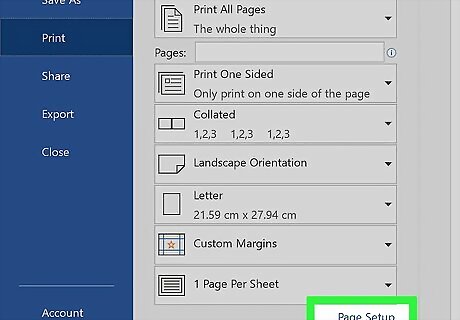
Click Page Setup at the bottom. It will look like hyperlink blue text.
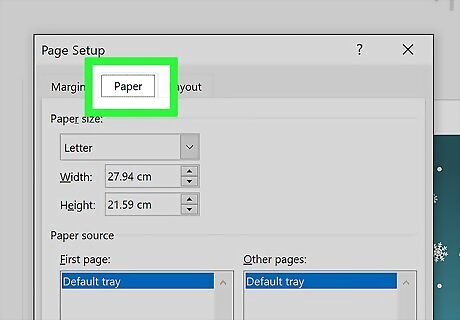
Select the Paper tab. Here you will see the width and length of your page.
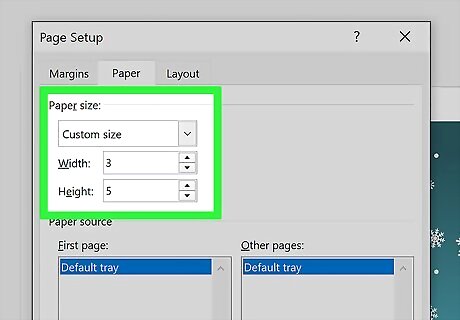
Change the width to 3 and the length to 5. Your index card may be sized differently, but this is the standard size.
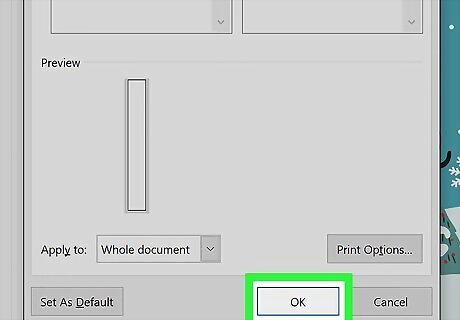
Click Ok to save and exit your new size.
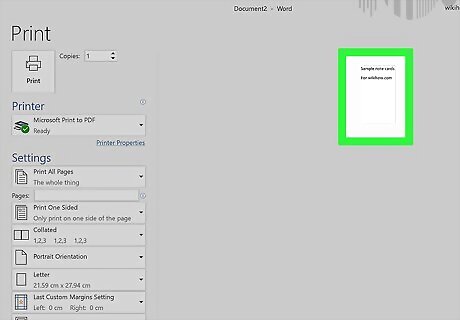
Check the “Print Preview” to see what your index cards may look like. If the text doesn’t fit then go in and adjust the size to your liking.
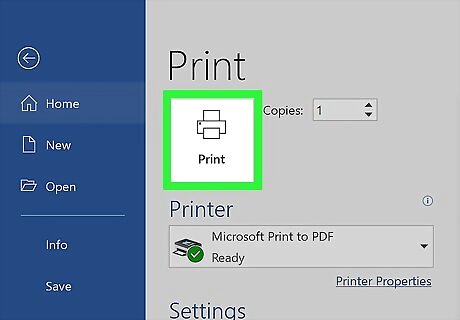
Click Print print to finish making your note cards. Your text will now be printed on your note cards.
Printing with Quizlet and Adobe Reader
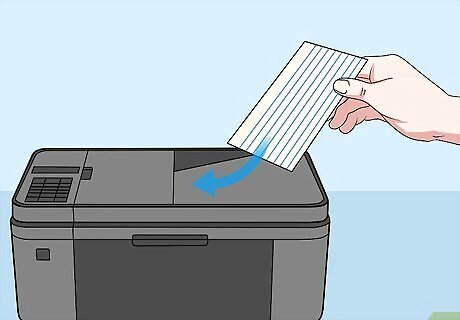
Place your index cards in the printing tray. Lay them down like you would regular sized 8.5 x 11 printing paper.
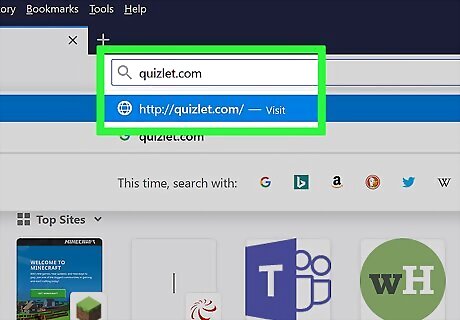
Visit the Quizlet website and sign up. You’ll need an email and password to create an account.
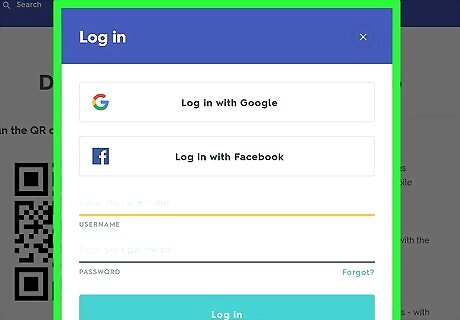
Log into your Quizlet account.
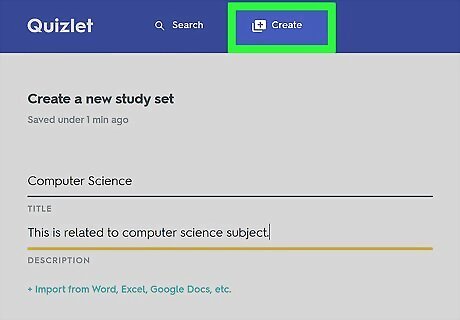
Create your cards by clicking Create at the top. You can also look for study templates by clicking Search at the top. After clicking Search type in the subject that you want for your notecards. Scroll through the list until you see a template that you like, but be aware that some may have a price tag on them.
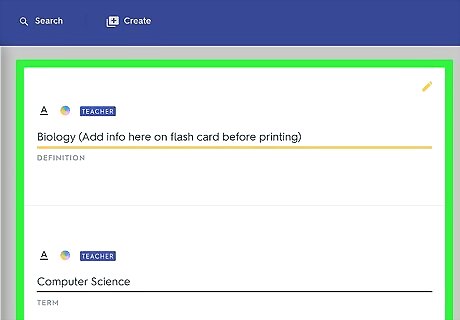
Enter the information for each notecard. When you're done click Create at the bottom again to save them.
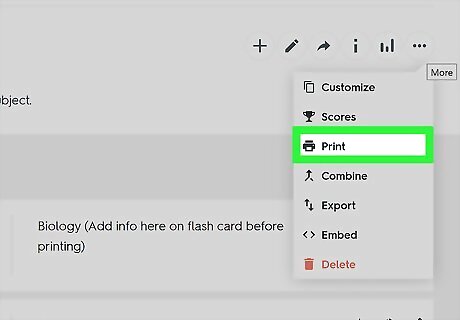
Click on Print in the menu. It is located at the top of the page.
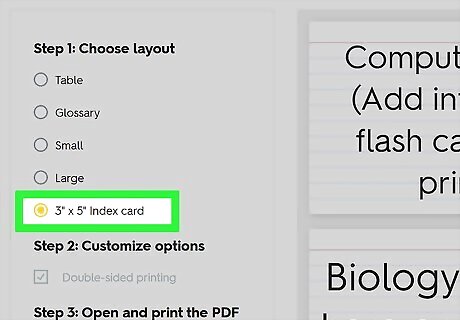
Select 3 x 5 Index Cards from the side menu. This menu is located on the right-hand side of the screen under “Step 1: Choose Mode”.
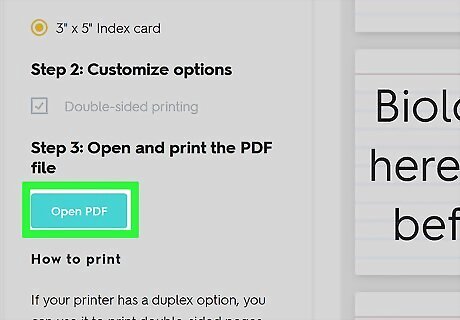
Click Open PDF. This will open a PDF version of your cards in a new window.
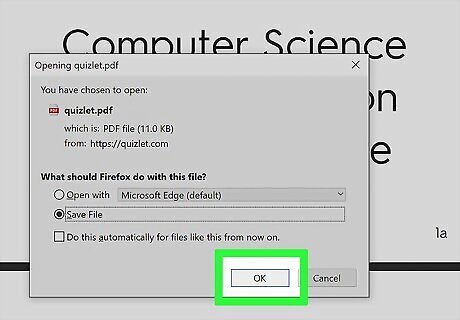
Save this PDF to your computer. You can click the save arrow on the top-right or right-click and select save from the drop-down.
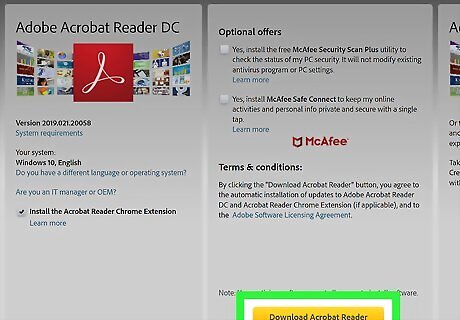
Download and install Adobe Reader. Adobe Reader will be used to expand our printing options with a PDF.
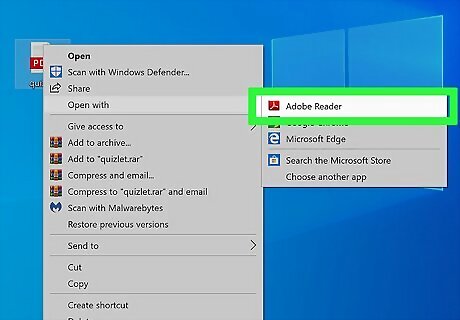
Open your PDF with Adobe Reader. Here's how: Right-click on the PDF and select "open with Adobe Reader" on a PC. On a Mac, double-click the PDF and it will open with Adobe Reader automatically. Open Adobe Reader and select File from the top left. Click Open from the drop-down menu. A smaller window will open with a list of PDFs. Search for and click the PDF of your notecards to open it within Adobe Reader.
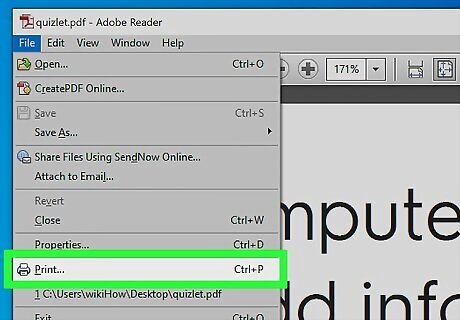
Click File then Print. Both of these are located at the top-left of the screen.
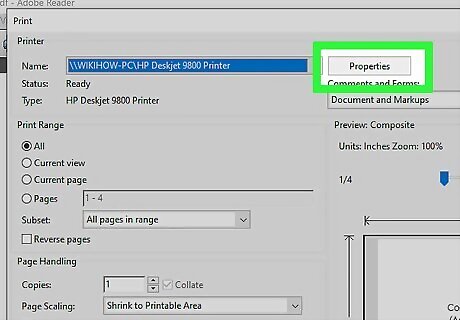
Click Page Setup. This will open a small window.
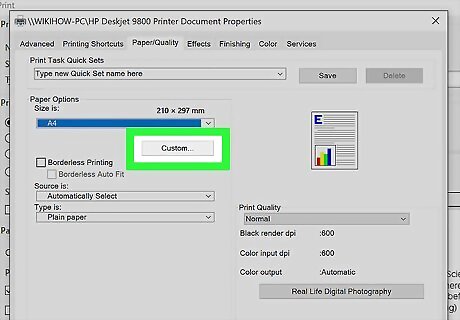
Select Manage Custom Sizes from the “Paper Size” drop-down menu.
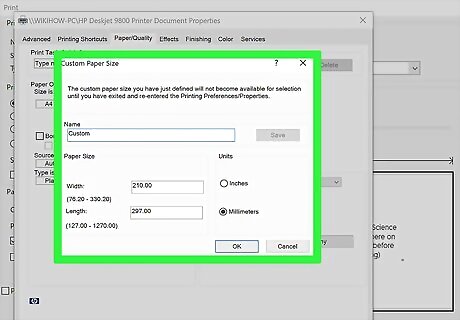
Click the plus + button at the bottom of the window. This will add a new printing preset.
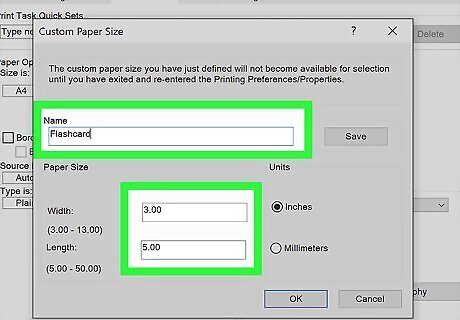
Change the paper size to 3 width and 5 length. This is the standard size for a flashcard.
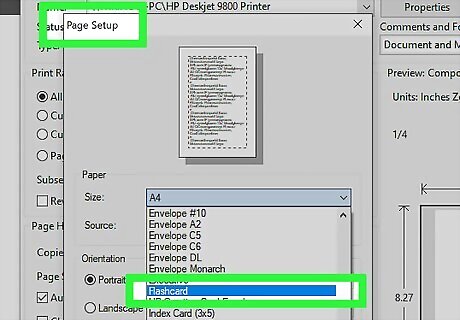
Click Page Setup. This will open another menu.
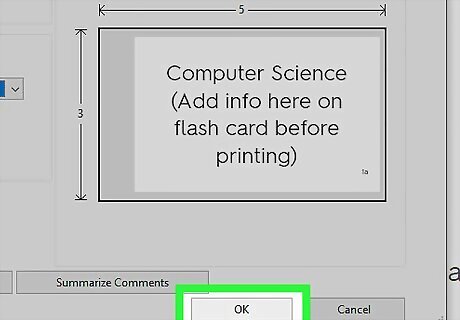
Click Print with your new paper size. Your Quizlet cards will now be printed on the flashcards accordingly.
Printing on Regular Paper with Google Docs
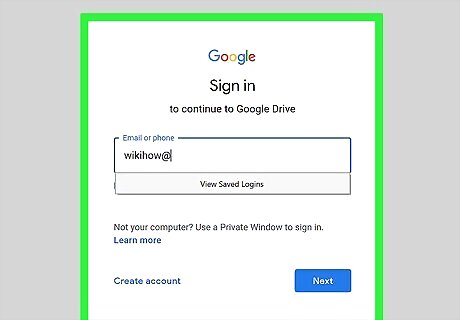
Visit the Google Docs website and sign in. If you don't have an account you can sign up for one at the bottom.
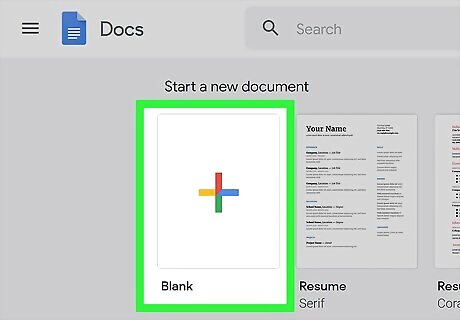
Click Blank to start a new document.
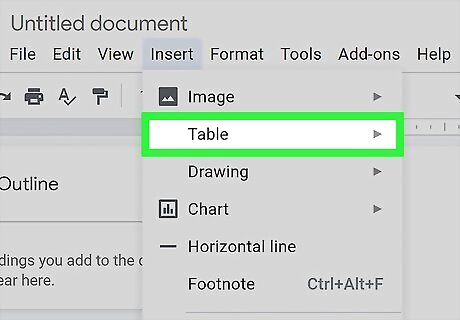
Click Insert and hover over Table. You'll get a drop-down menu that shows a grid.
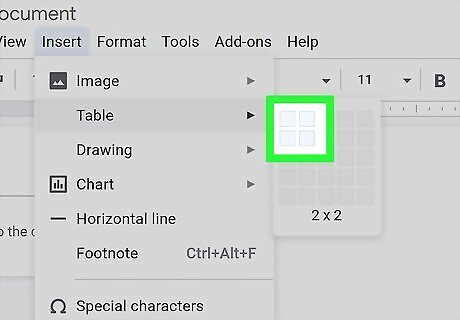
Hover over four squares until you get 2x2 in text underneath. Each grid square is one note card for regular sized printing paper. You can add more squares if you'd like smaller notecards
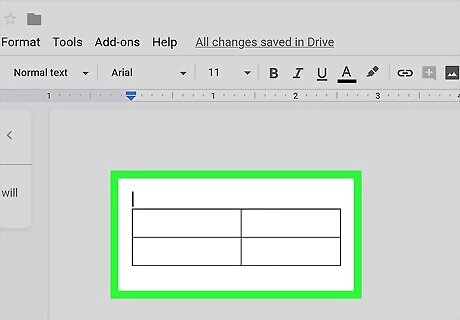
Click on the 2x2 grid to insert it into your Google doc. After clicking, you should see a grid or box with two squares at the top and bottom inserted onto the page.
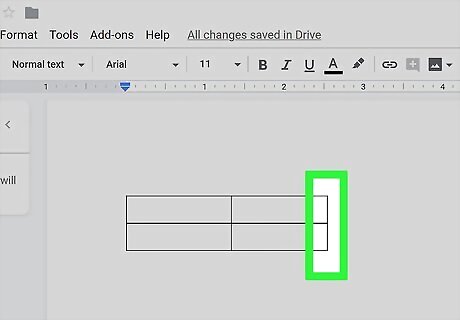
Hover over the bottom line of the grid until your cursor changes. Your cursor should look like a line with two arrows pointing in the opposite direction.
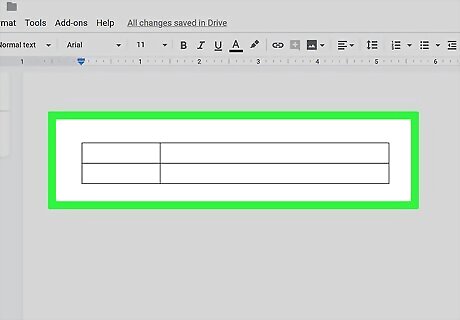
Drag the bottom line of the grid to the bottom of the page. Don't drag too far down or else it will move the boxes off the page.
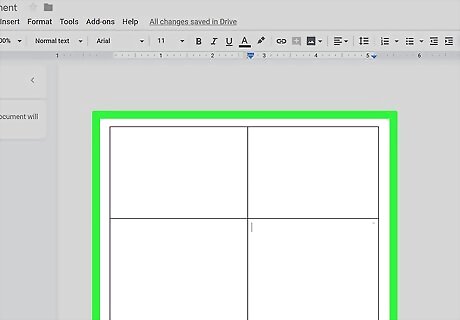
Drag the center line of the grid towards the middle of the page. Keep dragging these two lines back and forth until your page is split into four even sections.
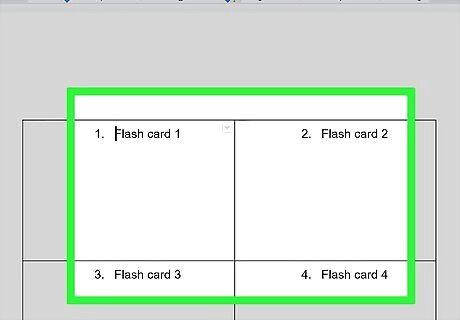
Type your content within each square. Each square will be a notecard. If you're having trouble tabbing into the next square simply click the center of the square with your mouse.
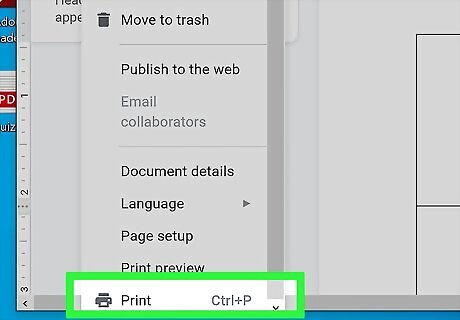
Click File and then Print to send your cards to the printer. A standard sized piece of printing paper will work.
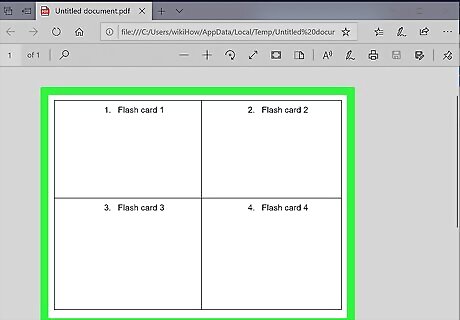
Cut along the lines of each box to make your notecards. You should end up with 4 different notecards if you kept the 2x2 grid. If you added more boxes just continue to cut along the black lines for each card.




Comments
0 comment