views
Maintaining a Sharp Mind and an Active Body
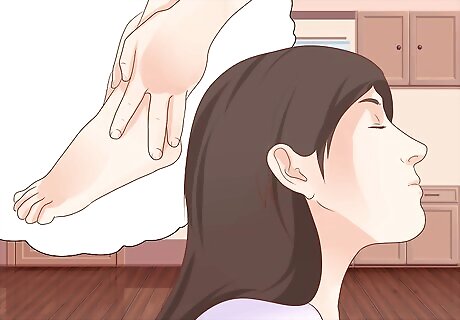
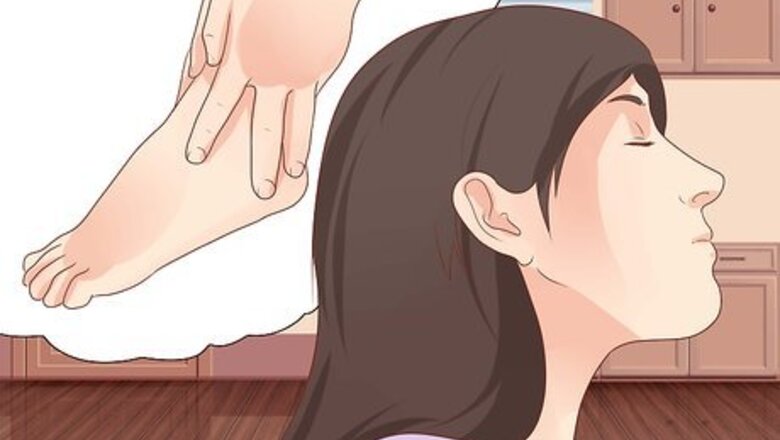
Recognize the situation. It’s a bummer to break your ankle! Your patience and physical comfort are going to be tested. You will be experiencing more disappointment and irritation than normal. You can handle it. Put yourself in the right mental space to do so. Accept the reality of your situation to empower yourself emotionally. Practicing acceptance is a good way to feel better about your situation. As the Serenity prayer states, “Change what you can and accept the things you cannot change.” Stay calm and recognize that you will recover. This will make the recovery process go more smoothly, and allow you more pleasure along the way. Recognize that you have an opportunity to organize your time and energy however you’d like to do so. Though it may seem forced, tell yourself that you have the freedom to choose how you’re going to benefit from (and enjoy!) your new found time. Try meditation, deep breathing, and practicing mindfulness to help you stay calm.
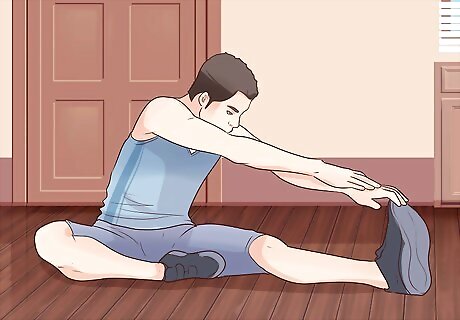
Stay active! Throughout the recovery process, you can remain active in plenty of ways. However you choose to do so, the important thing is to get some type of exercise despite your injury. For instance, you can use exercise tools such as weights or resistance bands, or go for a walk (with crutches! – instructions in this article). Be sure to stretch after doing any kind of physical activity. You can do upper and lower body stretches while sitting.
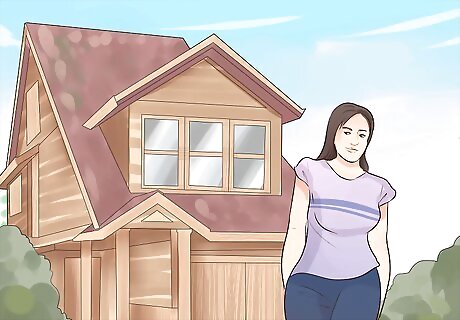
Get out of the house. Many parks are designed to be extremely accessible. Find a park in a neighborhood you haven’t been to. If the weather is dreary, movie theatres often have seats with more room for those with things like crutches and casts.
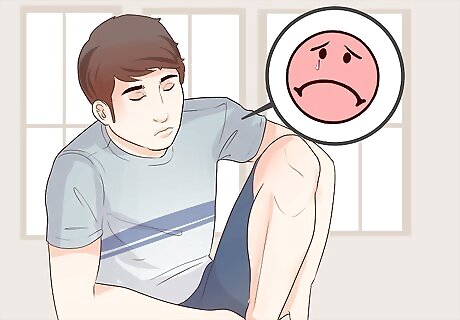
Be wary of situational depression. The blues come quickly to those who have to spend large amounts of time sitting around at home. This is part of the reason it is important to stay active. Join an online support group if the stress and discomfort of recovering from an ankle injury do get to you. There are even support groups online specifically for people recovering from leg injuries! Keep in mind that to be diagnosed with depression you have a to have at least one or two depressive symptoms ongoing for at least two weeks.
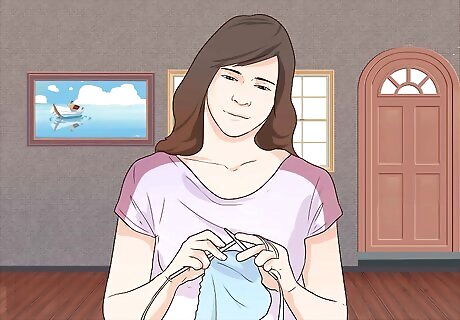
Get creative. Everyone has a project they’ve been wanting to do but haven’t had the time for. Here’s your chance! Or pick up a new skill you’ve always wanted to learn. Who knows, this injury might end up leading you to a new hobby. One idea: learn to knit. This will pay of next winter, when your ears are the warmest on the block, and you’re ready to make inexpensive, high utility, and heartfelt gifts.
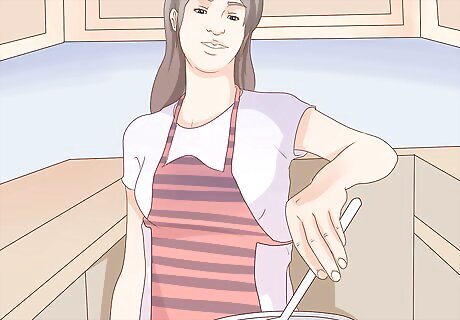
Cook something. Cooking is a creative and practical pursuit that you can still do with a broken ankle. Check out online resources for getting different recipes. You can find recipes for everything from dinner to baking a cake.
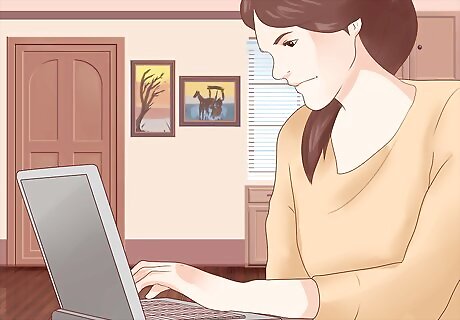
Learn. Check the course list at your nearest community college. Classes are often remarkably cheap, and you’ll likely see something that peaks your interest. Alternatively, there are many high-quality learning opportunities you can access online, including free lectures from universities like MIT. You can even learn specific and highly marketable skills like coding or photo editing online at no cost! Maybe it’s fall and you want to take a photography class, or perhaps it’s summer and you want to take a gardening class, either way this is great for self-improvement and personal growth.
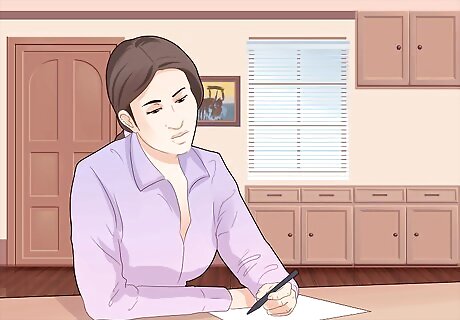
Write. Writing is great way to express yourself creatively. It can also help you organize your thoughts for future plans. Best of all: contribute productively to an online organization or website that you already enjoy, and would like to be a part of. You could even write your own “How To…” article for WikiHow, or edit this one!

Re-evaluate your position, and your progress. Whenever you’re feeling yourself get frustrated or demoralized by discomfort or malaise, throw your brain a curve ball and congratulate yourself for getting through a tough week, or even just a tough day. Likewise, after moments of unexpected (or totally expected) joy, congratulate yourself for enjoying life despite your injury!
Prepping Your Body for Comfort and Recovery
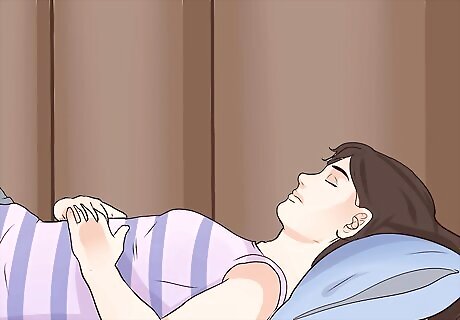
Rest. Keeping weight off of your injured leg is vital to your initial recovery. Your doctor will tell you when it is OK to place any weight on your injured ankle. Most of the time, this will be at least 6 to 10 weeks. Do not put weight on your ankle too soon, as this may cause your bone to heal improperly. Rest is the first letter in a sports injury care acronym known as RICE, which stands for: R=Rest. Prop you ankle up on a pillow and rest. I= Ice. Ice for twenty min cycles. C= Compress. Compress the ankle with an elastic ankle wrap or compression stocking. E=Elevate. Elevate the foot and rest.
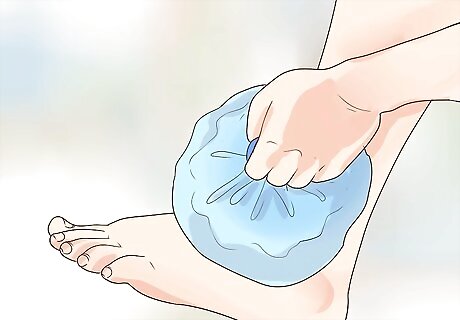
Ice. Make a cold compress by wrapping ice in a moistened towel. Do not apply ice directly to the skin. Hold the compress to your ankle for 20-30 minutes every 1-2 hours, especially for the first few days you’re able to do so. After 2 or 3 days, use the cold compress for 10 to 20 minutes, 3 times a day as needed.
Compress your ankle. You can compress your ankle by wrapping it in an elastic ACE bandage or by wearing a compression stocking. Ask your doctor about the best option for your situation.
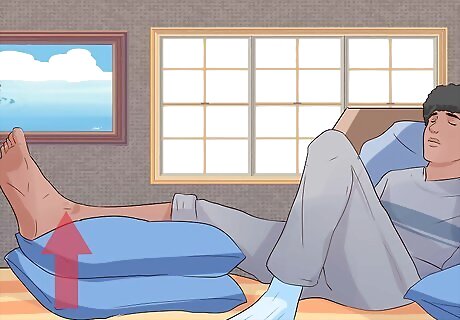
Elevate to reduce swelling. Elevating your ankle is helpful throughout various stages of the recovery process, but particularly when you are experiencing discomfort from swelling. Sit with your foot resting above your knee periodically, perhaps when you are icing.
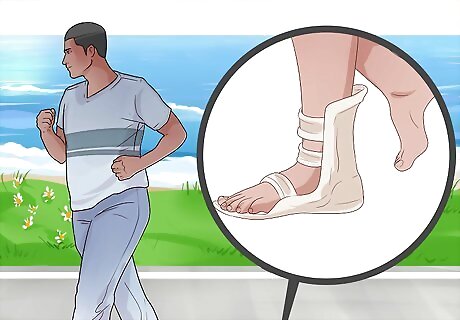
Increase physical activity gradually. You may end up in a splint or walking boot as you heal. Even once your actual bone has fully healed, the muscles and ligaments in your ankle, feet, and leg will be stiff and weak. Undergo physical therapy with a professional if you feel especially weak or out of sorts. Do not increase your physical activity without talking to your doctor or physical therapist first. Do not return to sports or long-term standing until you have full strength in your calf muscle and have full or nearly full range of motion in your ankle and foot.
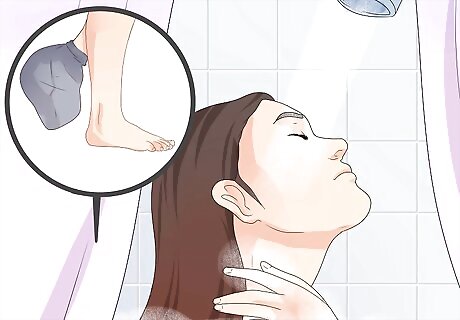
Keep yourself clean. This may be harder than normal, especially if you’re wearing a task. To take a shower, set an upside-down plastic bucket or stool in your tub, wrap your cast in a garbage bag, prop it up and off to the side, and shower the rest of your body normally.
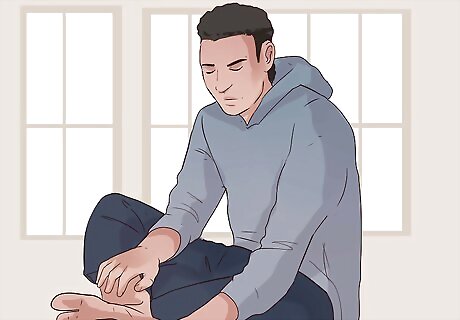
Scratch! Note: This one might not come with a formal doctor’s recommendation, as they tend not to like it when you stick stuff in your cast. That said, the plastic sticks that are attached to the balloons in the aisle of your grocery store may have something to say about that itch just out of your fingers’ reach.
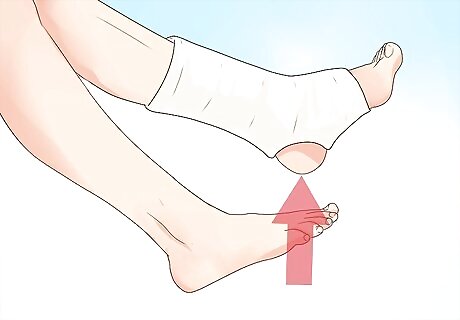
Aerate your casted ankle. There are a few ways to get air in your cast to prevent the growth of odor-causing bacteria and other sources of unpleasantness inside your cast. Perhaps the best way is with a vacuum, which can draw air through the porous material that makes up your cast, forcing fresh, dry air to replace it and refresh your skin. You can buy vacuum attachments designed for this purpose, or simply try the attachments you may already have. You just need something of a seal between the vacuum hose and the wall of your cast.

Eat nutritiously. We should all be paying attention to the quality and quantity of what we consume. This is especially important when our body is working to repair itself. There are some surprising facts associated with bone recovery in particular. Some helpful points to know: You may actually need to increase your caloric intake. This may seem odd, since you’ll likely be more sedentary with a broken ankle. However, bone recovery processes sometimes lead to increased metabolic demand, so much so that your ideal caloric intake will be much higher than normal. If you’re your metabolic demand is not met by your caloric intake, your healing process may be slowed. Eat more protein. Research has indicated that even small increases in protein consumption will speed up your bone’s recovery process. Make sure you’re getting your nutrients. Zinc, calcium, copper, phosphorus, magnesium, and silicon are particularly important to bone health and recovery. Take your vitamins. In fact, step up your vitamin intake. Whereas protein and minerals provide the materials with which bones are rebuilt, vitamins make it happen. Vitamin C, vitamin D, vitamin K, and the B vitamins have been proven to play a role in this process.
Staying Mobile
Ask for a physical therapy consult. If you have been admitted to the hospital for a broken ankle, then you can ask to have a consult with a physical therapist. A physical therapist can show you how to properly use your crutches and offer other important information about moving safely while you have a broken ankle.
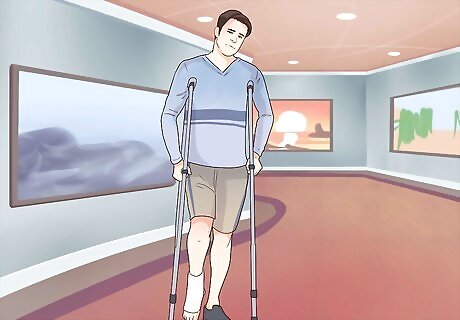
Learn how to use crutches. If you want to walk around while wearing a cast or splint – and you should – you’re going to need to use crutches. Crutches will help with both balance and stability, and will allow you to walk without putting pressure on your injured leg. In order to walk safely on crutches, be sure to wear a rubber-soled, non-slip shoe on your strong, uninjured leg. Place your weight on your uninjured leg, and grip your crutches comfortably. Move each crutch forward simultaneously. Take care not to hit your injured ankle. Place the crutch about a foot in front of you, a bit wider apart than your shoulders. Lean your weight into the support of the crutches and step forward with your uninjured leg. The crutches will hold you during the step, until you land on the same leg you stepped forward with. Only your uninjured leg should ever touch the ground. Turn by pivoting on your good foot, and never let your injured ankle touch anything. Go slow! Repeat the process until you’ve arrived wherever you want to be.
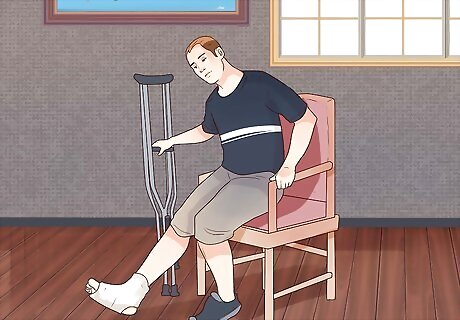
Sit down safely. Having one operable foot and two crutches makes sitting down more difficult. You can handle it. Back up towards whatever you want to sit on until it is touching your legs. Move your injured leg in front of you and out of the way while balancing on your strong, uninjured leg. Your crutches could help here – they can act as a second foot to help stability. To sit down: Hold both crutches in the hand corresponding with the side of your body with an injured leg, putting your weight on your strong leg and weak-side crutch. (If you are unable to hold both crutches in one hand, set your strong-side crutch down within reach.) Reach back with your free hand and grab something firmly attached to whatever you’re going to sit down on. Sit down slowly.
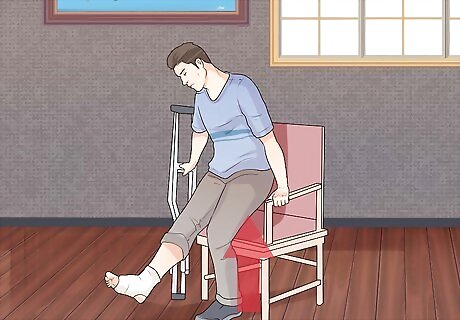
Stand up safely. Standing will require additional effort with only one operable leg. Position yourself on the front edge of your seat. Set your injured leg gently in front of you. To stand up: Hold both crutches in your hand that corresponds with the side of your body with the injured leg. (If unable to do so, set the crutch up in such a way that you will be able to easily reach it while maintaining stability once standing.) Use your free hand to help push yourself from your seat as you stand up with your uninjured leg. Carefully balance on your strong, uninjured leg as you position a crutch in each hand.
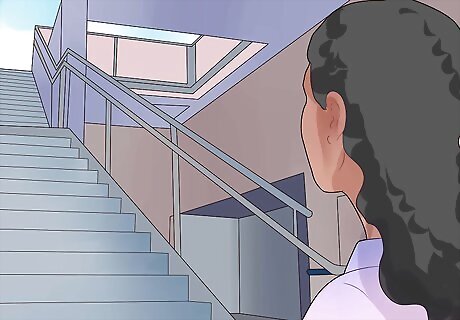
Learn to climb stairs. Do not attempt to walk up or down stairs on crutches until you are comfortable using them. Until then, sit down and move yourself up and down stairs one at a time. It may feel silly, but it will feel less silly, and less painful, than re-injuring your leg or busting your other ankle! Once you’re ready to use your crutches on stairs: Up: Step up with your strong leg first, then bring the crutches up at the same time, one in each arm, placing them on either side of your body. Down: Place your crutch ends on the next step down, one in each arm, a bit wider apart than your shoulders. Move your weak leg forward and down, without resting weight on it. Move your strong leg down last. With handrail: Hold the handrail with one hand if you feel more stable. Hold both crutches on your other side in your other hand. Go especially slow when you are on stairs, ramps, or uneven ground.
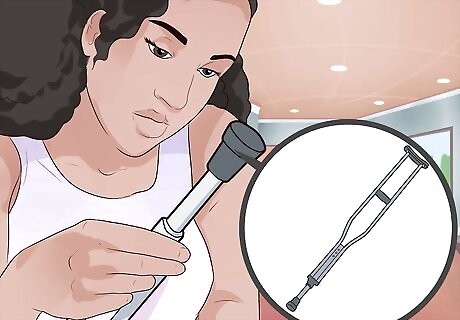
Keep your crutches and home safe for movement. Check the tips of your crutches frequently and replace them when they are visibly worn down. Decrease obstructions in your home. Remove loose rugs, rugs with corners that stick up, and cords that could trip or tangle you or your crutches. Keep floors free of clutter, clean, and dry.
Medicating at Home
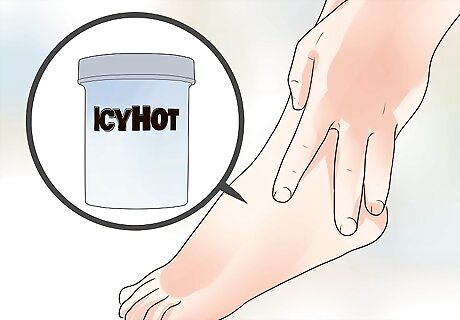
Use IcyHot. IcyHot can be used to treat minor aches and pains of the muscles and joints. Products like IcyHot use menthol and methyl salicylate to cause the skin to feel cool and then warm. This effectively distracts your sense of feel away from the ache or pain beneath the surface of your skin. Use IcyHot only on the skin. Do not use IcyHot on your face or in your nether-regions. Do not touch those areas of your body when IcyHot is on your hands. Apply a thin layer to the uncomfortable area up to 4 times a day, but no more. Rub the ointment into your skin gently, but thoroughly. Wash your hands after applying this medication. Do not use IcyHot, Biofreeze, or Bengay on skin that is cut, scraped, sunburned, or otherwise injured. Do not use this medication in proximity to activities or environments that will increase your skin temperature. Since there are many products similar to IcyHot available at varied strengths, always read your medications’ labels and consult a doctor with any questions.
Consider your painkiller options. You’re going to be dealing with a lot of aching, itching, and swelling. Consider taking a nonsteroidal anti-inflammatory drug (NSAID). However, be aware that the chronic use of NSAIDs can lead to gastric bleeding and ulceration. Therefore, be careful how long you are on the medication. NSAIDs are available as various types of over-the-counter pain-relievers including: Aspirin (such as Bayer or Excedrin). Take 650mg (usually two pills) every fours, with food. Do not give aspirin to children. Naproxen sodium (Aleve). Take 400-440mg twice a day, with food. Do not take more than 500mg in one day. Talk to your doctor about Aleve for patients under 13. Ibuprofen (such as Advil or Motrin IB). Ibuprofen may be ideal for ankle injuries because it is both a pain medicine and an anti-inflammatory. Take 200-400mg every 4-6 hours. Do not take more than 1,200mg in one day unless advised to do so by a doctor.
Ask your doctor about NSAIDS if you are unsure about what to take. If you are overwhelmed by your choices, then ask your doctor. Other reasons to talk to your doctor first are if you: Are over 60 years old. Are pregnant or nursing. Drink three or more alcoholic beverages daily. Have liver, kidney, or heart disease. Are taking medication to thin the blood, for high blood pressure, or have other bleeding problems. If you’re already taking aspirin to help prevent blood clots, always take your aspirin 30 minutes before any other NSAID.
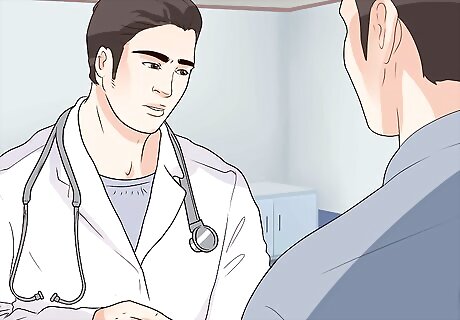
Talk to your doctor. When taken for less than ten days straight, NSAIDs are safe for most people. That said, several studies have raised concern about bone healing and NSAID use. More studies have been recommended. Without definitive proof of negative effects, NSAIDs are widely considered useful medications in fighting pain for those with leg injuries, though some medical professional encourage the use of acetaminophen (such as Tylenol), which relieves pain but does not have anti-inflammatory properties. Do not take NSAIDs if you are at a high risk of bone healing impairment.






Comments
0 comment