
Mixing Copycat Bisquick by Hand
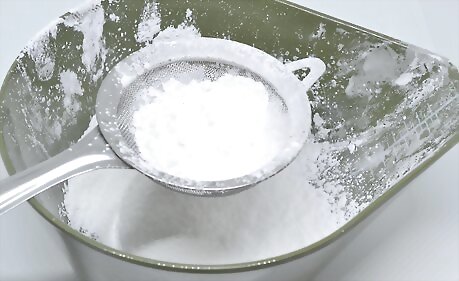
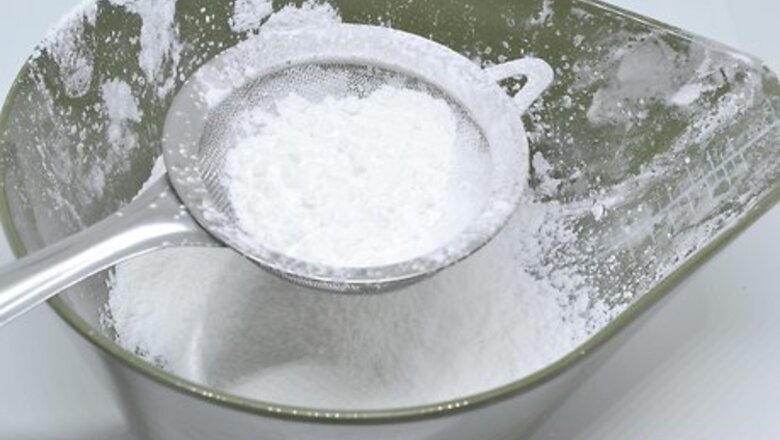
Sift the flour, baking powder, and salt into a large bowl. Sift 6 cups (600 g) of all-purpose flour into a large bowl. Follow up with 3 tablespoons (41 g) of baking powder and 1 tablespoon (17 g) of salt. It would be easiest to use a sifter for this, but if you don't have one, you can use a fine, mesh sieve or strainer instead. This copy-cat recipe will last for 3 months. If you won't use it by then, halve or quarter the recipe. Check the baking powder to ensure that it is fresh. Make sure that the expiration date is at least 3 months from now.
Repeat the sifting process 2 more times. Place your sifter over a second bowl, then dump your flour mixture into it. Tap the sifter to sift the mixture into the second bowl. Repeat the process to sift the flour back into the first bowl. This is important because you want to break up the small clumps of flour. It will also help blend the baking powder and salt into the flour.
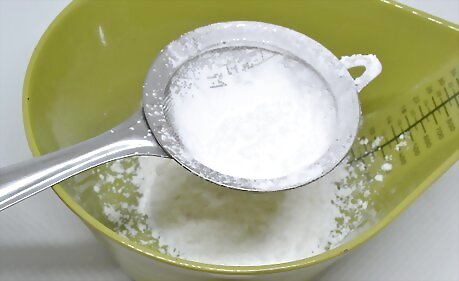
Add the shortening into the bowl. Cut 1 cup (225 g) of vegetable shortening into ⁄2 in (1.3 cm) cubes, and add it to the flour mixture. You can use cold butter or coconut oil instead of shortening.

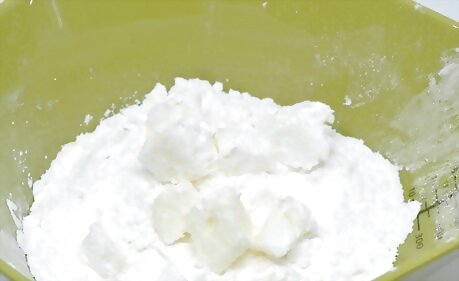
Cut the shortening into the mixture using a pastry blender. Set a pastry blender into the bowl and rock it side-to-side, then lift it up. Repeat this motion several times, as fluidly as you can, until the mixture resembles fine crumbs or cornmeal. Alternatively, hold a knife in each hand, so that they make an X. Set them into the bowl, then slide them past each other, repeatedly, changing directions often.

Store the mixture in an airtight container, in a cool, dark place. If you used shortening or coconut oil, you can store the Bisquick in a cool, dark cabinet. If you made the Bisquick from butter, however, you'll have to keep it in the fridge, or it will go rancid. A glass jar would be the best, but you can use a plastic container too.

Use the Bisquick within 3 months. You can use this for just about any Bisquick recipes, such as Bisquick biscuits or Bisquick pancakes. You can also use it in any other recipe that calls for Bisquick.
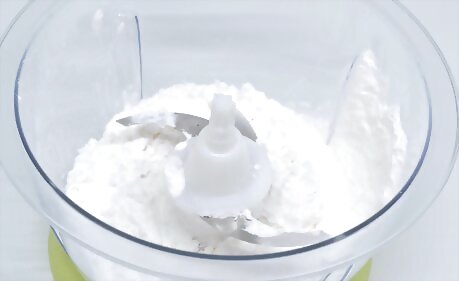
Place the flour, baking powder, and salt into a food processor. Measure out 6 cups (600 g) of all-purpose flour and place it into a food processor. Add 3 tablespoons (41 g) of baking powder and 1 tablespoon (17 g) of salt. This recipe has a shelf-life of 3 months. If you don't think you'll use it within that time, halve or quarter the recipe. Use fresh baking powder. The expiration date should be at least 3 months from now.

Blend the ingredients for 15 seconds until they're combined. Close the lid on the food processor and pulse it for about 15 seconds, or until everything is mixed together. Make sure that your food processor is fitted with a blade attachment, not a whisk or paddle.
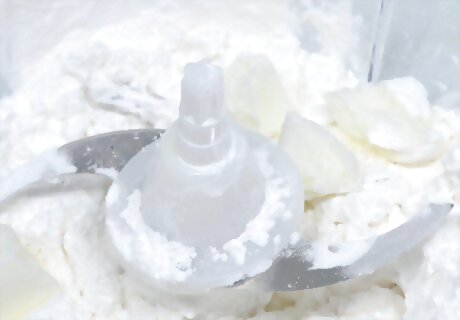
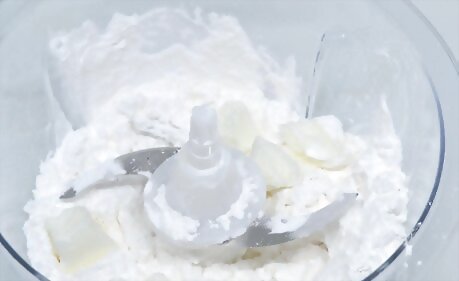
Add the vegetable shortening. Cut 1 cup (225 g) of vegetable shortening into small cubes first, then add them into the food processor. Make sure that you spread them evenly across the top of the flour mixture. Aim to make the cubes about ⁄2 inch (1.3 cm). If you don't like shortening, try cold butter or coconut oil instead.
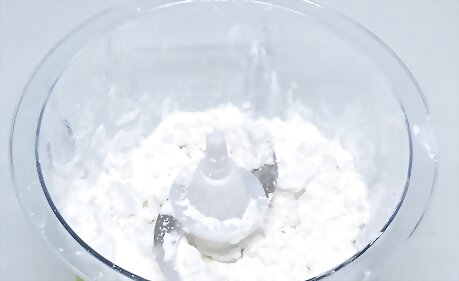
Blend until the mixture looks like cornmeal. Pulse the food processor 2 to 3 times first, then let it run for about 10 seconds. The mixture is ready when it resembles cornmeal or fine crumbs.

Transfer the mixture into an airtight container. A glass jar would work the best, because it seals tightly. You can use a plastic container with a tight-fitting lid, but be aware that it may affect the flavor of the Bisquick a little.

Keep the jar in a cool place and use the Bisquick within 3 months. You can store coconut oil and shortening-based Bisquick in a cool, dark cabinet, but if you use butter, you must store it in the fridge, or it will go rancid. You can use this mixture in any recipe that calls for Bisquick.
Making Gluten-Free Bisquick

Place all of your dry ingredients into a food processor bowl. You will need 4 cups (455 g) of finely-ground white rice flour, 2 cups (226 g) of tapioca starch, 1/4 cup (50 g) of granulated sugar, 3 tablespoons (41 g) of baking powder, 2 teaspoons of salt, and 2 teaspoons of xanthan gum. If you don't own a food processor, put the ingredients into a large bowl. You'll be mixing them by hand. This recipe will last for about 6 weeks. If you won't use all of it by then, use half or a quarter of the ingredients instead. Make sure that the baking powder is fresh. Check the expiration date on the can, and ensure that it's at least 3 months from today.

Blend the ingredients for 15 seconds or until the texture is even. This will ensure that everything gets mixed together evenly. If you are mixing by hand, sift the ingredients between 2 large bowls using a flour sifter, a fine mesh strainer, or a sieve. You could whisk the ingredients together by hand, but the ingredients may not get distributed evenly. Make sure that the food processor is fitted with the blade attachment, not the paddle or whisk.
Cut the shortening into the mix. Measure out 1 cup (225 g) of vegetable shortening, then cut it into ⁄2 in (1.3 cm) cubes. Add the cubes into the bowl or food processor. Be sure to distribute the cubes evenly. Make sure that the shortening is cold, or it won't mix properly.

Pulse the food processor, then blend it for about 10 seconds. Turn the processor on and off 2 to 3 times, then let it run for about 10 seconds. The mix is ready when it looks like cornmeal or fine crumbs. If you are doing this by hand, cut the shortening into the mix with a pastry blender or 2 knives. You could also try rubbing it in with your fingers.

Transfer the mixture into a jar. You can also use a plastic container as long as it has a tight-fitting lid. Another option is to measure it out into the portions specified by your recipe, and put those into plastic, zippered bags. Most recipes will call for about 2 cups (240 g) of Bisquick.

Store the mix in a cool, dark place for up to 3 months. A cabinet or pantry is a great option here, but you can also store the Bisquick in the fridge. Make sure that you use it within 6 weeks, however; after that, the baking powder will start to become less effective, and the shortening will go rancid.


Comments
0 comment