
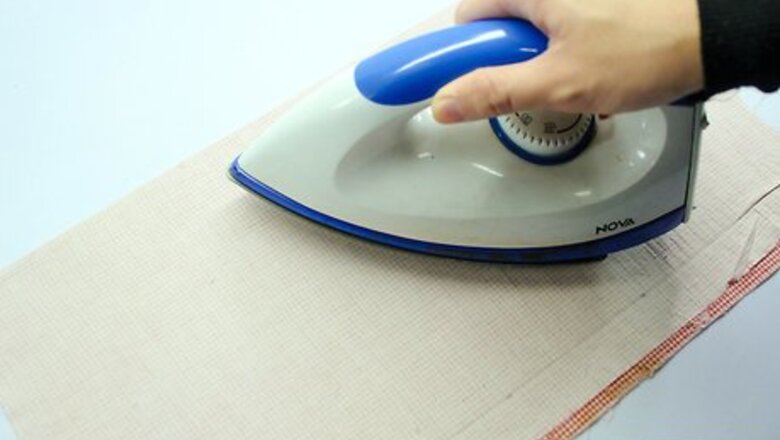
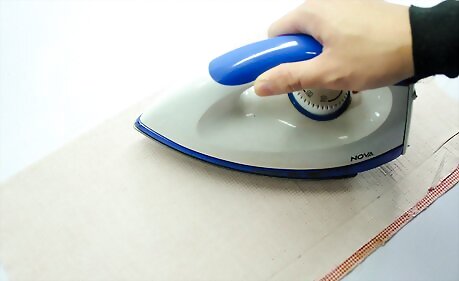
Take the fabric you have available. Fold it in two (wrong side out, right sides touching) and flatten it out.
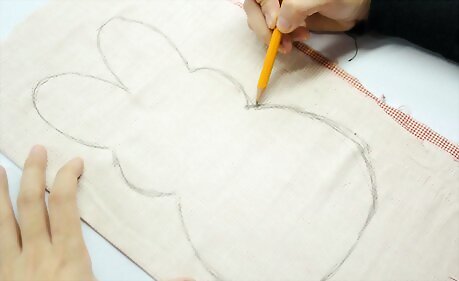
With tailor's chalk, a pencil or (not recommended) a pen, trace the outline of your desired new friend. Remember to give room for seam allowances, especially between the bunny's ears. Cut.
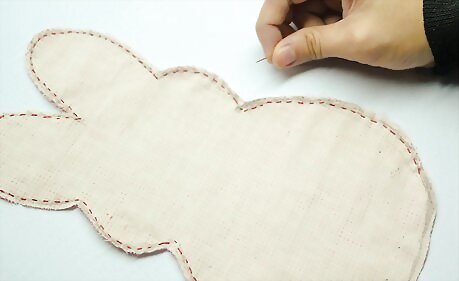
Sew (most practical by hand if the bunny is small) all around the bunny, except for a small opening on which you will insert the stuffing, preferably using a thread the same color as the fabric.

Turn it right-side out and insert the stuffing of your choice. You may need something thin yet not sharp to help you push the stuffing (eg.: an un-sharpened pencil) in spots such as the ears or arms.
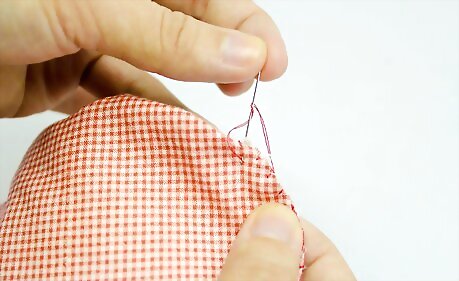
Sew the opening shut to ensure the stuffing stays where it belongs.
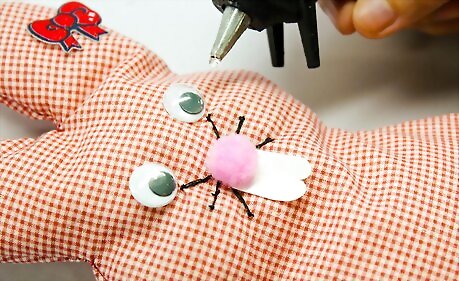
Embroider your bunny! This is the fun part: embroider the details on your bunny in the colours of your choice. Don't forget the whiskers, the eyes, the nose and, if you'd like, the little teeth. If you can find a pompom or make your own, by all means sew it to the bunny's behind.
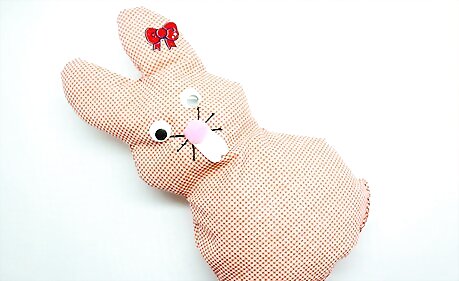
Finished.


Comments
0 comment