
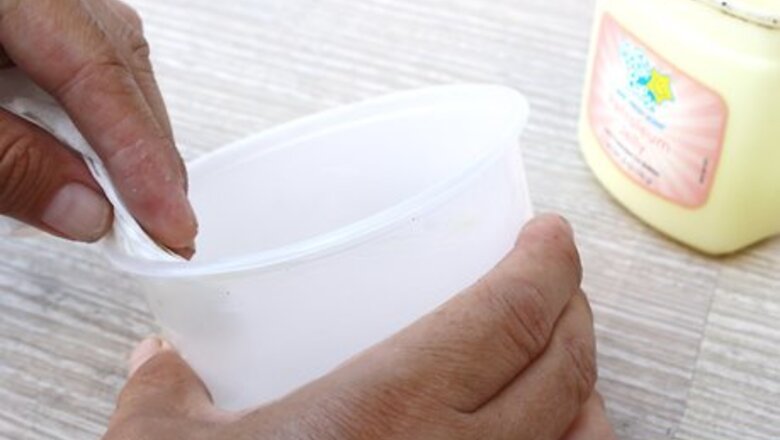
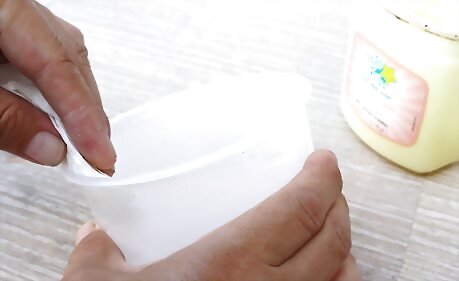
Clean and dry your resin mold. Coat it with a thin coat of petroleum jelly or cooking oil. Towel or pat out any excess and to smooth out the petroleum jelly. If you're using a silicone mold, there is no need to lubricate it first. Silicone molds are flexible, and resin doesn't stick to silicone.
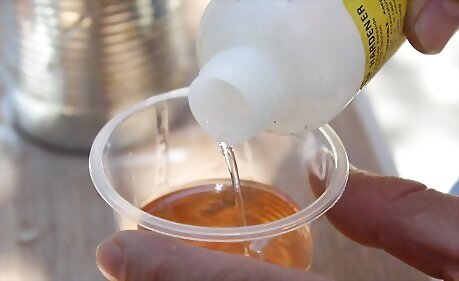
Mix up approximately 6 to 8 ounces of resin with its catalyst agent or hardener. If you want to, add a smidge of glitter, pearlescent powder, or resin dye to the resin or add the appropriate number of drops of resin coloring to the mixing container. If you are using UV resin, you do not need to mix it with a hardener. Epoxy dyes do not work with UV resin, and vice versa. However, glitter and pearlescent powder works with all kinds of resin.
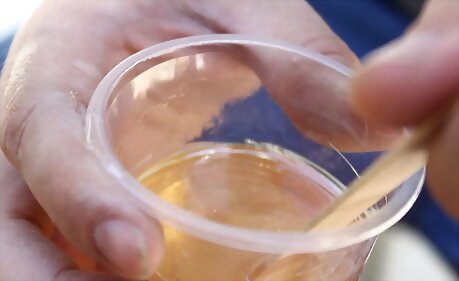
Mix thoroughly as instructed for about two minutes.
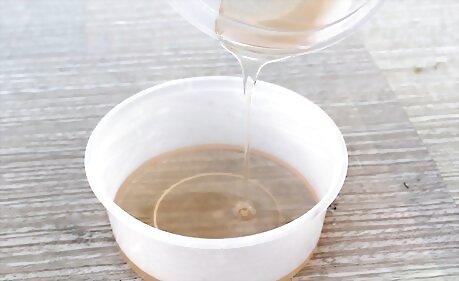
Pour the resin immediately into the prepared mold. Extra resin may be placed in a second mold or set aside as the resin may be layered.
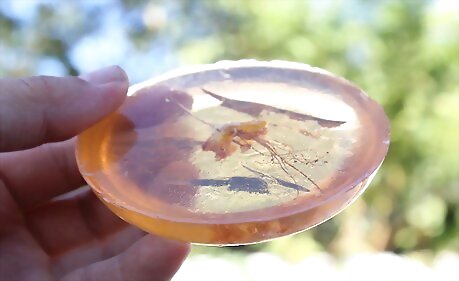
Allow it to cure. Once cured, it will shrink slightly and it will make sun-molding a bit easier.
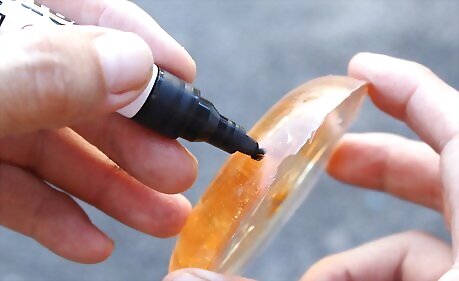
Mark the center of the piece (which is the top).
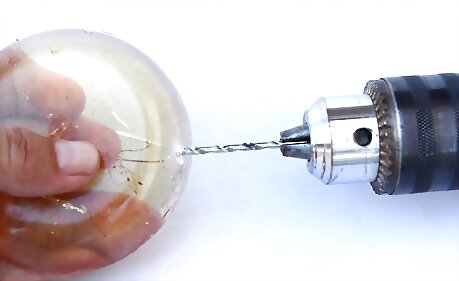
Drill at least two inches into the resin.
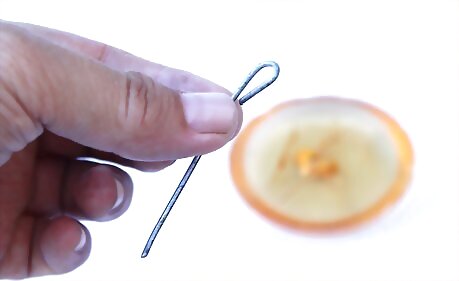
Form the wire into a shape like a paperclip.
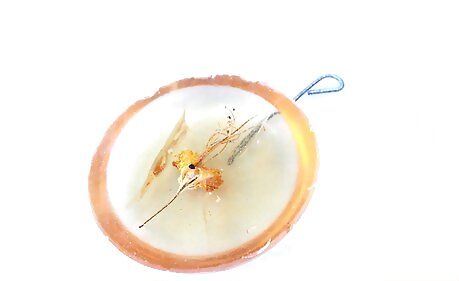
Pour epoxy, E-6000, or other plastic or metal glue into the drilled hole.
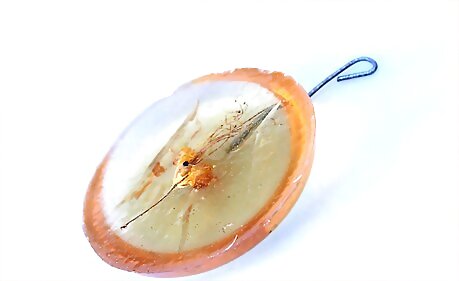
Allow it to cure for a second time, up to 2 weeks.


Comments
0 comment