
Creating a Reading Nook
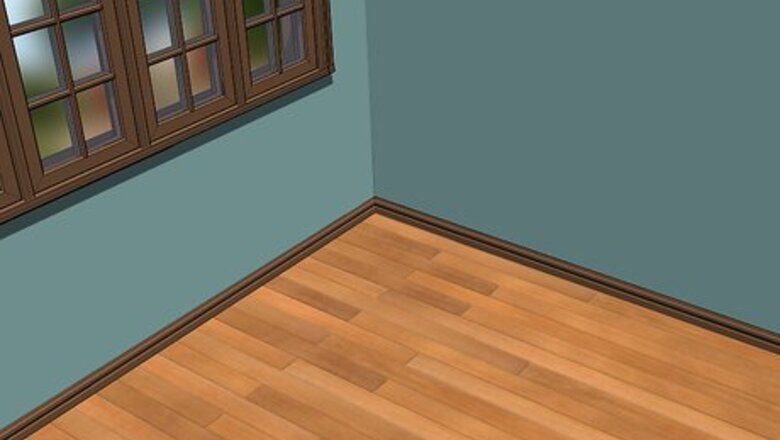
Find a good spot for your nook, such as a corner, alcove, or a box. You may find it necessary to rearrange your bedroom furniture. Doing so will open up spaces that are good potential nooks. Pick a spot that's as quiet as possible. You do not want a lot of loud noises, such as a radio or TV, to disturb your peaceful little getaway. The corner of a room or a space near a window make great spots for reading nooks. Though natural light is ideal, you could use lamps in the nook if necessary.
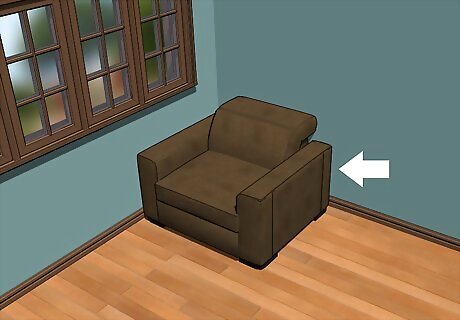
Decide what kind of seating you want to utilize. Do you want a big fluffy chair that swallows you up? Do you want a chair that you can curl up in? Do you prefer a bunch of pillows on the floor or a beanbag instead? Or do you want a woven bench that doubles as a coffee table and an ottoman? Consider how much space you have for seating as well. If you have a lot of room, a chaise lounge will create a luxurious feel. If you don’t have a lot of space, a hanging chair or floor pillows will work well.
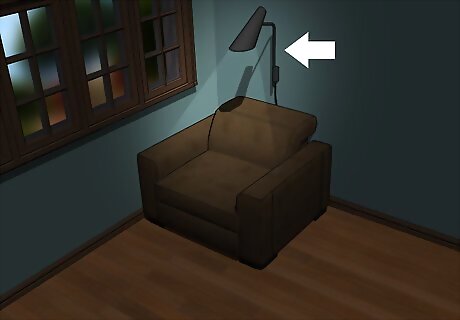
Brighten up your space with light. Ample light is the perfect way to capitalize on moments of inspiration that might come to you as you read. Find a light that strikes a balance between lighting needs and your level of comfort. For daytime reading, nothing beats glorious daylight. If it gets too bright, pull across the curtains to prevent the direct sunlight from beaming onto your reading material. For reading at night, a simple lamp will do, as long as it is adjustable. Another option is to buy a desk or floor lamp. You could also hang a reading light or globe light above the reading nook.
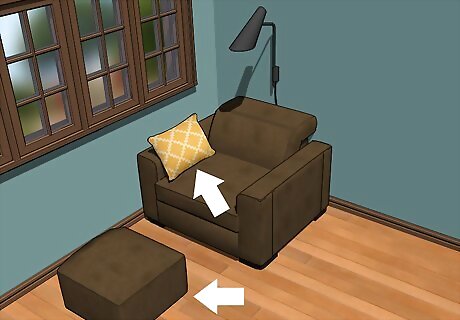
Make it a place of comfort. The most important part of a reading nook is comfort. It must be something that appeals to you and encourages you to curl up in it time after time. Think of softness and textures that delight you. Do not use anything that you do not like or that gives you a feeling of unpleasantness. Surround yourself with the things that make you the most comfortable, such as a plush throw or soft pillows. Use colors, patterns and textures that make you feel safe and warm. To anchor the nook visually, add a small rug to the space. This has the added benefit of a comfortable place to rest your feet.
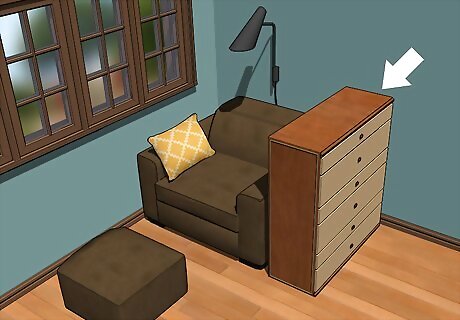
Seclude the reading nook from other parts of the room if possible. This can be as simple as putting a low dresser perpendicular to one wall to give the impression of division, or it can be as complicated as hanging curtains around the nook to create a canopy. The division will give you a sense of ownership of the nook and keep others from invading your private space. Treat your nook like a hideaway and keep a snack nearby that’s savory and sweet, like cheddar popcorn with candy corn. Unplug from everything and don’t introduce phone or electronics to your quiet space. Surround yourself and your personal haven with sweet aromas. Purchase a season-themed candle and place it in your nook to help you further unwind. To make the space even more tranquil and absorb noise, hang a tapestry on the wall.
Creating a Canopy Nook
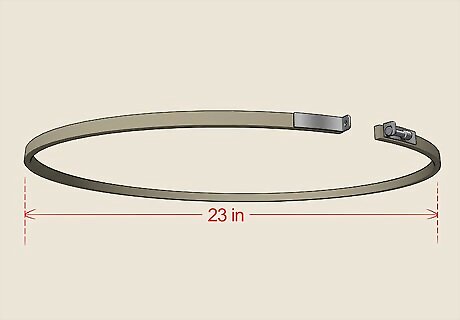
Start crafting the canopy nook by taking apart the embroidery hoop. The perfect size for an embroidery hoop is about 23 inches (58 cm) and the hoops can be found at any local store that sells crafts. Take the hoop apart and place its hardware pieces in a baggie to keep them from getting lost while you put the canopy together.
Slide the curtain fabric onto the embroidery hoop. You’ll need 3 packages of white 110 in × 68 in (280 cm × 170 cm) curtains. Be sure that the casing seam at the top of your curtains are facing the hoop on its inside. Slide all 6 curtain panels around the circumference of the hoop.
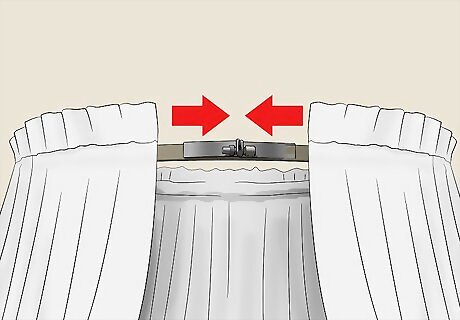
Secure the hoop back together. Clamp the 2 ends of the embroidery hoop together by inserting the hardware pieces you previously placed in the baggie. Slide curtains over the hoop’s closure and make sure that the curtains are distributed evenly around the circumference of the hoop.

Prepare the ribbons that will hang the canopy. Get a spool of off-white ribbon that’s 1 ⁄2 inches (3.8 cm) x 12 feet (3.7 m). Cut 3 pieces of ribbon about 4 inches (10 cm) long so that the hoop can hang a good distance away from the ceiling. If you want the canopy to hang down even lower from the ceiling, cut the ribbon pieces a little longer. Spread the curtains and loop the ribbons around the sides of the hoop. The ribbons should be looped onto the hoop every couple of panels so that the curtains are even on each side and the access points are more plainly seen. Tie the ribbons together at the top into a knot.
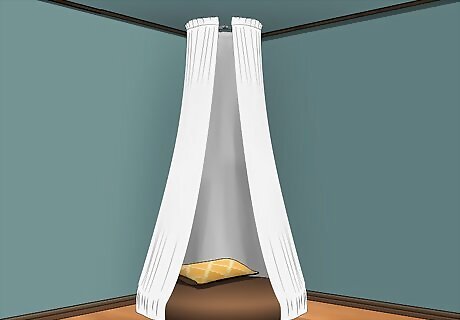
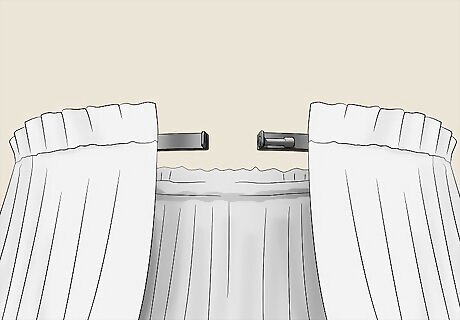
Hang a hook from the ceiling, then hang the canopy from the hook. Hooks are available at most home improvement stores. Hang the knotted ribbon and your canopy curtains over the hook in the ceiling. Spread 2 of the panels to create a door. Add pillows to your finished canopy or stuffed animals to give the reading nook some personality. These reading nooks can also act as a tent around small armchairs in children rooms and nurseries and can be the perfect place to read to your child while they’re in your lap.
Creating a Closet Nook
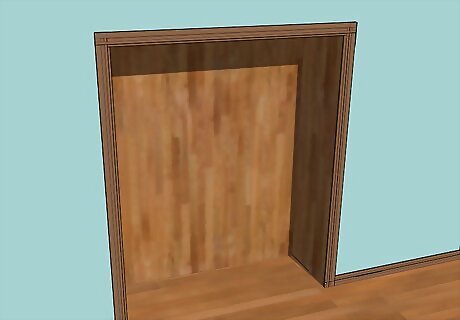
Make sure the closet is perfect to use to create your nook. If your room is too tight to accommodate a canopy nook, a closet nook is a great alternative. Your closet should have a great size, location, and should be optional for use.
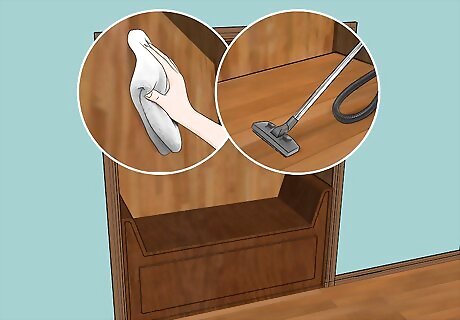
Prepare your closet for the nook. Empty the things out of the closet, take out your shelving, wash down your walls, and vacuum the floors. Make a base by constructing a bench seat out of plywood, using lag bolts to secure the seat to the studs.
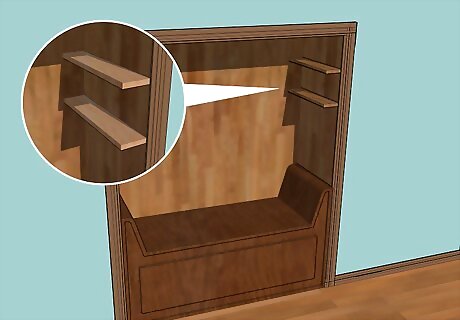
Construct some texture in your reading nook. Install 1 in × 4 in (2.5 cm × 10.2 cm) pine wood boards as paneling three-quarters of the way up the wall. On the right side of the closet, install 2 of those 1 in × 4 in (2.5 cm × 10.2 cm) pine wood pieces on the right side of the closet as 2 floating shelves. Attach the wood to the closet with power grab adhesive glue or finishing nails. You can also hang items on the wall, such as a dream catcher or macrame tapestry. Or, frame pages from vintage books or quotes that inspire you to create a mini gallery wall.
Include a light source. If the closet has an overhead light, that would work well. If not, add a reading lamp or hang a couple sconces. You could even put up string lights or Christmas lights for a fun, whimsical touch.
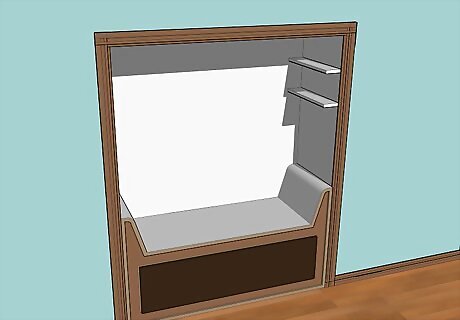
Choose a color theme for your nook. Paint the remaining quarter above the paneled section with the color of your choice. Stain the wood with wood stain to preserve it and give it more of a polished look. Paint the shelves, borders, and bench white.
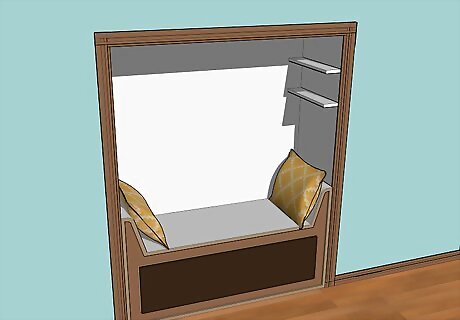
Add personal touches to make the space special. Place a cushion, a warm throw, and throw pillows on the bench for comfort inside your nook. Put some books up to line the shelves you’ve installed and some books in a couple of wicker baskets for decoration. For children’s nooks, consider using different toys to help you decorate the space. Include stuffed animals, toy cars, a flashlight, etc. Create themes centered around favorite novels to add to the reading theme. Include cloaks or wands if you are a big Harry Potter fan or a makeshift Narnia with a snow white color palette and a stuffed lion.


Comments
0 comment