views
Using Different Items for a Pencil Holder
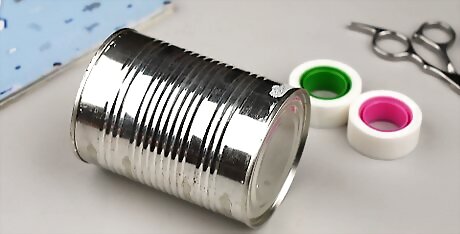
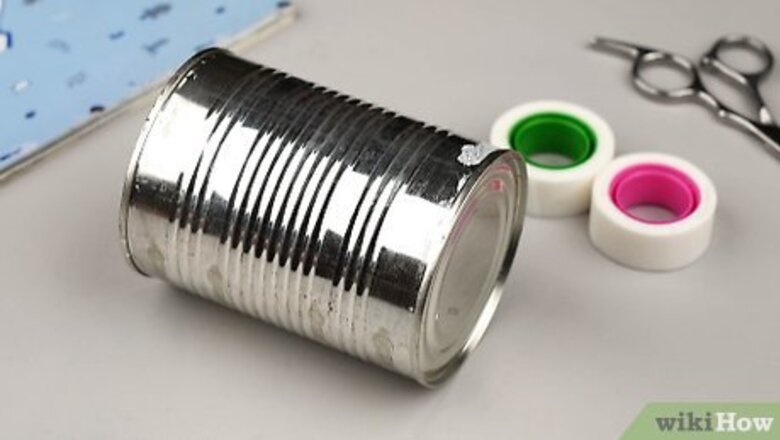
Recycle aluminum cans. These items are perfect for pencil holders because they are a good shape and can usually be found around the house. Next time you make a cup of soup, cook vegetables, or make beans, save your can. Simply rinse it out and set it aside so that you can later reuse it.
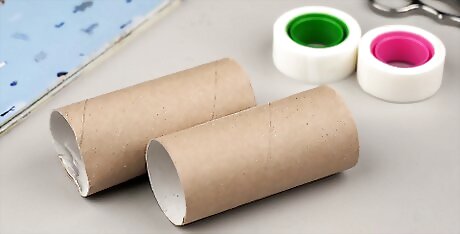
Use a toilet paper roll. Almost everyone has these and they are great pencil cans, and can be grouped together to form cool designs. You'll need to create a bottom for your holder but that is simple. Simply trace the circumference of your toilet paper roll onto thick cardboard. Then, cut out that cardboard and tape it to the toilet paper roll until it is secure. It won't look pretty, but it doesn't matter because you will decorate the roll. To create a cool grouping with your pencil holders, take each toilet paper roll and add a bottom to it. Then, group them together by using three, four or five rolls (depending on how many holders you want). Place the rolls side by side, or in a circular grouping. You can also cut some of the rolls to be shorter so that you have different heights for your holders.
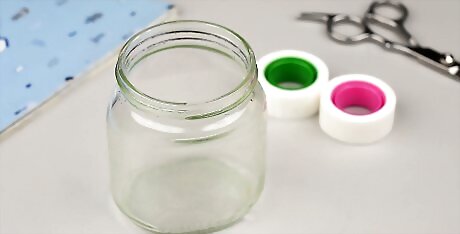
Find an old mason jar. Mason jars can create the perfect, rustic look for a pencil holder, but can also be decorated to be a very pretty, simple holder. If you don't have an old mason jar you can purchase them at the store for an inexpensive price. You can also use a glass jar leftover from salsa or another product, or you can simply use a regular glass. If your jar has a label on it you'll need to soak the label to remove it. Fill up a large bowl with hot water and place your jar in the water. After an hour, check the label and see if it can be easily peeled off. If it is still difficult, place it back in the water and allow it to sit for another hour or so. It's beneficial to soak a label rather than pulling it straight off, because many labels leave a sticky residue. Soaking your label will remove any residue and give you a clean jar once you remove it.
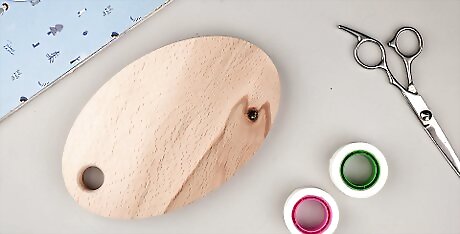
Use a piece of wood. For this type of pencil holder you'll need a piece of wood that has enough depth to hold a third of your pencil, so about two to three inches. A log or thick branch can be a good a choice for this holder. Saw off the excess wood so you have your desired height. Then, take a drill bit (7/16 inch is a good size) and drill holes into your wood. Then, finish it off by sanding your piece until it has a smooth finish. You can drill the holes in your wood in any pattern that you'd like. You can drill 15 holes placed symmetrically in the wood or you can do a random pattern.
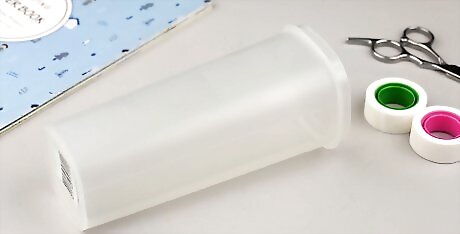
Reuse a crystal light container. These aren't the small cardboard boxes, but the taller plastic boxes that are circular or oval shaped. Simply peel off the label of the can once you have emptied out its contents and you are ready to decorate!
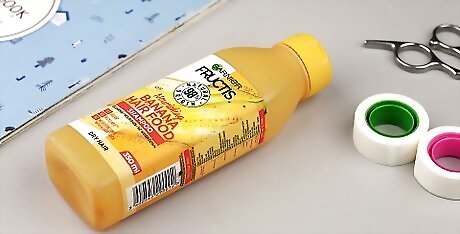
Recycle an old shampoo bottle. Once you have finished using a shampoo or conditioner bottle, don't throw it away. Rinse it out and cut it to use as a pencil holder. Take off the lid and then cut off the top quarter of the bottle. If your bottle is taller or shorter you may need to cut a different amount. You can use an X-Acto knife or scissors to cut your bottle. It is now ready to be decorated! A bottle like this doesn't always stand up easily, especially if it isn't completely round. However, these bottles work great if you want to hang your pencil holder on a wall. Simply place a piece of velcro on the flat side of the back of the bottle, and then place the other side of the velcro on the wall. You can now hang it up above your desk.
Designing Your Pencil Holder
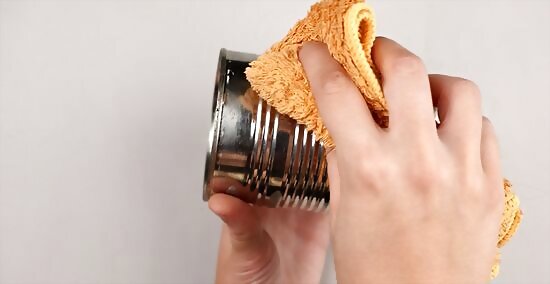
Clean it. Before you begin to decorate your pencil holder, you'll want to make sure it is thoroughly clean. If you are using a glass, can, or plastic item, rinse it out with water and soap and clean the outside as well. This will ensure that you don't have dirt on the outside of the holder while you decorate. Make sure your holder is completely dry before decorating it by wiping it down with a paper towel. If you wipe down your item with a regular towel you risk leaving lint on your holder, which will make it more difficult to decorate. You can use an old rag that has been washed many times, though, as these won't have too much lint on them. If you are using wood or the toilet paper roll, just make sure it is free of dirt or dust. You can wipe off the toilet paper roll with a slightly damp towel (but you don't want it too damp as this can damage the roll). If you are using a piece of wood, take a sweeping brush, and sweep off any dirt or dust that was leftover after sanding it.
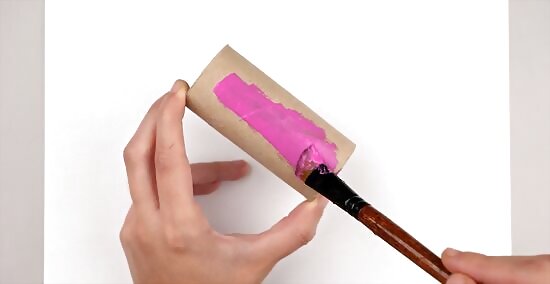
Paint your holder. There are so many different ways you can decorate your pencil holder, but one of which is painting it a solid color or with a design. If you have an item that is originally not a pretty color (like an aluminum can) first spray paint it. Allow the paint to dry and then decorate it with your other paints. Covering your containers with chalkboard paint can also be a cool idea. Spray paint is a good base coat for paint as it will stick much easier to different surfaces than regular acrylic paint. Spray paint your holder in a well ventilated area. You also want to make sure it has the option to dry in an area that dirt and other bugs won't get to it, as they can easily stick to the paint as it is drying. If you plan to paint a lot of color over your base coat, choose a neutral color like white or light grey. That way your designs will pop. If you are going for a modern designed holder, spray paint or paint it a bright gold, silver, or white.
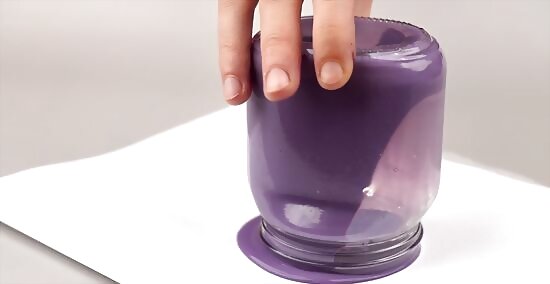
Tint or color your jars. If you have a clear glass jar, painting the outside of it can be difficult because the paint may not stick very well. However, you can dye the inside of your jar, which can create a very pretty look. There are several different ways you can color your jar: If you want to tint your glass (meaning it is still relatively clear but is now a color) you can do so using glue, food coloring, and water. Take one tsp of multi-purpose glue, three drops of food coloring (whatever color you want your jar to be) and one and a half teaspoons of water and mix it in a small bowl. If you want a different shade, like a turquoise, you may have to mix different colors, like blue and green. Pour the mixture into the jar and screw the lid on tight. Shake it up until the jar is fully coated. Then, set it upside down and let the coloring drain out. After most of the mixture has drained out, take off the cap and let it dry for a few hours. You can also paint the outside of these jars with the color mixture you created and it will dry translucent. Heat the jar in the oven. Take a mixture of 10 drops food coloring, two tablespoons mod podge, and one tablespoon water, and pour into the jar. Then, twist the jar around until the color covers all of the inside of the jar. Turn it over and let it drain out of the jar for about 30 minutes. Then, place it upside down on a piece of wax paper and place into a preheated oven at 225 degrees. Let the jar heat in the oven about 10 minutes, then take it out, flip it right side up, and stick it back in the oven for about 20 to 30 minutes. Paint distressed jars. Start with two coats of ultra matte paint in your desired color on the outside of the jar. Let each coat dry before you apply the next coat. Chalk paint often works the best when painting jars as it adheres to the glass better than regular paint. After the paint has dried, take a small piece of sand paper (80 grit) and rub it around the raised edge on the jars. Finish your look with a clear, matte finish sealant -- this will help the paint last longer on your jar.
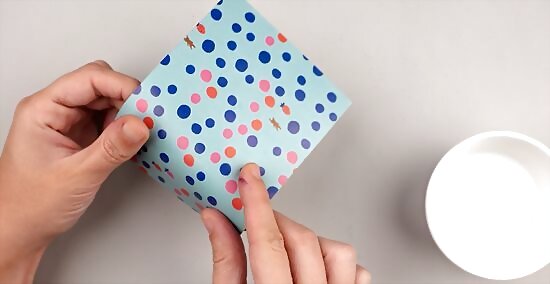
Cover it with fabric or scrapbook paper. Instead of painting your holder, you may want to cover it in a fun fabric or scrapbook paper. Take your material and cut a size to fit your holder. Then, glue it onto your holder with hot glue or by covering your container with mod lodge and then spreading the fabric onto the mod-podged container. Mod podge will likely help the material stay better, but it will create a wetter look on your material. If you don't want this, place hot glue on the top, bottom, and two edges of your holder and glue your material down that way, making sure you don't have any bubbles or gaps in the material. To cut the right amount of material, take your holder and place it on top of your material. Place one edge of your holder on the fabric, marking the fabric where the edge starts (it can be helpful to make a little mark on your holder as well). Then, roll the holder, tracing on the fabric where the top of the holder hits and where the bottom hits, until you've reached the first edge on your holder. Then, mark on your material where your holder ended, and cut out the area you traced, cutting out an extra inch around it in case you need extra material. To wrap your material around your holder you should be able to take the piece you just cut and start at one edge of your holder. Wrap the piece around until you reach that same edge again. Cut off any excess material. You can also cover your can with a plain piece of white paper and then draw or color on it with markers, paint, or colored pencils. This can be a fun idea for little kids so that they can decorate their own pencil holders without creating too much of a mess.
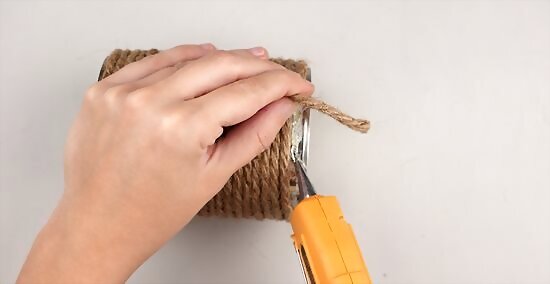
Decorate with rope or yarn. Maybe you are looking for a more rustic look for your pencil holder. If so, use twine, rope, or yarn to decorate your container. Simply take the color and texture of material you want and start at the bottom of your holder. Glue the beginning of your rope with hot glue and as you wind up your container continue to add hot glue. Then, cut off the rest of your material once you have reached the top. Make sure as you wind up your container that you don't leave any empty holes. Once you have created one loop around your container, place a string of hot glue right above it. This will hopefully prevent you from leaving gaps on your holder.
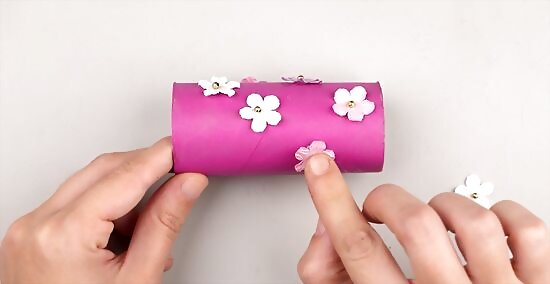
Add embellishments. Now that you've covered your container with paint, fabric, or rope, you can add any extra embellishments. Maybe you want a glittery can, vintage can, or floral can. For a glitzy can, shake glitter onto your paint as it is drying, or mod podge it onto your fabric. For a vintage can, add a trim of lace around the top or bottom of your can or old fashioned buttons. For a floral can, create felt flowers. You can also hide your holder completely by lining it with small twigs or wine corks. Another fun idea for a pencil holder is lining it with an old map, or a map of a location you hope to visit some day. You can also add a ribbon to the top or bottom of your can to cover up any ugly fabric or paper edges. The options are really endless!
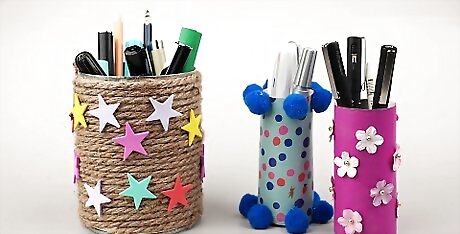
Finished.








Comments
0 comment