views
Preparing the Fabric and Materials
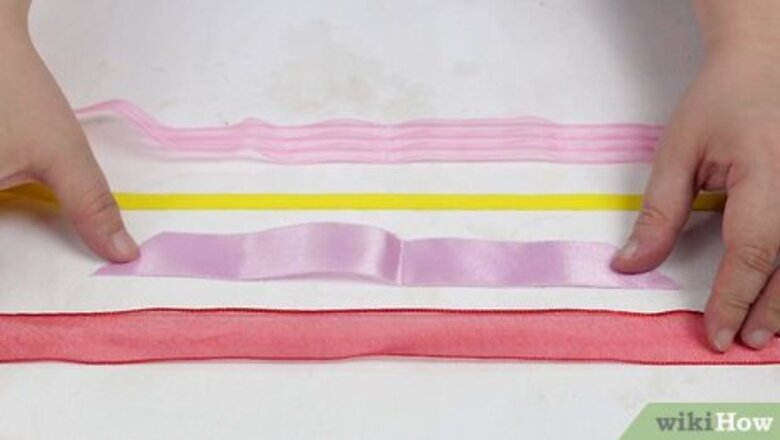
Select the fabric you would like to use for your bow. Some great fabrics to use would be satin, velvet, nylon, cotton, vinyl, or grosgrain. You can choose whichever material you like best. Consider how stiff you want your bow to be when picking out the ribbon. If you want your bow to pop-up, use a firmer material like grosgrain or vinyl.
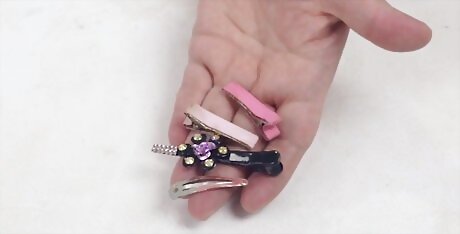
Decide how you want to fasten the ribbon in your hair. There are many types of hair clips, ties, and headbands available, and ribbon can be attached to almost all of them. All you will need to attach your ribbon to your hair accessory is a hot glue gun or fabric glue.
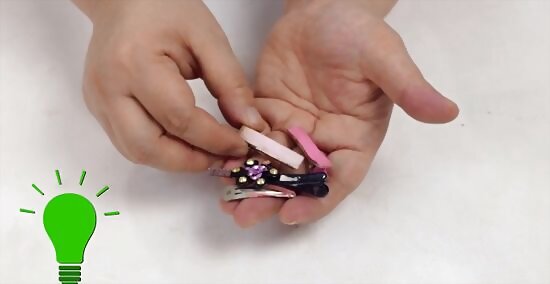
Choose the type of bow you want to make. There are endless styles of bows to pick from, all ranging in level of difficulty. Decide if you want to make a bow that requires glue or stitching before you begin. While bow making may seem challenging at first, with practice, it will become easier, and you can keep moving on to more challenging bows.
Creating the Bow Tie Hair Bow
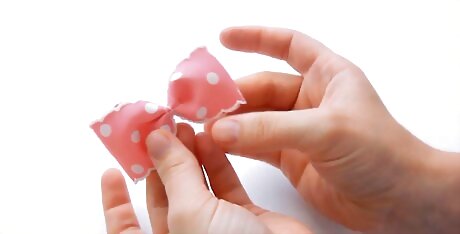
Try the versatile bow tie hair bow. This style has tucked tails, which gives it the resemblance of a bow tie. This bow is easy to fasten to any hair clip and is perfect for babies, pets, or headbands.
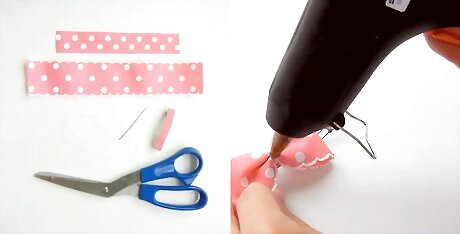
Gather your supplies. You can use any type of ribbon fabric or pattern you want for this style of bow. You may also want to choose an embellishment to add to the center of the bow as a finisher. You will need the following items: Ribbon Needle Thread Hot glue gun or fabric glue Embellishment for the center of the bow Hair clip, elastic, or headband to apply the bow to
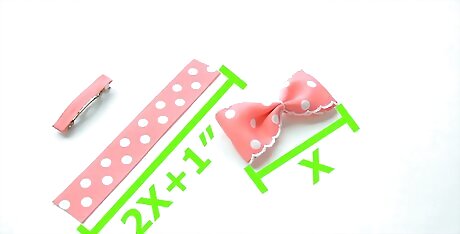
Decide what size you would like your bow to be. This bow design works in small or large sizes. Once you decide on the size you prefer, you will need to double the length, and add one extra inch to figure out how much material you will need to make your bow. If you would like a standard 2 1/2 inch bow, you will need six inches of fabric.
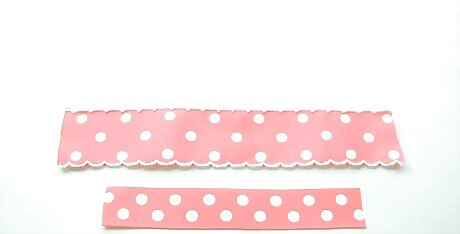
Cut your ribbon to the required length. Once your ribbon is cut, you will loop the ribbon into a circle, and allow the two edges to overlap by ⁄2 inch (1.3 cm).
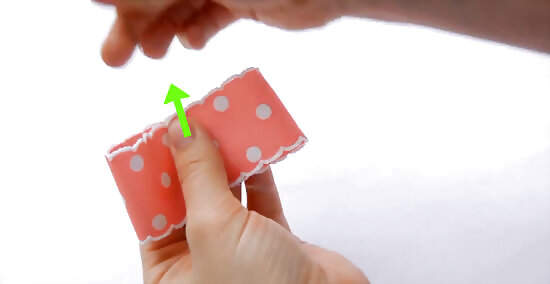
Hold the overlapped edges in place, and push your threaded needle through the bottom and pull it through the top. Then, wrap the threaded needle around the center of the bow several times so that the middle of the bow creases together in the center.
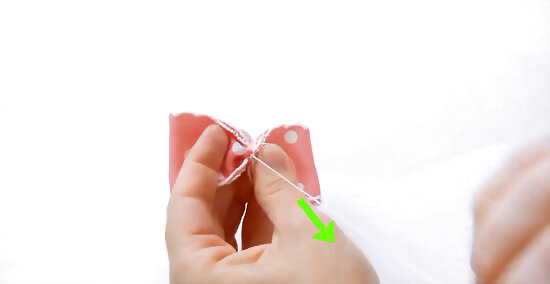
Tie off your threaded needle. Once the thread has a tight hold in the center of your bow, you can push your threaded needle through the top of the bow and pull it out through the bottom. Cut the needle off, and tie a knot in the remainder of the thread to keep it from pulling back through the thread.
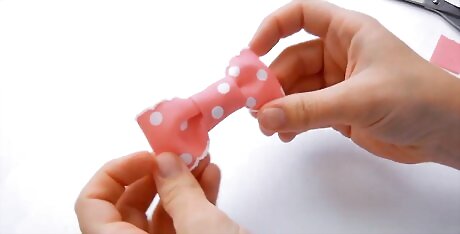
Finish off your bow. If you would like, you can add another piece of fabric by wrapping around the center to hide your thread. You can add any type of embellishment by simply gluing it directly on to the center of the bow. Once it has dried, your bow is ready to wear.
Creating the Classic Hair Bow
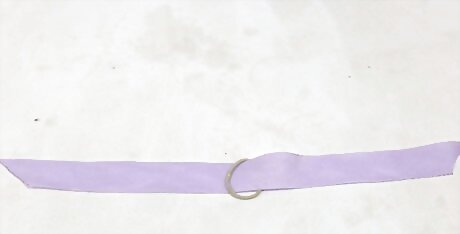
Try the classic bow for an easy style. The classic bow is tied in a similar way you would tie your shoelaces. For this, you will need about five to six inches of ribbon and an elastic hair tie.
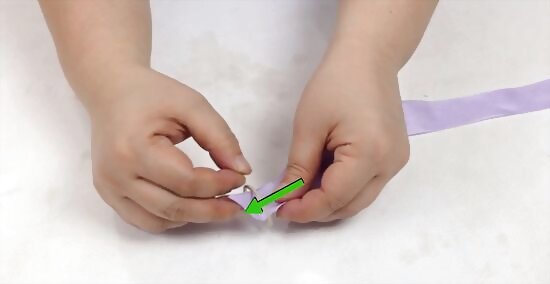
Pull the ribbon through the elastic hair tie. Make sure that the ribbon is smooth and has equal lengths on both sides.
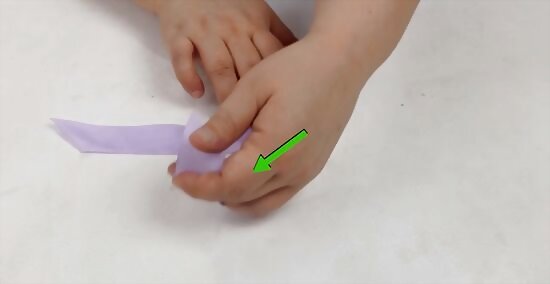
Cross the two sides together. To do this, lay the two pieces of ribbon on top of one another, and then slide the top piece over to the left, making them side by side. This will set you up for the knot.
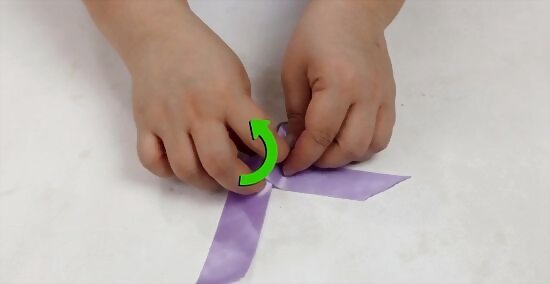
Create a knot with your two pieces of ribbon. Move the right piece up, over, and under the left piece, so that you create a loop. You will then move the right piece into the loop, and pull tight into a knot.
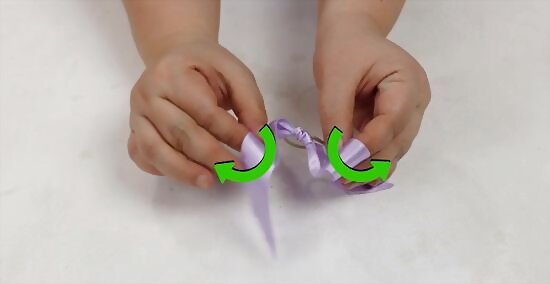
Fold each end of the ribbon into a loop. This is the first step to create the actual bow loops. Simply lay the end of each ribbon tail over your index fingers to fold the ends and create loops.
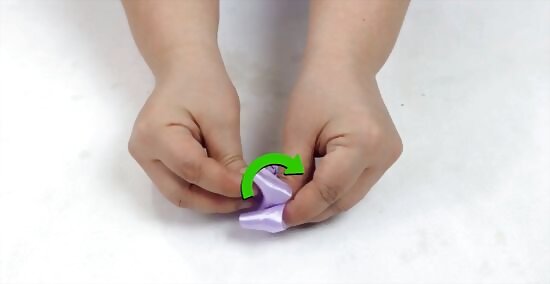
Cross the left loop over the right loop. Then take the left loop under the right loop and pull tight.
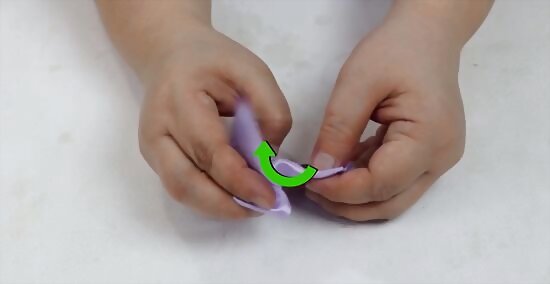
Take the left loop under the right loop and pull tight. Try to keep the bow loops flat while you make the knot. This will help keep the shape of the bow once it is tied.
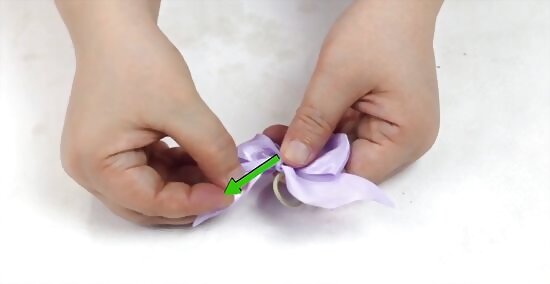
Arrange the ribbon loops. Each loop should be of the same size. Once they are even, cut the ends so they are the same length. Your hair bow should now be tightly fastened to your hair elastic and ready to be worn. To seal off the tail ends, use one coat of clear nail polish to keep it from unraveling.
Creating a Layered Hair Bow
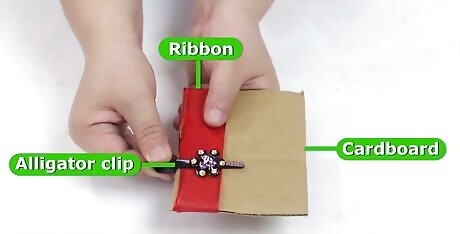
Make a boutique style layered bow. For this unique bow, there are several materials you will need to create a three-inch-long hair bow. Go to your nearest fabric store, and get the following: 23 inches of ribbon Needles Thread Straight pin Alligator clip 5 x 4 piece of cardboard Sharp scissors or rotary cutter Straight ruler Hot glue gun
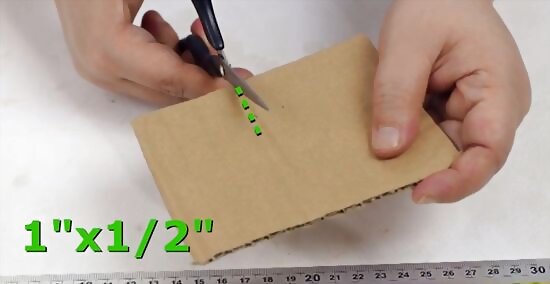
Cut your cardboard template. To create the shape of your bow and hold down your ribbon, you will use a piece of cardboard to act as a template. You will need to cut a square out of the center of the length of the cardboard that is one inch deep and 1/2 inch long. Measure out the space you will cut with a ruler and trace it with a pencil. Use sharp scissors or a rotary cutter to carefully cut your cardboard.
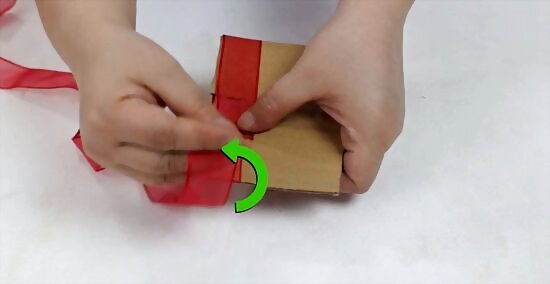
Wrap your ribbon around the length of the cardboard twice. This will create the layered look of the bow. Use an alligator clip to keep the end of the ribbon held down as you wrap it around your template.
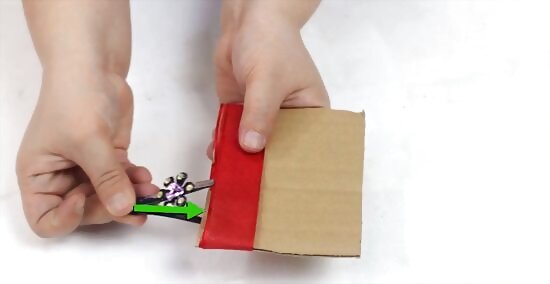
Hold your wrapped ribbon in place. Once you have wrapped the ribbon around the cardboard template twice, flip over the template, and use your straight pin to hold the ribbon in place. Push it through the cutout opening of the template so that it goes through the top and bottom of the ribbon.
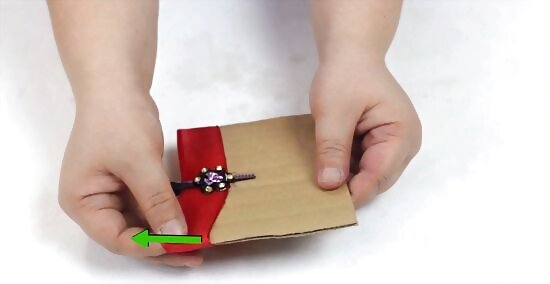
Slide the ribbon off of the template. Be sure to carefully remove the ribbon, but leave the pin in the center to hold the shape of the ribbon. Apply pressure on the pin while simultaneously holding your ribbon. You can now pull the tails of the bow out from the bottom of the ribbon to the left and right side. Your ribbon should begin forming an "X" shape. Pull each loop up to form an 'X' design. The goal is to fan out your bow to create more volume and shape on each side. You can move the loops how you would like by keeping pressure in the center to hold them in place.
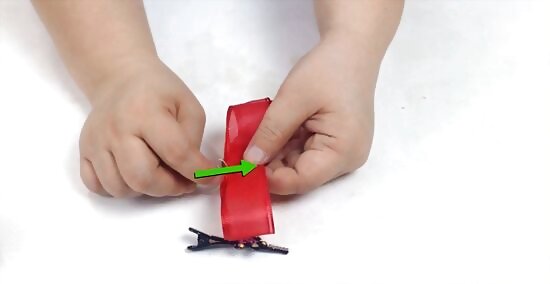
Crease your bow with thread. Take your threaded needle and make sure the end of your thread is already knotted so that it doesn't slide through your ribbon. Pull the needle through the bottom center of the bow while making sure your bow doesn't loose the "X" pattern. Once you have wrapped your needle through the center of your bow several times, cut the needle from the thread and tie the thread in a knot.
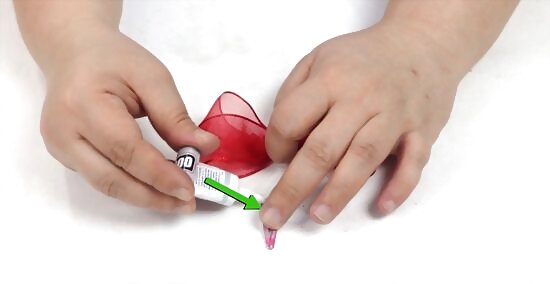
Glue your bow on your desired hair accessory. You can use a hot glue gun, or fabric glue, to glue your bow to a hair clip, headband, or hair tie. Once the glue has dried, your bow is ready to wear.






Comments
0 comment