views
Designing the Kit
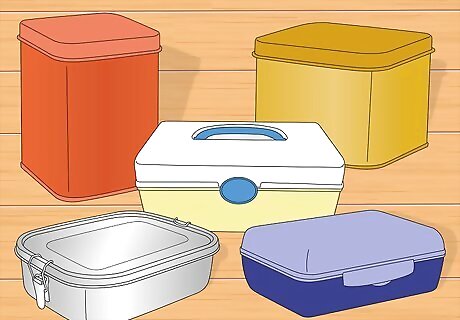
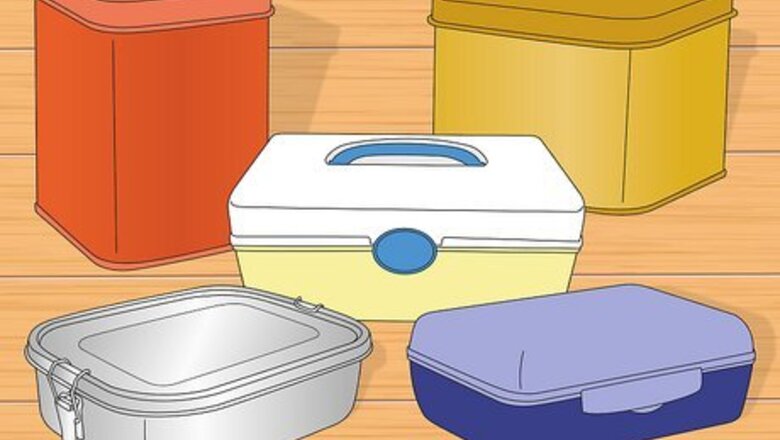
Decide on the right size for the kit. Consider how and when the kit will most likely be used and where it will be stored. Also, consider the age of your child and what they can carry. A manageable size for a container that would still be able to contain the necessary items for your kid is a case the size of a shoebox. For example, you might use an old lunchbox for the kit. If you're making a first aid kit for your child to bring on school trips, make sure it's small enough to fit in their backpack or gear bag. If you are making a kit to keep at home, be sure it won’t be too big or cumbersome for your child to pull the kit from wherever it is stored. Only teach your child to use the kit if you think they're responsible enough to understand.
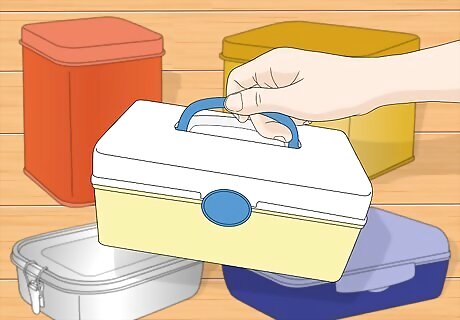
Choose the appropriate container material. First aid kits can come in a variety of sizes and are built from a variety of materials. Choosing the right material for your first aid kit should again be based on how the kit will be used by your child. For example, lightweight plastic might work well for kits that your child travels with, but a sturdy metal tin might be great for a home kit. Some additional considerations: Consider using a container that has a handle to make it easier for the child to transport it from one place to another. Make sure the container is not made of anything that will be too heavy for the child to lift once it is full of first aid items. Translucent containers will make it easier to keep track of items that need to be replaced. Look for a waterproof container so that none of the items inside get damaged.
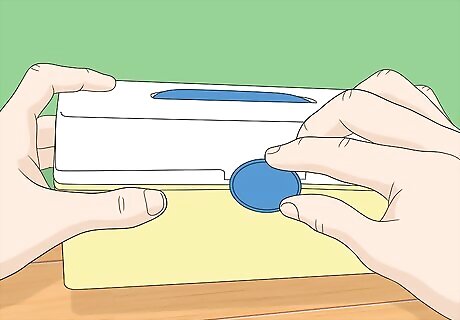
Make sure the container can be locked. When not in use, you want to make sure that the contents of the first aid kit are unable to be tampered with by any younger children in the house who aren't mature enough to use the kit. A clasp or lock will also ensure that the kit does not open easily during transportation. You want to be sure that the clasp is one that the child can open quickly in case of an emergency. Try to find a container that has the same type of clasp found on children’s lunch boxes. Since the kit will probably not be used very often, it is also a good idea to practice opening this lock with your child so they remember how to open it in an emergency. Don't teach your child to use the kit until you think they're ready to use it responsibly.
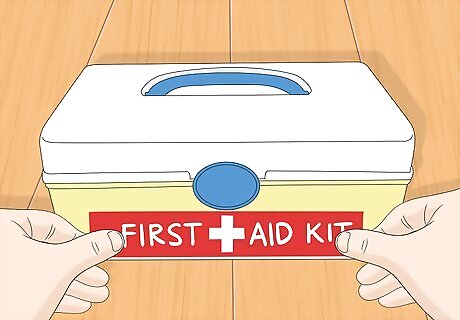
Label the box as a children’s first-aid kit. The kit should be labeled clearly as a first aid kit for kids. Using a bright label, such as in red, will make the kit stand out within a crowded locker or cabinet. You should also paint or affix a symbol to show that it should be used for first aid, which is typically designated by a medical emblem or a cross (usually in white against a red background or vice versa). It is important to label the children’s kit so it is distinct from an adults’ first aid kit. For example, also label the kit with the child’s name (e.g., KATIE’S FIRST AID KIT). Consider keeping the adult first aid kit high up where it can’t be accessed by the children in the house, and be sure it has a more advanced lock or clasp on it so it is childproof. This is because your adult first aid kit will likely contain supplies that aren't appropriate for a child, such as medicated ointments. Teach your child to only use their first aid kit.
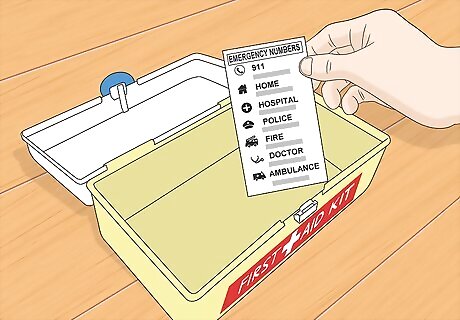
Affix emergency numbers to the kit. In addition to stocking the kit with first aid items, it is also a great idea to include any emergency numbers your child might need in an emergency. Collect the telephone numbers for the local emergency room, 9-1-1, Poison Control, your contact information, and the number for a trusted neighbor, family member, or friend. Each number should be clearly printed underneath the name of the location or person. Consider including a small icon or picture for each location or person. This will help your child easily locate the number they need in a stressful emergency situation. Review the icons and the list of numbers with the children who will use the kit so that they are aware of which contact is which, and how to dial the numbers, and who to call in certain situations. Although it's unlikely your child will need the information, it's best to teach them how to use it in case of emergency. In most cases, your child will use their kit to find a bandaid, but it's best to be prepared.
Stocking the Kit
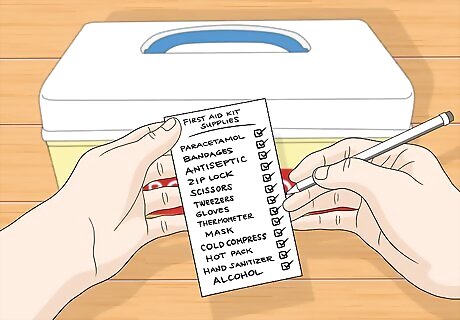
Create a checklist of item to include in the kit. This list will not only help you stock the new kit initially, it will also help you keep track of what items have been used and need to be replaced, expiration dates, and whether or not any items or medications are missing. You should also review this list with your child as you stock the first aid kit, explaining to them what each item is, what is for, and how to use it. Consider the age of your child. For example, a kit for a child who's 5-10 years-old might include mostly bandaids, antiseptic towelettes, and possibly instant cold packs. However, a kit for a pre-teen or teen might also be stocked with medicated ointment, sterile gauze, medical tape, an ACE bandage, a thermometer, eye wash, calamine lotion, aloe vera gel, and cough drops. If your child takes a medication and knows how to administer it themselves, you might include it in the kit.
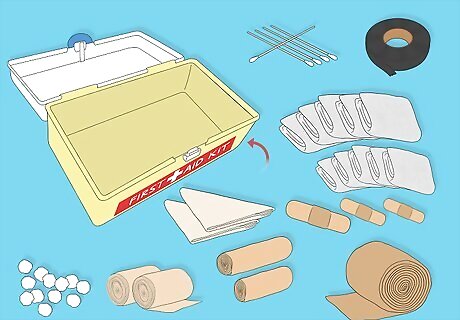
Include a variety of bandages. Keep all of your bandages together in a section of the kit. If your kit does not already have dividers built in, put all of the bandages in a clear plastic bag labeled “BANDAGES” with permanent marker. You can also purchase smaller plastic containers to stack within the first aid kit, also labeling the container for bandages with permanent marker. The Red Cross recommends including the following types of bandages and dressings in first aid kits: 2 absorbent compress dressings (5 x 9 inches) 25 adhesive bandages of various sizes 5 sterile gauze pads (3 x 3”) 5 sterile gauze pads (4 x 4”) Gauze roll Roll of cloth adhesive tape One 3” wide and one 4” wide roller bandages (“ACE bandage”) for wrapping wrist, elbow, ankle, and knee injuries 2 triangular bandages Sterile cotton balls and cotton-tipped swabs
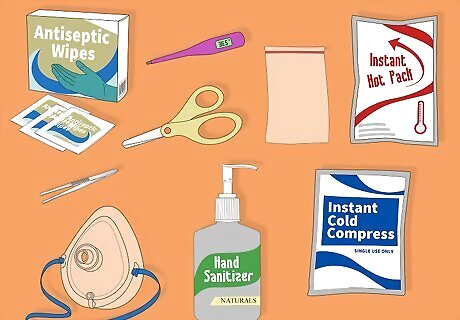
Add basic medical tools. Since this kit is for a child, you don’t want to include any tools that would further endanger them. Because of this, you may need to revise the suggested tools depending on the age or ability of your child. These tools will help them remove debris and prepare the wound to be dressed and bandaged. Again, keep these tools in the same area within your kit, keeping them within a separate, labeled clear plastic bag or container for ease of use. Some suggested medical tools to include: Small, sharp scissors with rounded, child-safe tips Tweezers, for removing splinters and such 2 pairs of non-latex gloves Non-mercury oral thermometer CPR breathing barrier mask (with one-way valve), if they're trained in CPR Instant cold compress Instant hot pack Hand sanitizer 5 antiseptic wipe packets or antiseptic spray (for external cleaning only) Zip-close plastic bags (to dispose of medical waste)
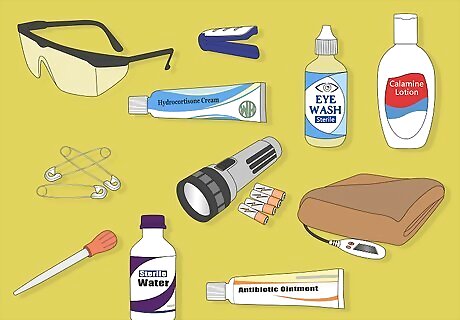
Consider including additional first aid items. Depending on the size of your container and where the kit will be used, there are additional items that are recommended to include in a first aid kit. These are more applicable for use with older children, since many of these items might not be safe for young children to handle. Some additional kit items to include: Sterile drinking water Eye protection Sterile eyewash Prepackaged space (warming) blanket Aluminum finger splint Safety pins (to easily fasten splints and bandages) Antibiotic ointment (ones containing ingredients such as bacitracin or mupirocin) Calamine lotion (for stings or poison ivy) Hydrocortisone cream, ointment, or lotion (for itching) Flashlight and extra batteries Turkey baster or other suction device (for flushing out wounds while on road trips or while camping)
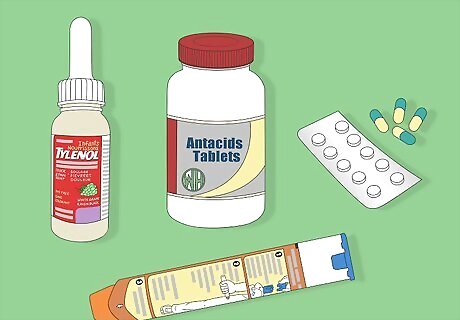
Include medications depending on your child’s age. Depending on the age of the kid(s) using the kit, you may or may not include medicine within the first aid kit. If you do choose to include medications, be sure to keep these separate from the bandages and tools, and make sure the smaller container or bag for medicine is clearly labeled as such. You should also include a measuring cup for any liquid medication, and consider labeling each medicine with the required dosages. Recommended medications to include: Low-dose pain and fever medicines, such as children's Tylenol Antacids to treat upset stomach Small doses of any prescription medications taken by the child/children Epinephrine autoinjector (if necessary)
Teaching Your Child About the Kit
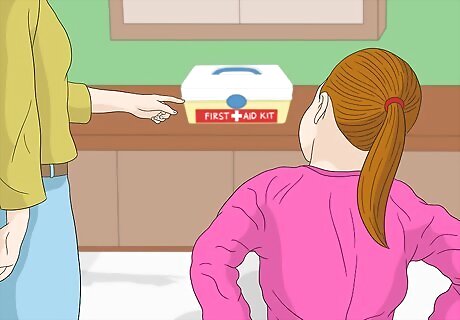
Show your child where the kit is located. You want to make sure that your child knows where the kit is located in case of an emergency. You want to make you kit easily accessible so that they don’t have to rummage around trying to find it. Designate a spot that is clearly defined, visible, and consistent so that locating the kit becomes routine. You also want to be sure to establish a location for the kit that is safely out of reach for any younger children in the house.
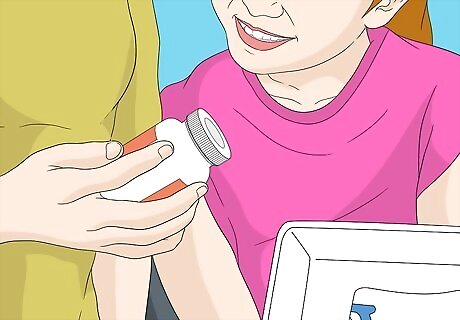
Go over each item in the kit with your child. As you stock the kit with first aid items, go over each item with your child one at a time. Explain to them what the item is and how it should be used. Do this calmly and try to avoid scaring your child. Remember that empowering them with this knowledge will help make emergency situations less scary. To avoid overwhelming younger children, only review 1 - 3 items per day. Tell your child to notify you or another adult if they use the kit, especially if they or their friend is injured. If an adult is available, encourage them to ask for help.
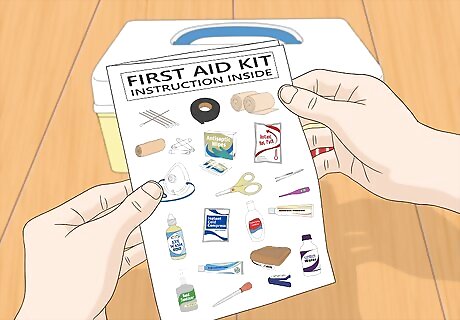
Include a pictogram for each item in the kit. Even with careful review and instruction, the anxiety of the situation may cause your child to forget how to use each item in an emergency. To help them remember how to use each item, create a booklet with pictures depicting each item. A pictogram can be printed out from images found online to show how each item in the kit should be used, in picture form. Go through each pictogram with your child in detail before putting it in the first aid kit. Consider creating separate pictogram booklets for each section of items within the kit (e.g., bandages, tools, medications, etc.).
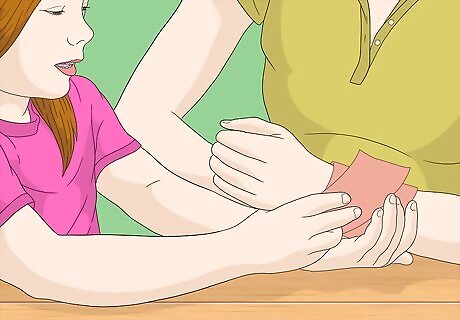
Practice with your child. In order to make sure your child understands the kit and its items, role-play a few scenarios to get your child to demonstrate their understanding. Ask your child to do a demonstration of how each item in the kit should be used. Be sure to do this in a relaxed setting that does not have any interruptions. Make it fun by pretending your child is the doctor and you are their patient!
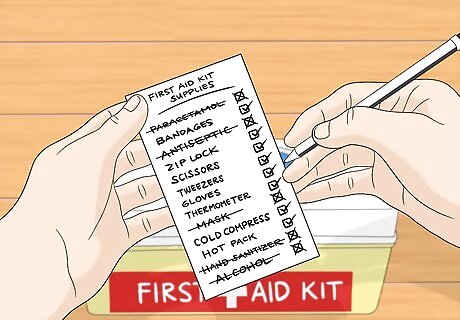
Update the kit after each use. Using the checklist within the kit, regularly monitor the contents of the kit. Be sure to review the kit’s contents after each use to take stock of what is depleted and needs to be replaced. Also be sure to check the medications and ointments to make sure they are still within their use-by date. If they have expired, remove the item, properly discard it, and restock the kit with a fresh item. Any items that are reusable should be inspected thoroughly to ensure that they are in good working condition and that they were not damaged during use.






Comments
0 comment