
Following Safety Guidelines
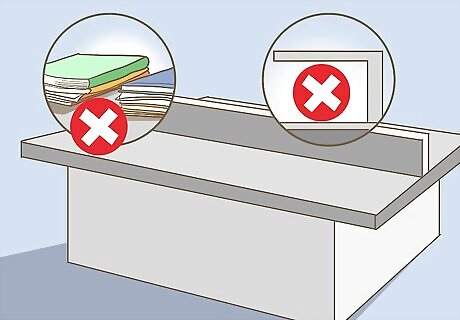
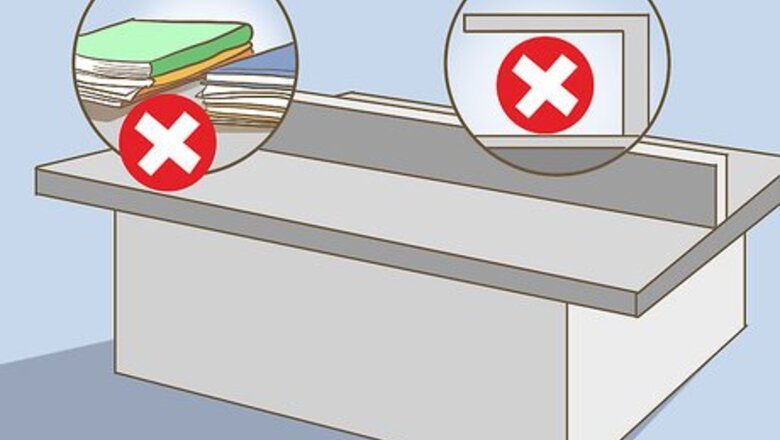
Use a Bunsen burner in a clean, uncluttered area. Put away notebooks, papers, and any other clutter that might pose a fire hazard. Avoid using a Bunsen burner below a shelf or other overhead equipment.
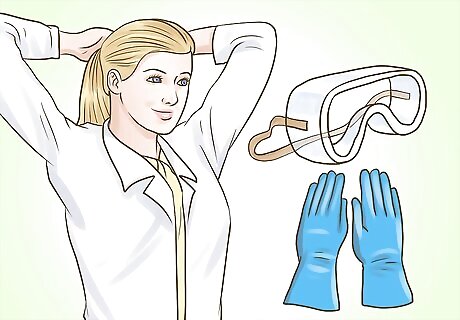
Wear safety gear and tie back loose hair or clothing. In addition to wearing protective goggles and gloves, make sure your wardrobe is free of potential fire hazards. Tie back long hair, tuck in or remove loose clothing, and take off dangling jewelry. Remember to always wear closed-toed shoes in the lab. Consider wearing a lab coat to cover any loose clothing.
Locate safety equipment, the fire alarm, and emergency exits. Before lighting the burner, know where to exit in case of an emergency, find the emergency gas switch, and locate the fire alarm. Note safety equipment, such as fire extinguishers and dry powder flame retardants.
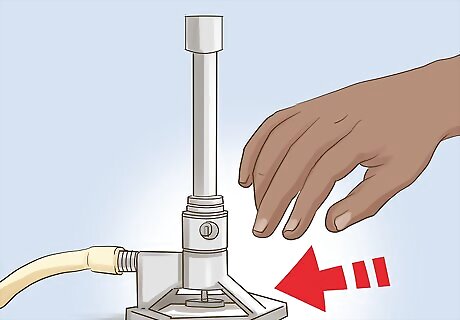
Handle the burner by its base. Hold the Bunsen burner only by the base or by the collar at the bottom of the barrel. After the burner is lit, the barrel itself will be too hot to handle. To reinforce safety habits, avoid touching the barrel even if the burner isn’t in use.
Never leave a lit Bunsen burner unattended. Keep your eye on it at all times, and never leave the laboratory while it’s lit. If you are working on something for a moment that does not require the flame, turn it down to the coolest yellow flame (known as a safety flame).
Igniting the Burner
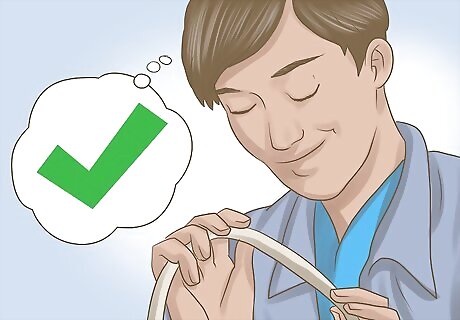
Inspect the gas line before installing it. Make sure there are no cracks in the gas supply line, which is usually a thin rubber hose. Gently squeeze the tubing along the entire length while you look closely for visible cracks. If you see cracks, grab a new tube or ask your lab instructor for help.
Connect the supply hose to the gas main and to the Bunsen burner. Ensure that the hose is pushed well up onto the gas main’s ribs and is securely attached to the burner. Double check to make sure you’ve attached the supply hose to the gas main and not to an air intake or other fixture. The gas main outlet is a threaded nozzle that tapers to a point. Look for a label on the top of its handle, such as "GAS" or "VAC," or ask your lab instructor for help.
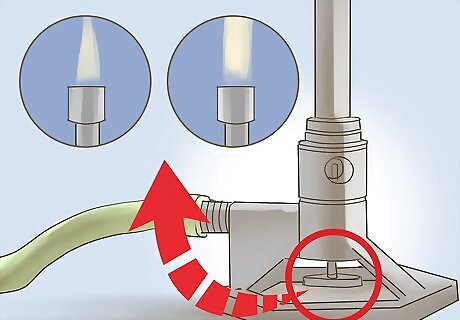
Position the air ports so they’re slightly open. Locate the openings at the base of the chimney and twist the collar, or the outer metal shell, clockwise until the holes are closed. Then, twist the collar counterclockwise to open it just slightly. This will ensure that the flame is at its coolest once the gas is ignited.
Twist the gas supply valve to close it completely. Find the needle gas valve at the bottom of the burner. Make sure it’s tightly closed before you turn on the gas main. Whenever you put the burner away, you should make sure the needle gas valve is closed. That way, it'll be set up for the next person to use. You want the needle valve closed when you turn on the gas supply so you'll have complete control over how much gas you feed the burner when you ignite it.
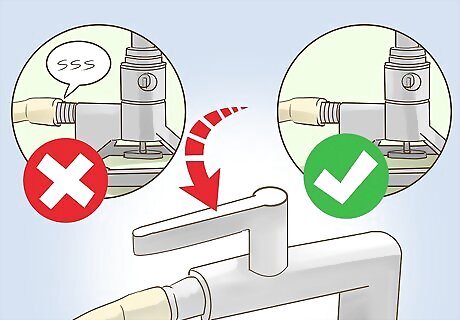
Open the gas main. Turn the handle of the gas supply main so that it is in line, or parallel, with the outlet and supply hose. At this point, you shouldn’t hear any gas, which sounds like hissing. If you do, turn the gas off immediately and close the burner’s needle valve. After you've made sure the burner's needle gas valve is closed, you can try turning on the gas supply outlet again. If you still hear a hissing noise, consult with your instructor to try and find the problem.
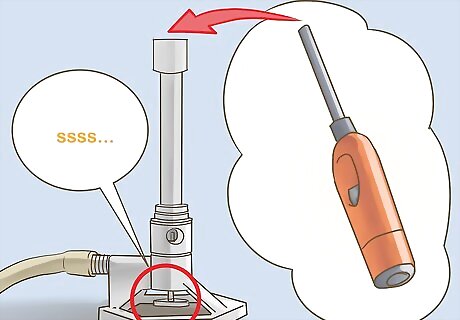
Open the needle valve and get your striker ready. Have your striker or a multi-purpose lighter handy before opening the burner's valve. When you're ready, twist the needle valve at the bottom of the burner slightly. Stop as soon as you hear the hiss of gas escaping. Use a flint striker or lighter with a long nozzle. Don’t use matches to light a Bunsen burner.
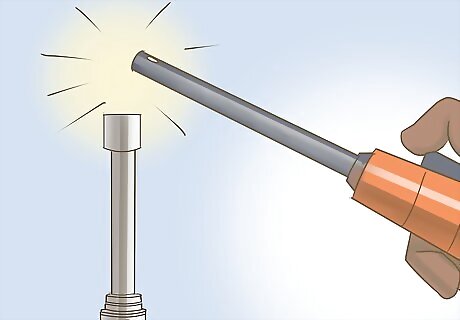
Hold your striker above the top of the barrel and ignite it. Hold the striker or lighter 1 to 2 inches (2.5 to 5.1 cm) above the barrel. Squeeze the striker to create a spark, then pull it away as soon as the burner ignites. If you’ve never used a striker before, practice making sparks until you’re comfortable using it.
Adjusting the Flame
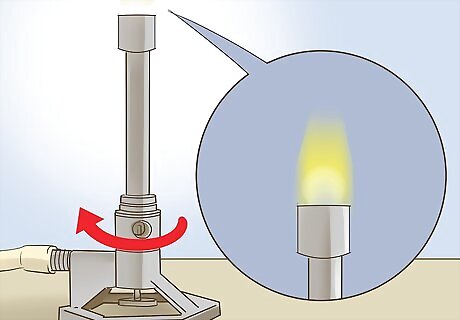
Use the needle valve to control the flame’s size. The needle valve on the bottom of the Bunsen burner adjusts the gas flow rate, which determines the height of the flame. More gas will create a larger flame, and less gas gives you a smaller flame. Open or close the needle valve until you’ve adjusted your flame to the appropriate size for your task.
Twist the collar to adjust the flame’s temperature. The collar controls the amount of air entering the barrel, which determines the temperature of the flame. Close the collar so that no air enters the barrel for the coolest flame, or a safety flame. When you want to heat something, open the air ports until the flame is the right color. The flame gets hotter as it turns blue, and is hottest when it’s almost invisible. Adjust the air flow slowly to avoid blowing out your flame.
Use a medium blue flame for most applications. Typically, you’ll want to create a medium-sized, hot blue flame, but the proper temperature and color depends on your task. If you’re not sure, check with your lab supervisor or experiment’s protocols. Remember to close the air ports to create a cooler flame when you’re not heating something, and never leave the lit burner unattended.
Extinguishing the Burner
Adjust the air ports to create a cool flame. If your flame is hot and blue, twist the collar to close off the air flow and produce a yellow safety flame.
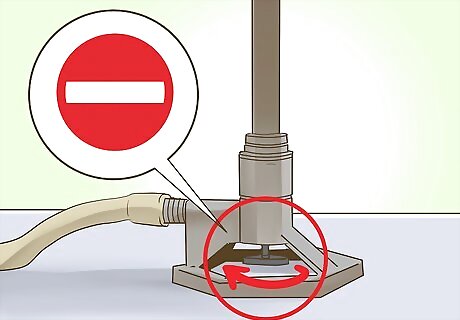
Close the needle valve by turning it clockwise. Close the valve completely to cut off the gas supply. The flame should go out, and the valve will then be properly set for the next use.
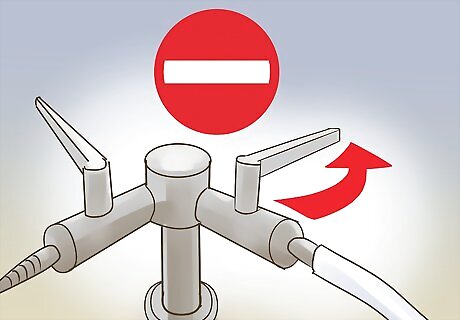
Turn off the gas main. Turn the valve handle so it’s perpendicular to the gas line and hose. Before you leave the lab, double check the gas main to ensure you’ve turned off the gas.
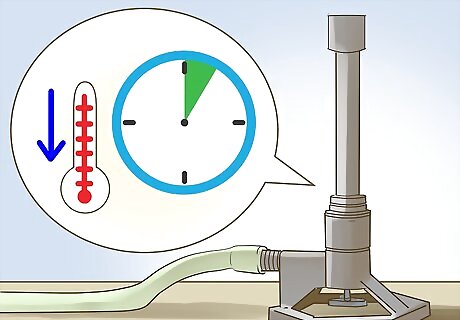
Wait for the burner to cool before putting it away. It should take about five minutes for the burner to cool. Even when it’s cool, remember to handle it only from its base to reinforce safety habits. When it’s cool, remove the supply hose, and return it and the burner to the proper lab storage area.


Comments
0 comment