views
Installing Home Theater Speakers

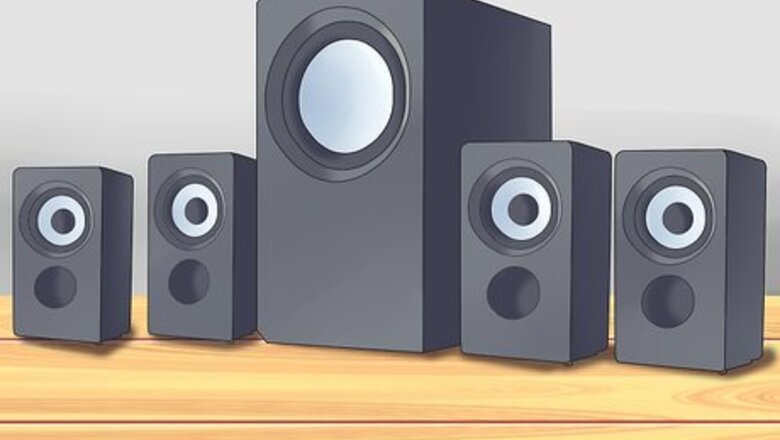
Place the speakers. Speaker placement is very important for home theater audio quality, and speakers should be placed before you start measuring out wire. Speaker placement is highly dependent on where the primary viewing spot is. This is typically your main couch or sofa. Your speakers will work best when focused on this location. Below are some tips for placing your various speakers: Subwoofer - The subwoofer's sound is omnidirectional, which means it doesn't need to be pointed in a specific direction. You can achieve good subwoofer sound from most locations in your living room, but try to avoid placing it near a wall or corner. It's often easiest to place it near the entertainment center for easy connecting. Front Speakers - Place the front speakers to each side of the TV. Typically you will want the front speakers about 3 feet (0.9 m) (0.9 m) between the side of the TV and the speaker. Angle each speaker so that it is pointed towards the center of the listening location. For optimal audio quality, raise the speakers so that they are ear-level when sitting. Center Channel/Soundbar - The center channel bridges the gap between the front channels. Place the center channel either above, below, or in front of the TV. placing the center channel behind the TV will result in muffled sound. Side Speakers - These speakers should be placed directly to the sides sides of the listening area, pointed at the listener. The speakers should be ear level. Rear Speakers - Place the rear speakers behind the listening area, angled towards the center of the couch. Like the other speakers, these should be ear level for the best sound possible.
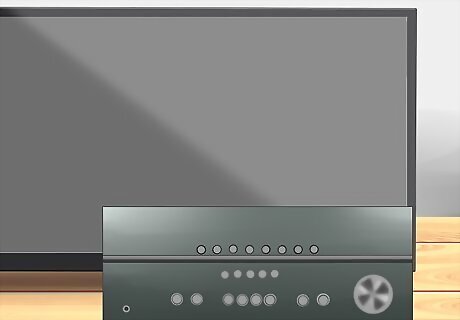
Place the receiver near the TV. The receiver can go underneath your TV in the entertainment center or off to the side, as long as it is close enough for cables to easily reach the TV. Make sure the receiver has room to circulate air on all sides.
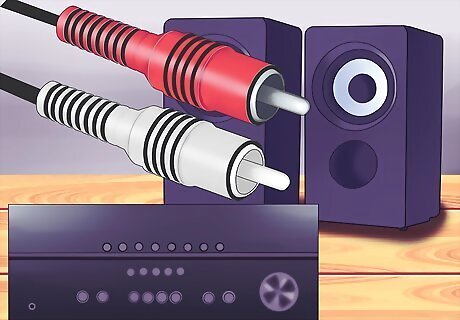
Run wire from the speakers to the receiver. After all of your speakers are placed and the receiver has been set up, you can start running your speaker wire to connect it all. Make sure to leave some slack on each end so that you have room to move the speakers around and make adjustments. For floor mounted speakers, you may be able to conceal the speaker wire along the base boards or under the carpet if you do not go by a door opening or fixed cabinet along the wall. For ceiling mounted speakers, you will have to either drill through the ceiling and fish speaker wires down to the speakers, or recess the speakers into the ceiling itself. Recessing speakers into the ceiling may compromise the attic insulation and will make it difficult to aim the acoustic cone of the speaker.
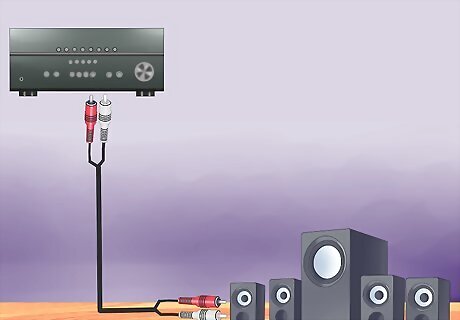
Connect the speakers to the receiver. After you've laid out your wire, you can start hooking everything up. Some speakers will come with wire already attached, while others will require you to connect the wiring yourself. If you need to connect the wires yourself, you may need a wire stripper to peel back some of the coating. Hook the speaker wires to the terminals on the back of the speaker box, being careful to observe the polarity (+ or -) of the connections. Many speaker wires are color coded, black being positive (+) and white being negative (-). Clear insulated wires have a copper conductor in the positive (+), and a silver colored conductor in the negative (-). You may have to connect bare wire to the back of the receiver as well. Double check to ensure that you are connecting the right speakers to the right inputs on the receiver.
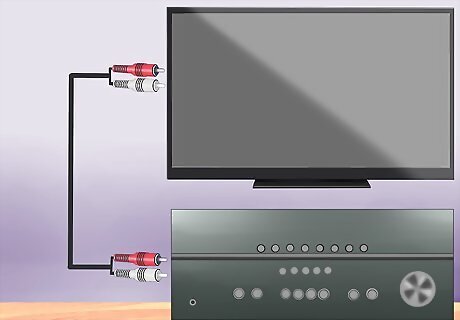
Connect the TV to the receiver. In order to get the sound from your TV to come out of your receiver, you will need to connect the TV to the receiver. HDMI is usually the easiest way to do this, though many setups use optical cables to transfer the sound to the receiver.
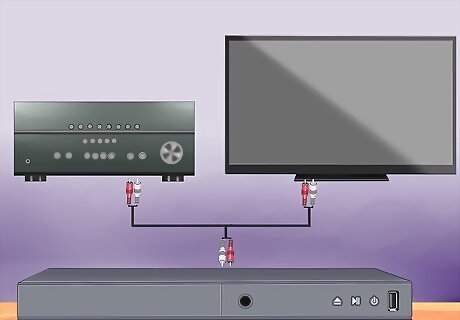
Connect other devices to the receiver or TV. Depending on how you are routing your sound, you can connect your other devices such as DVD players, Blu-ray players, and cable boxes to either the TV or the receiver. See the device's documentation for detailed instructions.
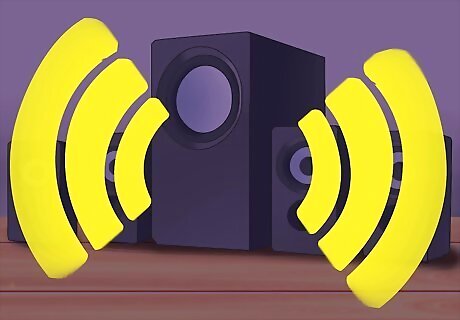
Test and calibrate your speakers. Now that everything is hooked up, it's time to test! Many receivers and TVs have sound tests that you can perform, and some modern receivers have automatic calibration tools. Experiment with music and movies and adjust the levels for each channel until you find a suitable mix.
Installing Computer Speakers
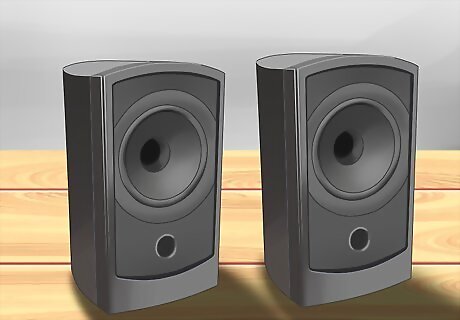
Determine the speaker setup. You may have a single speaker, two satellite speakers, a subwoofer and two speakers, or a full surround system. Computer speaker setups are often less involved than a home theater, but full-surround systems can still have a lot of pieces.

Find the speaker connectors on your computer. Most computers have speaker jacks on the motherboard connector panel, located on the back of the tower. If you are using a laptop, your only speaker port may be the headphone jack, or there may be ports located along the back of the laptop. The location will vary depending on the computer, so refer to your documentation if you are having difficulty locating the plugs. If you are using an older computer, you may need to install a sound card in order to connect speakers. This usually isn't required for anything built within the last ten years.
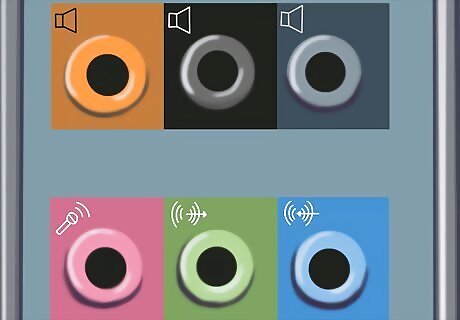
Understand the color codes. Nearly all computer speaker ports are color coded. These colors will help you determine which plug goes where. Most speaker cables will be color coded to match these jacks. Pink – Microphone Green – Front speakers or headphones Black – Rear speakers Silver – Side speakers Orange – Center/Subwoofer

Place your speakers. Make sure that you can identify the Right and Left channel cables. If you are setting up a full-surround system, place your surround speakers to the sides and behind your computer chair, angled towards the chair. If you are just setting up two speakers, placing them to the sides of your monitor angled towards you will result in good sound quality.
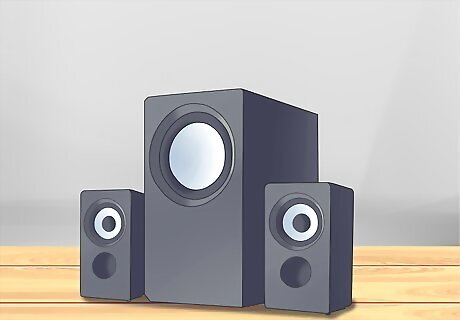
Connect the satellites and center channel to the subwoofer (if necessary). Different speaker models will connect to each other in different ways. Sometimes, you will need to connect the satellite speakers to the subwoofer which then plugs into the computer, while other times each set of speakers gets plugged into the computer separately.
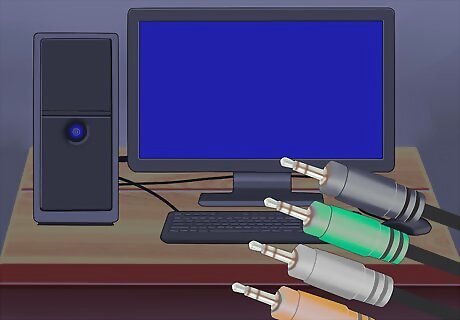
Plug the speakers into the appropriate jacks. Match the speaker cable plug colors to the matching colored jacks on your computer. You may have to twist the plugs if space is tight.
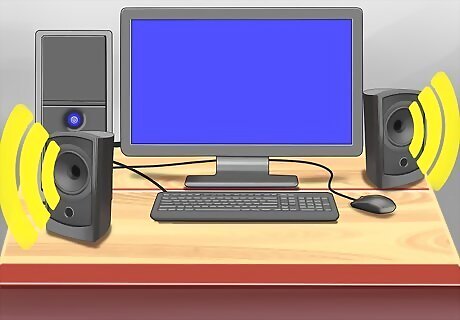
Test the speakers. Power on the speakers (if necessary) and then turn them all the way down using the physical volume control. Start a song or video on your computer and slowly raise the volume until you can hear at a comfortable level. Once you've confirmed that the speakers work, find a channel test online. This will help you ensure that your speakers are placed correctly.
Installing Car Speakers
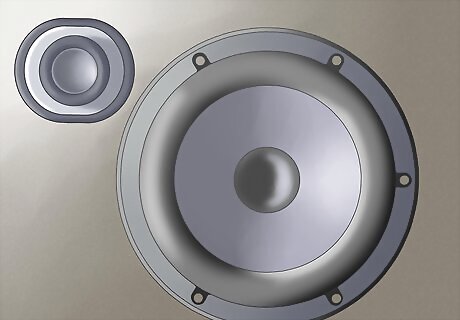
Determine which speakers your stereo supports. Speakers draw power, and some stereos may not be able to handle too much extra draw. Refer to your stereo's documentation when installing new speakers, especially if you are adding additional speakers or replacing existing speakers with high-power replacements.
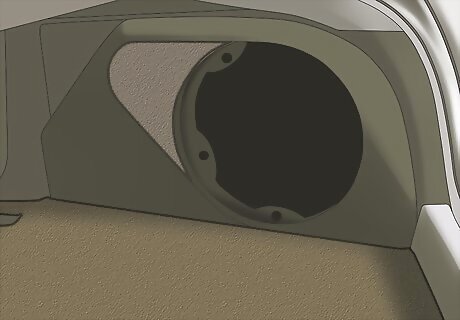
Make sure the speakers will fit. Some speakers are designed to fit into existing speaker locations, while other will require modifications such as cutting away the panel or installing mounting brackets. Take all of this into consideration when choosing speakers to install.
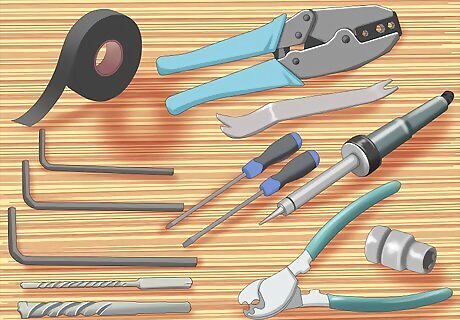
Gather your tools. The tools you need will vary wildly from car to car. The location of the speaker you are installing will also have an impact on the tools you need. In general, however, you will probably need the following: A variety of screwdrivers. Phillips, flat head, offset, and more. Torx driver Drill and bits Allen wrenches Wire cutter/stripper Soldering iron Crimping tool Panel removal tool Electrical tape
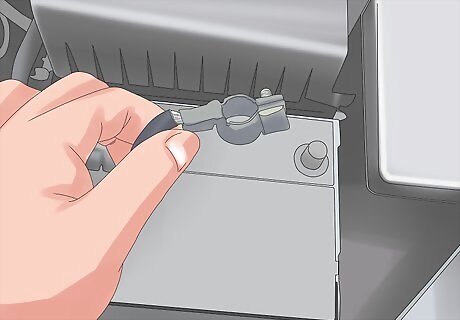
Disconnect the battery. Before working on anything electrical in your car, it is always recommended that you disconnect the power. Locate your battery and find the appropriate socket wrench that fits the lug on the battery terminals. Disconnect negative (black) terminal and move the cable gently to the side. See this guide for detailed instructions on disconnecting a car battery.
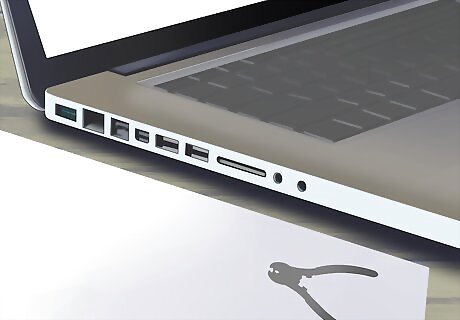
Read the included instructions. There are too many different possibilities to be covered effectively in this guide. For specific instructions for your speakers, refer to the included documentation or look up the manual on the manufacturer's website. Always defer to the manufacturer's instructions.
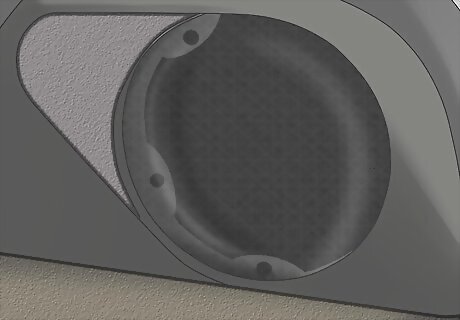
Remove the speaker grille. These can usually be pried off, though there may be screws to remove. If you are doing this on the front of the dash under the windshield, you may need an offset screwdriver.
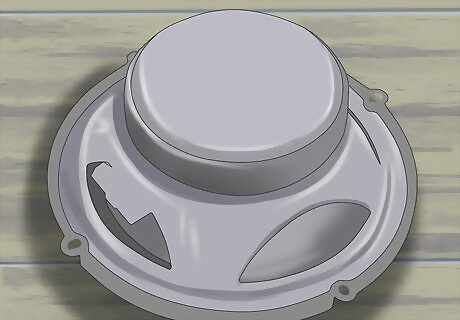
Remove the old speaker. Speakers are usually screwed into the panel, so remove all the screws before trying to pull the speaker out. Take care not to rip out the wiring harness that is usually present. The speaker may be glued to the enclosure, so you may have to pry it off. Unclip the speaker from the wiring harness after removing it from the panel. You will be plugging your new speaker into this harness. If there is no harness, you will need to cut the wires.
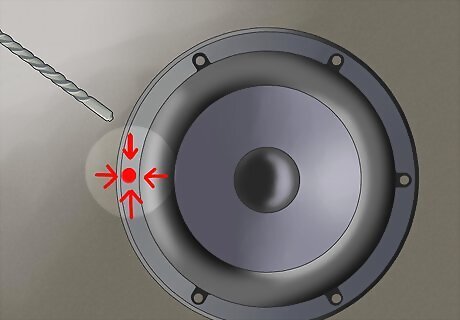
Cut holes (if necessary). Sometimes the speaker you are inserting will not fit exactly into the existing enclosure. If this is the case, use your drill to cut out enough space for the speaker. Make sure to measure the new speaker and mark the enclosure so that you don't cut away too much.
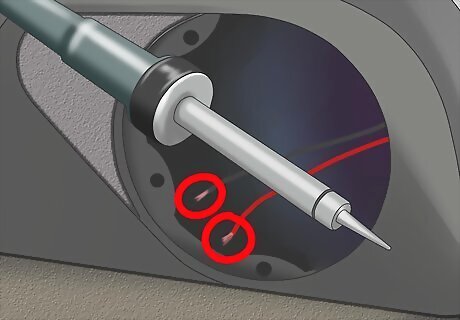
Wire the new speaker. Most speakers simply clip into the existing wiring harness. If you don't have a wiring harness, you will need to solder the new speaker to the existing speaker wire. Make sure that the positive and negative wires are properly connected. The positive terminal on the back of the speaker is usually larger than the negative one. Avoid using electrical tape to hold bare wire together, as it will likely warp and lead to a bad connection down the road.
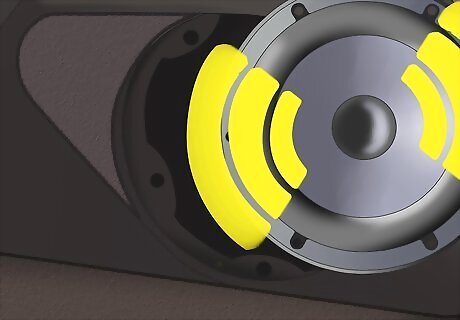
Test the speaker. Before mounting the speaker, reconnect your car battery and then test the speaker. Make sure that the sound coming out isn't distorted, and that the speaker is visibly moving at higher volumes. You'll want to ensure that it is properly wired before you finish the mounting process.
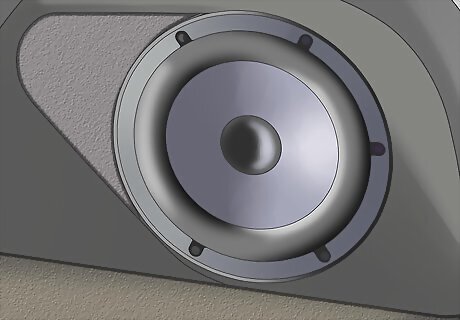
Mount the speaker. After confirming that the speaker is working properly, mount the speaker using any included mounting brackets and screws. You may want to use an adhesive to help keep it in place. make sure that the speaker is secure so that it doesn't rattle and create excess noise.




Comments
0 comment