
Installing Your Brackets

Insert the wand stem. Lay the blinds on a flat surface so that the sticker that says “Insert Wand Stem” is facing up and located on the upper left corner. Take the sticker off and insert the wand stem, which should’ve come along with the packaging.

Hold a bracket against the top inside corners of your window opening. Hold one of your mounting brackets against the top of the window and away from the glass. Place a spacer behind it to ensure that it’s in the correct location. Make sure the brackets are positioned so that the latches hinge at the top of the bracket and open out. If possible, have a friend help you with this part.
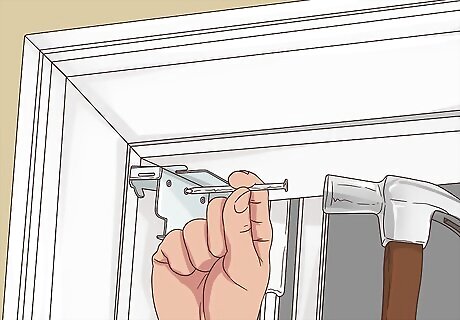
Create starter holes to make drilling easier. Once you have a bracket held in the position you want it in, hold a screw against one of the holes on the side of the bracket. Tap the screw gently with a hammer to create a starter hole. Do this again on another one of the holes located on the side of the bracket. Repeat this process on the other side of the window where the other bracket is located.
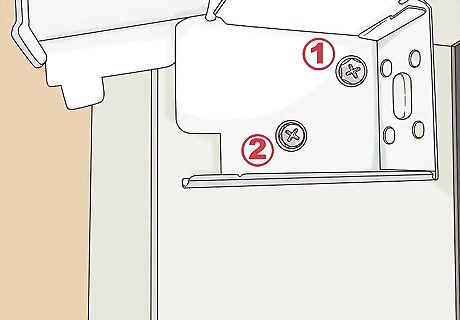
Drill 2 screws into the holes on the side of each bracket. Put the end of 1 of your screws into 1 of your starter holes while holding the bracket in place. Make sure that your hand that’s holding the bracket is as far away from the screw as possible, and then use a power drill to drill the screw in. If you aren’t comfortable with using a power drill, you can also do this with a screwdriver.
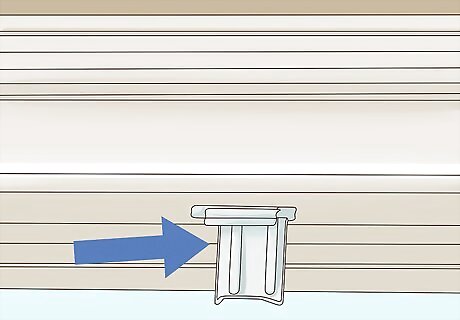
Install support brackets if you have a big set of blinds. Larger sets of blinds often have a support bracket that should be located at the top center of the window. If this came with your set of blinds, install it after your mounting brackets are in place. This should help keep the middle of your blinds from sagging.
Putting Your Blinds Up
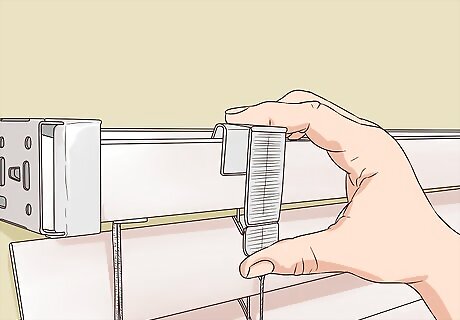
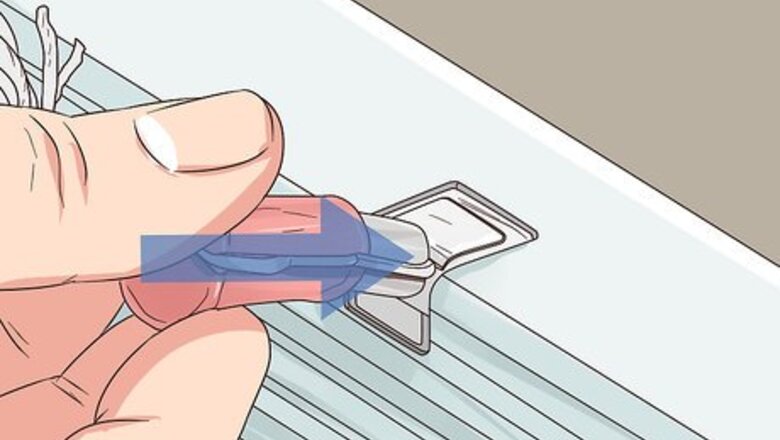
Snap your valance clips over the headrail. Just before you put your blinds up, snap the plastic valance clips that came with your blinds onto the top of your headrail. Make sure to position these evenly on the headrail and avoid placing them anywhere where they may interfere with mechanisms inside of the top of the blinds. Valance clips are necessary because they hold the valance onto the top of your blinds.
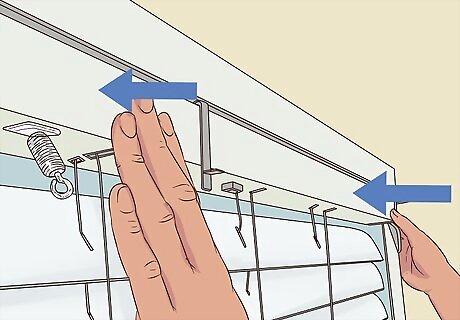
Slide your headrail into the brackets. Make sure your brackets are open, and then pick up your blinds by the headrail so that the wand stem is facing you. Slide your headrail into the brackets and then fold the brackets down to secure the blinds in place.
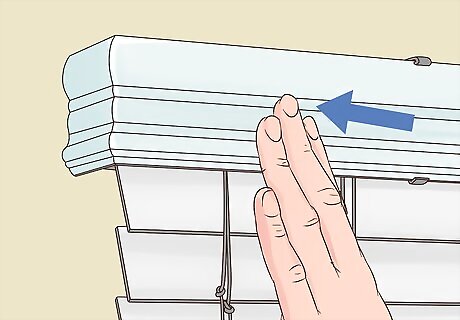
Put the valance in place. Hold your valance up to the top of your blinds. Attach it by snapping it onto the valance clips that you secured to your headrail. Snap on the top and then snap on the bottom. The valance is attached to the top of the blinds in order to improve the overall attractiveness of them.
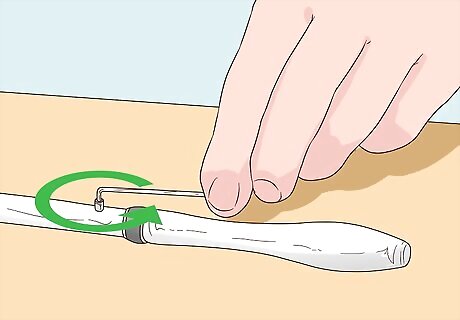
Use an allen wrench to put the wand together. Insert the wand handle into the wand and pick up the small allen wrench that came with your blinds. Place the end of the allen wrench into the set screw located on the wand and turn it in a circular motion to tighten it. Then, hook the wand onto the wand stem.


Comments
0 comment