
Icing a Sprained Ankle
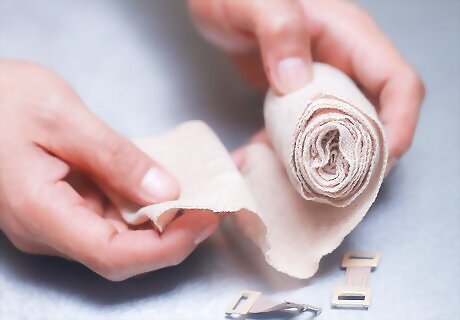
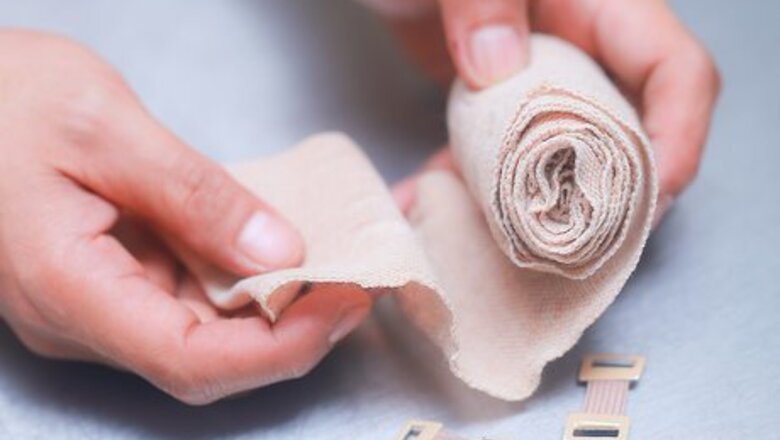
Buy an elastic bandage wrap. You want the bandage or fabric to have some stretch to it, and be long enough to wrap around your foot and ankle several times. If you do not have a bandage wrap, any strip of fabric, such as cotton or T-shirt material, will do.
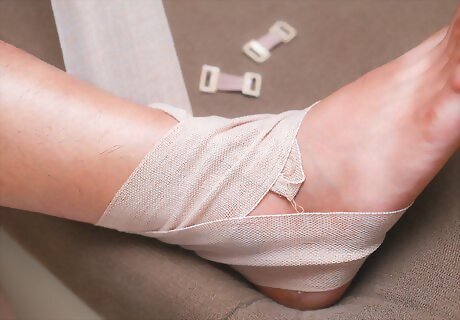
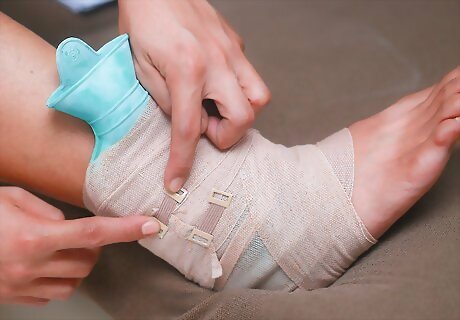
Wrap a single layer of bandage around the sprain. Place the end of the bandage on the ball of your foot, and roll the bandage over the top of your foot. Keep rolling the bandage around your foot and ankle, leaving the heel exposed, until you reach your lower-calf. Be sure you have enough bandage left over to wrap around an icepack. Do not wrap your ankle too tightly, or else you might cut off blood circulation. If your toes are turning blue or purple, or if you feel any numbness, you might be wrapping the bandage too tightly.
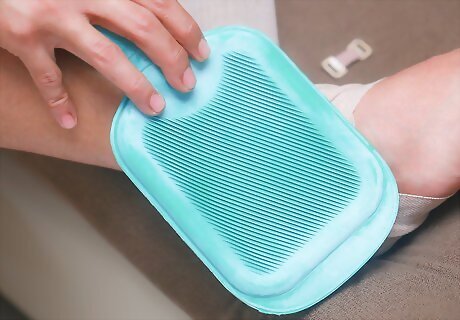
Put an icepack on the sprain and finish wrapping. Roll the bandage back over the icepack, covering it, cut off the extra, and secure it. If you do not have an icepack, you can make your own by putting ice into a plastic bag and sealing it. If you are using an elastic bandage, you may notice that some metal hooks or latches have been included in the packaging. Use these to secure the bandage so that it does not unwrap. If you did not find any metal hooks or latches with your elastic bandage, you can secure the bandage with a safety pin.
Leave the ice on the sprain. Let the ice pack stay on the sprain for 10 to 20 minutes, then take it off for 2 to 3 hours. Do this for 2 to 3 days. Do not leave the ice pack on your ankle for more than 20 minutes.

Be sure to elevate your foot. Lay down and prop your ankle above the level of your heart. Do this for 2 to 3 hours every day.
Icing a Sprained Wrist

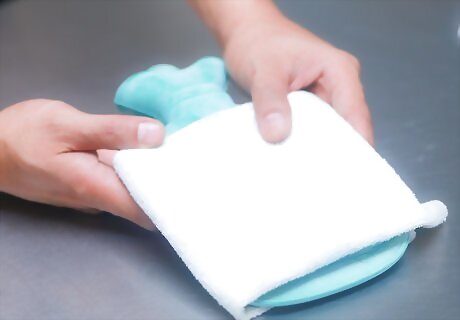
Cover an icepack in a towel or cloth. Even if you are using a gel icepack intended for medical purposes, you still want to wrap it to protect your skin. If you do not have a cloth or towel large enough to cover the icepack, you can wrap a strip of elastic bandage over your hand and wrist instead. Do this before putting on the icepack if you do not have a cloth or towel. If you do not have an icepack, you can make your own by putting ice into a plastic bag and sealing it.
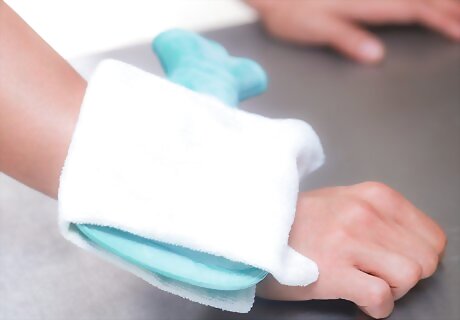
Leave the ice on your wrist. Place the icepack on your sprain and leave it there for 20 minutes, then take it off. Repeat this step every 3 to 4 hours. If the ice pack will not sit on your wrist, you can secure it with a strip of elastic bandage.
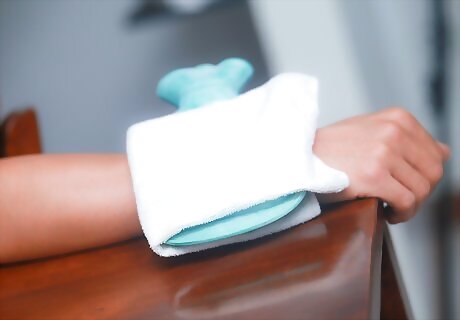
Be sure to elevate your wrist. Prop your wrist up on a flat surface, such as a table or armrest. Be sure that it is above the level of your heart, and in a comfortable position. You will be leaving it in this position for 20 minutes. For extra comfort, try adding a pillow or a soft towel under your wrist.
Icing a Sprained Finger
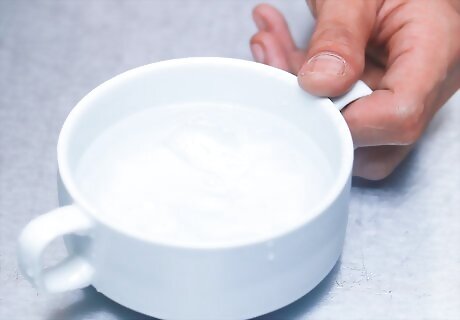
Fill a cup with ice water. Simply fill a cup with water and add some ice cubes into it. This method is more effective than placing an icepack over the sprain, as the cold water surrounds the entire finger and injury.
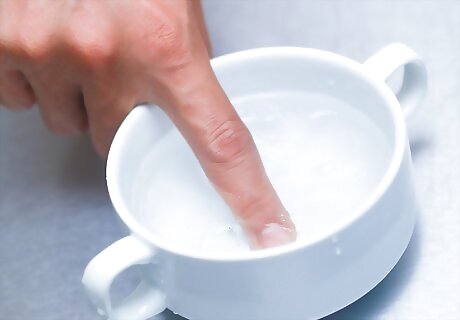
Place your sprained finger into the ice water. Leave your finger in the water for 15 minutes.

Elevate your hand. Try to elevate your sprained finger and hand while soaking it in the ice water. This will help reduce swelling.

Wait until swelling goes away. Once the swelling goes away, you may wrap your finger with some medical tape. Always tape the sprained finger to the adjacent finger, even if the adjacent one is not injured. Tape ring fingers and pinky fingers together, and pointer fingers and index fingers together. If you have sprained your thumb, continue wrapping the adhesive bandage around your hand and wrist.
Icing a Sprained Knee
Call a doctor. Knee injuries are more serious and require professional care. If you suspect a sprained knee and have not already done so, consult your doctor. You may require treatment beyond icing.

Cover an icepack in a towel or cloth. The layer of towel or cloth will protect your skin. If you do not have an icepack, you can substitute a plastic bag filled with ice instead.
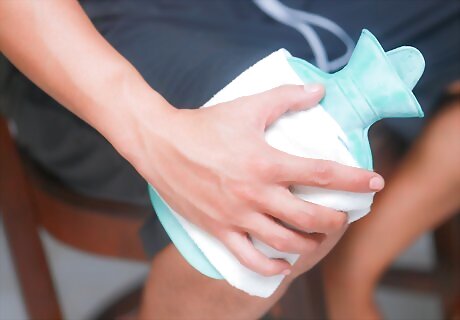
Place the icepack on your knee. Leave the ice on your knee for 15 to 20 minutes. Repeat this step 3 to 4 times during the day. Continue this process for several days, or until there is no more swelling or pain.


Comments
0 comment