
views
- Choose a theme for your show and contact local artists you admire to ask them to participate. Find artists you love at galleries or on social media.
- Rent or purchase a roomy event space like a studio or an existing gallery to host your exhibit. Then, plan the layout and mount the art a few days before the show.
- Provide light snacks or beverages at the show, and set up a dedicated table to sell artworks, prints, or other merchandise.
Finding Artwork to Display

Choose a unifying theme for your exhibit. A good art exhibition has a central idea that ties the different pieces together and makes them feel like part of a larger whole. A specific theme leads to a more cohesive exhibit, while a broader theme lends itself to a more diverse offering of art pieces. Think carefully about the message you want your exhibition to convey—an image or phenomenon, a feeling, or even a certain medium or technique. For example, you could go with something simple like a “Black and White” theme, or to explore a more specific concept or idea, try a them like “Isolation and Womanhood.” In addition, name your exhibition something attention-grabbing that also describes the show. A catchy title like “Neon Daydreams” helps generate interest, and also tells your potential audience that the show will have something to do with neon artworks.

Invite artists to participate in your exhibition. Whether you’re a curator looking to host an exhibit or an artist looking to DIY a show, it’s not much of an exhibition if there’s no work to exhibit! Contact artists whose work you admire and ask them if they’d be interested in lending some pieces to the show. Try to contact artists you think would complement not just the overall theme, but the work of the other artists in the show, such as those with similar styles or subject matter. To find artists, visit other galleries and take note of artists whose work you admire, then ask the gallery for their contact info or search for the artist online. Browsing sites like Instagram or Facebook is also a great way to find local artists. If you’re an artist hoping to get into an exhibition, email the gallery with a letter explaining who you are, why you want to join, and a sample of your artwork. If you’re putting on your own solo show, feel free to skip this step, but keep in mind that you’ll need about 10-30 of your own works to display in order to craft a complete and substantial exhibit.

Select the most compelling work to display. If you’re a curator, ask your artists to send you photos of their work, then take some time to choose the works that are especially impressive, fit the theme, or just work well together. If you’re an artist, select your work that best fits the theme, but also choose work that you’re most proud of or that you’ve done most recently to offer the best representation of yourself as an artist. Or, if the exhibit opens sometime further in the future, spend some time creating new artworks that speak to the theme. Select only as much art as you can show in your gallery space. You might choose to show many smaller pieces of art, or fewer large pieces. Generally, try to give each artist an equal amount of space or attention. Don’t be afraid to select a variety of mediums! Mixing photography, paintings, sculptures, or other forms of art in your exhibit makes it more diverse and interesting, which may draw a bigger crowd.
Organizing the Event
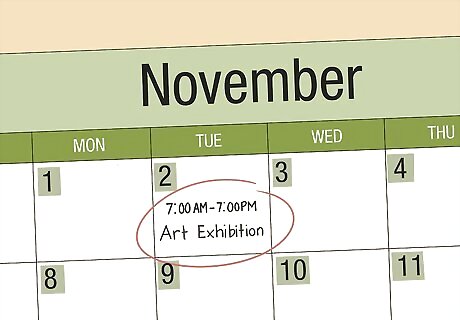
Schedule your show for 3 months out. Organizing an art exhibition requires a whole lot of coordination and planning, so be realistic about the time frame you impose on yourself. Give yourself at least 3 months to get everything in order. Ideally, schedule your show on a weekend or an evening, when people are usually free, but avoid scheduling it on a holiday, when the public might have other plans. Planning your exhibition during a nearby festival, farmer’s market, or other public event can help drive foot traffic into your gallery.
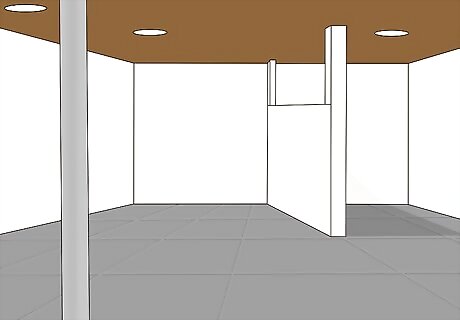
Secure a location for your exhibition. If you’re a gallery owner, you’ve already got your venue. Otherwise, buy or rent a venue with plenty of open room, light, and wall space to display the art, like a studio or even a warehouse. Or, approach a gallery owner and pitch your exhibition to them, asking if you can use their location for a temporary event. Many gallery owners are willing to host exhibitions, since it brings in traffic. Just be aware that you may need to share a cut of the sales with them. Your venue doesn’t have to be traditional, either. If your budget is low, you might host it in your own home, at your workplace, or even at a local restaurant or cafe. These last options are great, since they can often offer catering, as well.
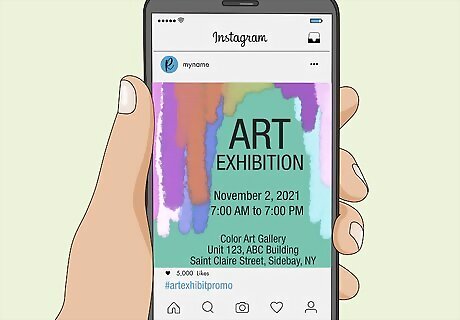
Promote the exhibition online and in-person. Print posters, flyers, or pamphlets that briefly describe the nature of the exhibit and the kind of artwork it’ll feature. Be sure to include key details like the time and date, venue, and the dress code or entrance cost (if applicable). Include a visual sample of the work that’ll be shown to give attendees a feel for the exhibit. Also, promote the event on your social media, and ask the artists to do the same. If your exhibition is a high-profile event, you might even write a press release or interview with your local news network. Post your advertisements in public places like the local university or art school, coffee shops, clubs, or even the community bulletin board at the supermarket. Or, mail postcards with the artists’ bios and samples of their work as personalized invitations. Also, have your friends, family, classmates or coworkers help spread the news about your exhibition by word of mouth.
Constructing an Exhibition
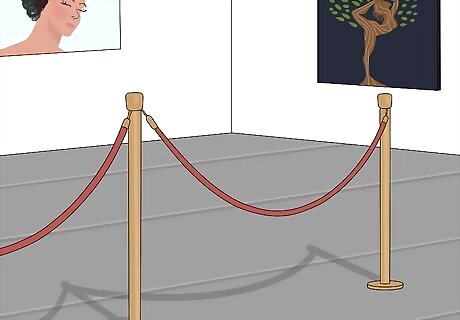
Scout your venue to plan the layout of the exhibit. Visit your location a week or two in advance to get a feel for the space, then start planning which works will go where. Exhibits usually give each artist their own space, but you might choose a layout that shows work chronologically, or that groups similar works together. However you choose to design it, imagine the space from the perspective of an attendee, and try to lead them through the exhibit in a way that’s coherent and natural. For a more focused experience use event ropes or signage to guide guests through a predetermined route. Don’t forget to designate space for a meet-and-greet area, merchandise tables, or any other resources you think you’ll need.

Frame and position the artwork. Whether or not each piece is framed is usually up to the artist, and many artists prefer to frame their art themselves. At the very least, add a framing wire or other hanging tool to each piece in order to display it. Then, mount the art on the walls with nails or screws. Go with a centerline layout for a clean look, hanging each piece about 54–62 in (140–160 cm) high, or at eye level. Or, go with a salon-style layout for a more lively arrangement, filling each wall from floor to ceiling. Place statues or sculptures away from the walls to give guests the ability to walk around and observe them from all angles. If the sculpture is delicate, surround it with some rope, or tape the floor to indicate a boundary. Find some volunteers or hire a crew to help you set up. It’s a laborious process, and having plenty of helping hands makes things like transporting and mounting the art much easier.

Price your artwork for sale. The goal of an exhibition isn’t just to showcase an artist’s work, but to sell it, too! Once you have pieces to put on display, think about how much you want to charge for them. Try to set prices that are fair to both you and the buyer, taking into consideration factors like the medium, technical complexity and the labor that went into producing the piece. If you need a jumping-off point, see what similar works are selling for. If you’re collaborating with other artists, work with them to come up with prices for the pieces they’ve contributed. Not everyone will be able to afford a full-sized painting or original photograph, so it’s a good idea to keep less expensive items on hand, such as smaller works, sketches, and print reproductions to sell for a lower price.
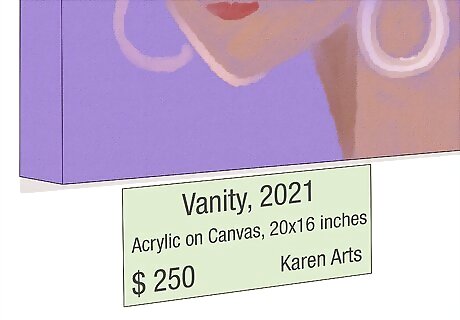
Label each work with its name, artist, and price. Type up, print out, and place a label near each work, either on the wall or on a stand nearby. On each label, include: the name of the artist, the title of the artwork, the dimensions of the work, the medium, the date it was completed, and who currently owns the work. This tells visitors everything they need or want to know about a work before they purchase it. Also consider adding a short biography of the artist (about 50 words), or a brief description of the creation process or the ideas behind it, to let your visitors know a bit more about each work.
Hosting a Successful Exhibition
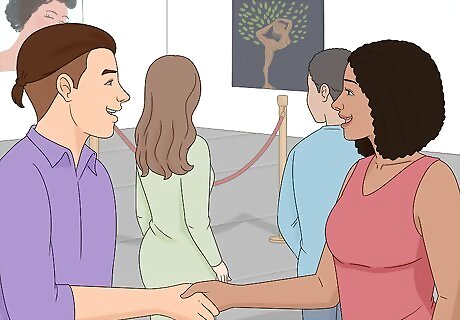
Mingle with the visitors and chat about the art. As visitors begin arriving, make yourself available to answer questions and describe the artwork that awaits them. This is often the most exciting part of the exhibition, since it gives you the opportunity to meet the people who will be buying and critiquing the artwork, discuss the finer points of the style, and shed some light on the creative process. Remember to stay positive about the art and keep things professional with your guests. If you have pieces on display yourself, be sure to stay close to them so that you can be easily identified as the artist. Also, wear a nametag so that visitors know who you are. Wear nice clothes that advertise your artistic sensibilities. There’s usually no need for a 3-piece suit, but a button-down shirt or a smart dress are great go-tos.

Offer light refreshments like snacks or drinks. Provide food and beverages for your guests to enjoy as they take in the exhibition. Simple offerings like cheese, fruit, or finger sandwiches are easy to serve and don’t cause too much of a mess. Free wine is also typical of exhibits, but don’t feel too pressured to provide booze if it’s not in the budget. If you’re expecting a large crowd, hire a caterer to provide ample food and beverages. Like the rest of the exhibition, plan your menu with your venue in mind, as well as the mood you’re attempting to set (casual or formal) and the expected turnout.

Sell art, prints, or raffle tickets at a dedicated table. Ideally, you and the artists at the exhibit will turn a profit, or at least cover the costs of hosting. Set up a clearly marked table where visitors can buy the art on the walls or prints of selected pieces. To encourage sales, run a raffle with prizes like a work of art or gift cards to local businesses. Keep track of your sales to make sure each artist gets their cut of the money. Discuss this amount beforehand—usually, the artist takes at least 40-60% of every sale. Wait until after the show to deliver purchased works, so that they can remain on the walls for as long as the show lasts. That’s valuable publicity time for your artists!
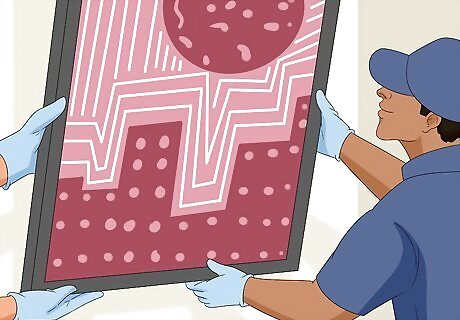
Take down the art after the show. Now that you’ve successfully hosted your exhibition, it’s time for cleanup. Get the crew back together to remove the work from the walls, and contact any buyers to have them come and pick up their purchases, or to schedule a delivery. Then break down any tables, sweep, throw out trash, and generally tidy up. Remember to spackle any holes you made while hanging up art. Try to leave the venue in better condition than you found it, which helps you book it again in the future. If you’re the curator of a gallery, consider leaving the art up for a week or two after to give it more opportunities to sell. Otherwise, send a thank-you note to the venue owners for letting you use their space. Also, post photos or videos of the exhibition on social media after the show, which helps bring traffic to your next exhibit.




Comments
0 comment