views
Choosing a Variety
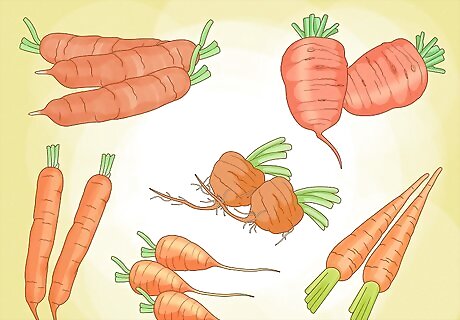
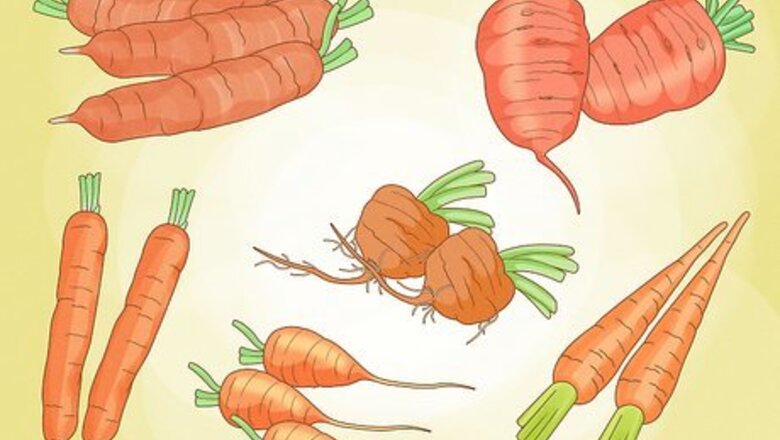
Choose a variety with a root size and shape appropriate for your soil. There are six main categories of carrots that contain several subtypes. Chantenay. Chantenay carrots grow five to six inches into the soil and can be grown in most soil types, though they prefer rich, heavy soil conditions. Ball-type. Also known as "Thumbelina," Ball-type carrots are extremely similar to Chantenay, though they do not grow quite as long. Danvers. Danvers carrots are large block-shaped carrots that need heavy, nutrient-rich soil in order to thrive. The soil does not have to be deep, however. Nantes. Originally from France, Nantes carrots are cylindrical carrots with rounded tips that grow between six and nine inches deep. Like Danvers, they thrive in shallow rich soil. Imperator. This variety, commonly found at the grocery store, needs deep, airy soil. Imperator carrots are characterized by their particularly long, spindly roots that hang on to the tip of the carrot. They are very particular about their soil conditions, so make sure your soil is deep, rich, airy, and has good drainage before attempting to plant this variety. Amsterdam: These are a small variety, about 3 inches (76 mm) long, which makes them ideal for shallow soil or poorer soil conditions. They can also be harvested earlier.

Select your seed type. Carrot seeds come either raw, coated with a layer of bentonite clay, or treated with a fungicide. Although they are more expensive, clay-covered seeds are better at retaining moisture during germination than seeds that do not have an applied coating on them. If you want to get a leg up on the growing game and make the germination process easier, choose coated seeds. Additionally, coated seeds are easier to handle and thus you can control where they are spaced better than non-coated seeds. Accurate spacing eliminates the need to thin plants later in the growing process.
Prepping Your Garden
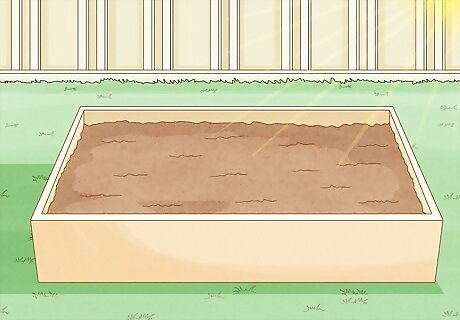
Choose an area with full or partial sun. Though full sun is best, carrots can handle some shade as they are a cool weather crop.
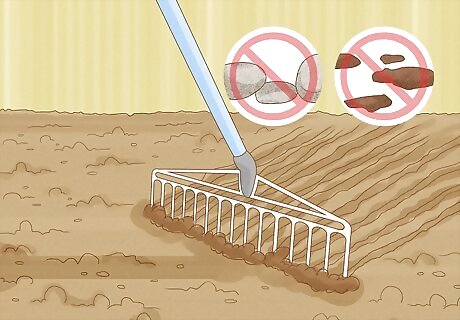
Loosen the soil. The most important factor when it comes to growing carrots is making sure that the soil is well-loosened. Use a shovel to loosen the soil in your planting area extremely thoroughly. Remove any rocks or hard, clumpy soil from the area. Use a rake to catch any small stones. You want the soil to be fluffy rather than hard and clay-like. If the soil is too clay-like, you can soften it by adding organic matter (such as yard trimmings or manure), sand, or compost to the soil. If you do not do this, the carrots will not reach a good shape. You may want to build a raised bed to plant your carrots in. Because carrots require such strict soil conditions, it can be helpful to start an entirely new planting area rather than try to adapt an existing one. Use cedar wood to build the planter beds, as it does not mold when it gets wet.
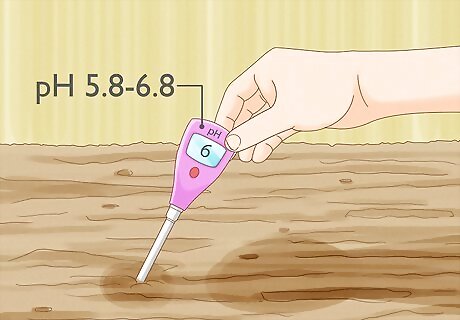
Check the pH of your soil. Carrots like a slightly acidic soil with a pH between 5.8 and 6.8. Your local agricultural extension office should have soil testing forms, bags, and instructions available.
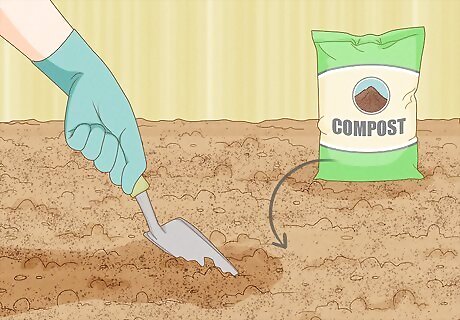
Fertilize the soil with manure, compost, or any other organic fertilizer. Mix in about four inches of organic compost into your soil. This will help the seeds germinate in the soil and encourage a hardy production.
Planting Your Carrots
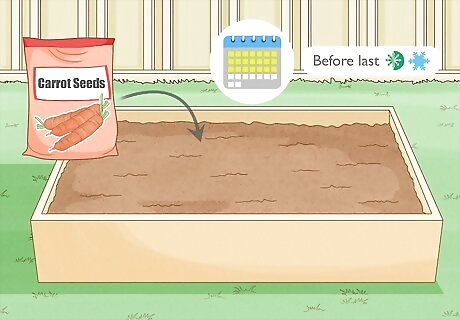
Begin to sow the carrot seeds three weeks before the last spring frost. Then gradually sow more seeds once per week for the next two to three weeks after the initial planting. Carrots like a cool climate. If you are planting in USDA hardiness zone eight or warmer, you should sow your carrot seeds in the fall or winter. Again, make sure your soil is extremely well tilled and loose before deciding to plant. Alternately, learn to grow carrots in a pot. The process for growing carrots in a pot is pretty much the same as in the ground or a planter box. You just need to make sure that your pot is deep enough to hold the carrots and allow the roots to expand.
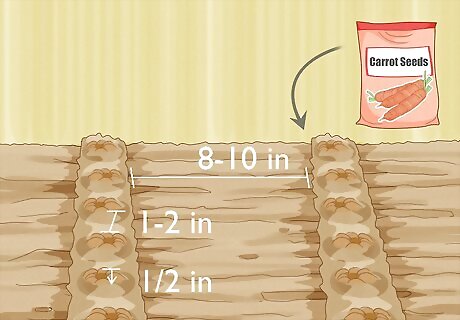
Either spread the seeds at random or plant in rows. If planting in rows, space the seeds about 1–2 inches (2.5–5.1 cm) apart in a shallow trench, no more than ⁄2 inch (1.3 cm) deep. Space each row of carrots 8–10 inches (20–25 cm) apart from each other.

Cover the seeds with about ⁄2 inch (1.3 cm) of rich soil. You can use compost, planting soil mix, and even mix in a little bit of sand, especially in warmer areas. Sand helps support the growing seedlings.

Monitor your seedlings. The seeds will take about one to three weeks to sprout depending on the temperature of the soil. The colder the soil, the longer the seeds take to germinate.

Water the carrots very carefully after planting. The seeds are light and fragile and can easily get washed away if you water too much or too vigorously.
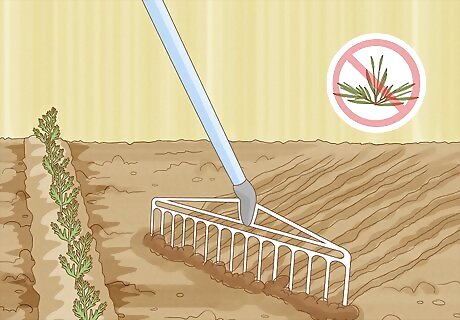
Rake the soil. About a week after you plant the carrots, you can gently rake soil so that weeds do not grow. This will disrupt any weeds that may have already taken root. Be very gentle as you do this, and rake perpendicular to your rows. This will not disturb the carrot seeds.
Taking Care of Your Carrot Plants
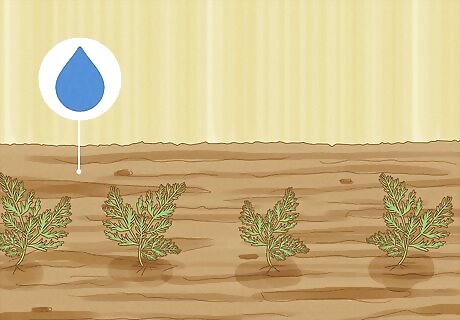
Keep the soil moist at all times. If you are in a hot climate, this means watering your carrot plants daily. Just be sure not to wash away the fragile seeds or harm the sprouting seedlings with too much water pressure. Use a watering can with gentle spouts instead of a strong hose.

Apply mulch to sprouting seedlings. Add a few inches of a leaf, bark, or hay mulch to the ground around the seedlings to seal in the moisture. Pull out any weeds that develop through the mulch by hand. Do so gently so as not to disturb the carrot roots. Be sure to cover any part of the carrot itself that begins to grow out of the ground with mulch. If the carrot crown is exposed to the air, it will become bitter.
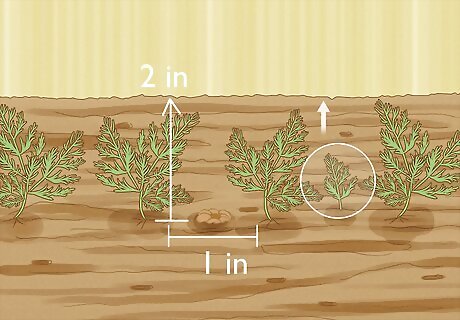
Thin the carrots. When the tops of the carrots reach two inches high, thin the carrots to one inch apart by pulling the small carrot plants out of the ground. This reduces crowding and allows the individual carrots enough room to grow and expand their roots. After another two weeks passes and the carrot tops have grown several inches high, thin the plants again to three to four inches apart. Be sure not to skip this step, as crowded carrots will not grow straight and may not develop fully.
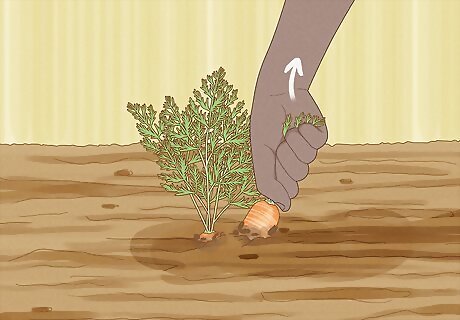
Harvest your carrots. The bigger and longer they grow, the sweeter and juicier they become. However, you can pluck and eat them as soon as they grow big enough to eat, which usually takes anywhere from two to three months after planting. You can tell if a carrot is ready to harvest when the crown is sticking slightly out of the ground and the diameter of the carrot is about ⁄4 inch (1.9 cm) across. Hand-pull the carrots from the base of the greenery to avoid damaging any roots. Grab the base of the greenery and wiggle the carrot around before pulling straight up. Water the planting area before you pull the carrots up to loosen the soil and make it easier to pull the carrots without damaging the roots.




Comments
0 comment