views
Pressing the Paper Flat
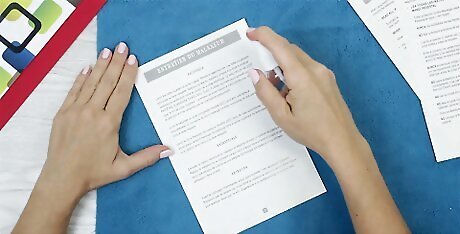
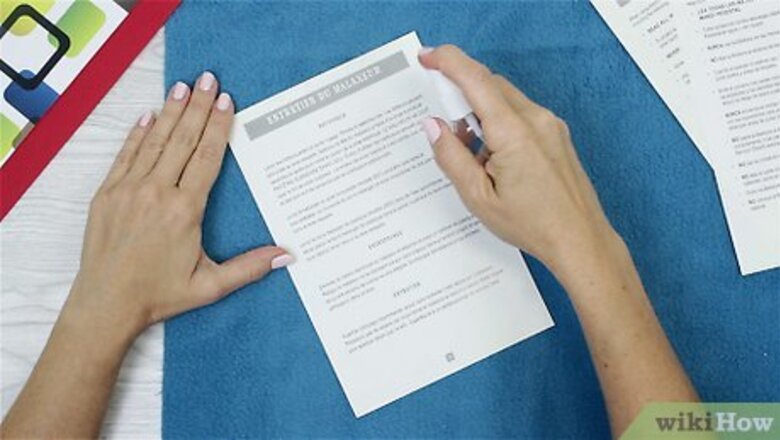
Mist the paper lightly with distilled water. When paper is crumpled, its fibers become damaged and torn. Water can soften these fibers so they lay flat again, reducing the visibility of wrinkles and crease lines. Only use distilled water, as ordinary tap water contains minerals that can make the paper feel crusty or hard. Spray it lightly from at least one foot (0.3 meters) with a spray bottle, or dab gently with a slightly damp towel. Warning: Water can ruin watercolor, chalk, pastels, and water-soluble inks. If your paper contains these materials, mist it extremely lightly on the back side of the paper. Alternatively, press the paper while dry to make it flat, but it does not remove the wrinkle lines.
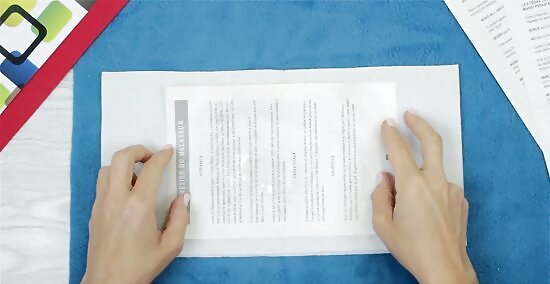
Sandwich the paper between absorbent material. If the paper is wet, place it between two layers of blotting paper, wool felt, or other materials that absorb water. Paper towels can work, but the textured pattern on the towel may imprint onto the surface of the paper.
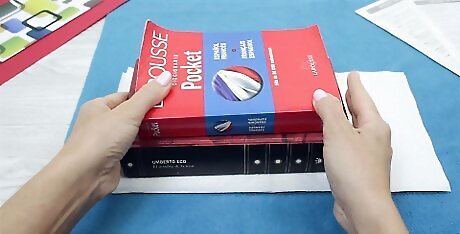
Sandwich the stack between heavy objects. Place the paper, and absorbent material around it, on a flat, hard surface. Smooth it out with your hands to make sure there are no major folds or crease. Cover the paper completely with a flat, heavy object. A stack of large, heavy books are often used for this purpose.
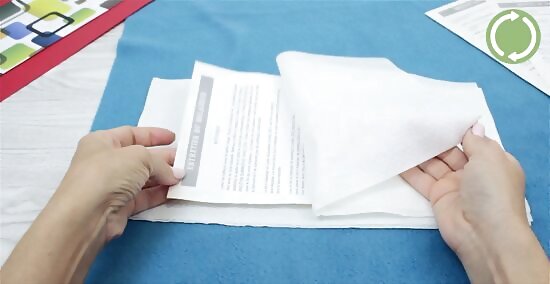
Wait until it dries, checking daily. The paper should dry into a flat, mostly wrinkle-free surface, but it may take some time to do so. Check on it every day and replace the absorbent material if it feels soaked. Completely wet paper usually takes three or four days to dry, but a lightly sprayed piece of paper will probably take less than two.
Ironing the Paper Flat
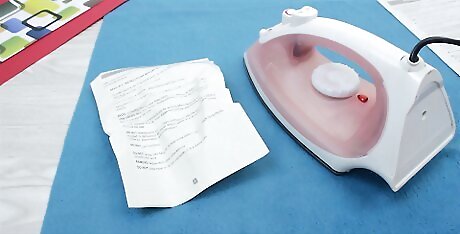
Understand the risks. Ironing a piece of paper under a towel or cloth will make it flat, but the wrinkle and crease lines will usually still be visible. If you use steam or lightly wet the paper, as described near the end of this section, this may remove the wrinkle lines, but also increases the chance of fading colored ink or tearing the paper. If your paper is valuable or irreplaceable, try this method with a test piece first, or use the safer, but slower, pressing method.
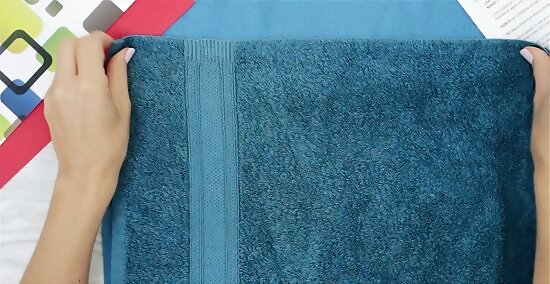
Set the paper under a towel or cloth. Smooth out the paper as flat as you can with your hands, to avoid setting the folds and creases in further. Lay a hand towel, pillowcase, or other heat-safe cloth over the paper, to protect it from the direct heat of the clothes iron.
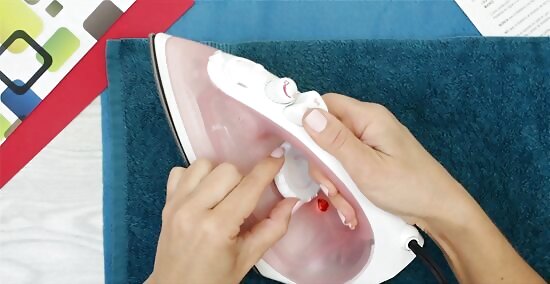
Set a clothes iron to a low heat. Starting at the lowest setting is recommended, to minimize the chance of damaging your paper. Too much heat can dry out the paper, making it brittle and yellow.
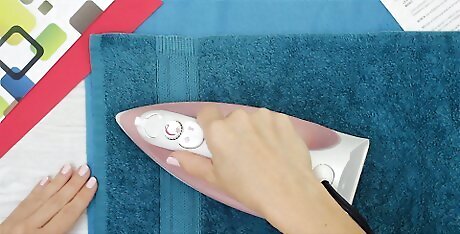
Press the iron into the towel. Once the iron has warmed up, press it against the towel and move it across the surface, just like you would iron an item of clothing.

Make adjustments if necessary. After about a minute of ironing the towel, lift the towel and look at the paper. If it is not yet flat, you can turn up the heat one setting and try again. If the paper is already warm to the touch, leave the iron on a low setting, and instead lightly dab or spray the paper with a small amount of distilled water before you iron again. This helps remove the wrinkles, but can increase the risk of tearing. Do not apply water to a paper surface with watercolors, chalk, or other water-soluble materials.
Learning about Professional Archival Treatments
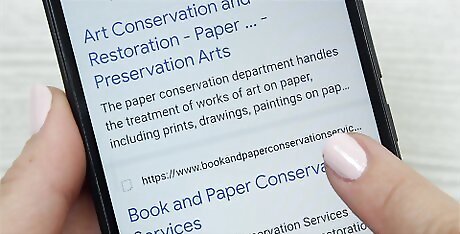
Take valuable documents to a professional. Archivists and conservator-restorers are professionals who specialize in preserving historical artifacts, including paper. They should be able to flatten and preserve all paper materials at a high quality, including watercolors, old or fragile paper, and other objects that can be difficult to safely flatten at home. Search online for document archival services in your area, or ask a librarian for hep finding one.
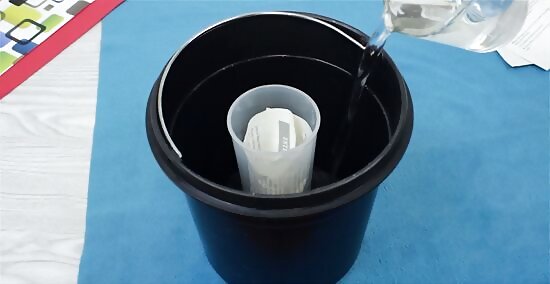
Learn about humidifying techniques. As mentioned in the other methods, wetting the paper, or "humidifying" it, can help remove wrinkles caused by torn and displaced fibers. Archivists often use special tools and extreme care to increase the humidity of the paper significantly. If you are brave, and have a few test pieces of paper to try out first, you can try to mimic some of these at home before pressing your paper. One of the easiest might be the "Horton Humidifier" method. Place the rolled-up paper in a plastic cup, open to the air. Place the cup in a plastic garbage can, add water to the bottom of the can, and close the garbage can lid. This can cause mold growth on the paper, which is difficult to treat at home. Some archivists use anti-fungal chemicals such as thymol or ortho-phenyl phenol, but these materials can be highly dangerous to the user and the paper if used incorrectly.
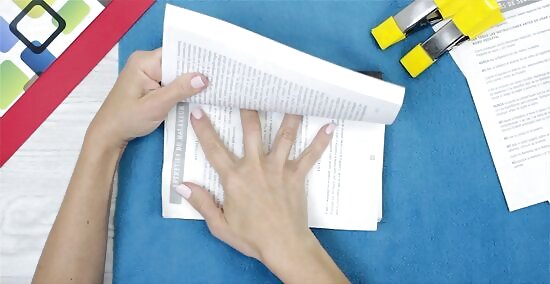
Learn about ways to hold paper while drying. Pressing the paper flat is usually effective, using vices or clamps in addition to heavy objects if more pressure is needed. Another method, which can be used alone or in addition to pressing, involves the use of glue. By gluing the paper to another surface, using a special glue that will detach easily when dry, the paper will be kept in place as it dries, instead of curling or stretching when one portion of it loses water and shrinks. Even archivists find it difficult to control the size change of paper after wetting. While barely noticeable for an individual sheet of paper, a stack of papers, papers glued or taped together to form a larger piece, or a bound book can feel noticeably different or uneven.
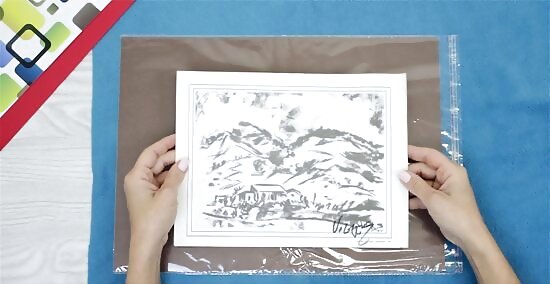
Store materials in a preservation envelope. One archivist's tool is widely available for commercial sale. Purchase archival-quality plastic envelopes to keep your important documents, family history, and other papers safe for decades if not centuries, protecting them from moisture and ultraviolet light.



Comments
0 comment