
- Open the battery lid and replace the old batteries with two new AA alkaline batteries.
- Clean the lens if there's any sticky residue preventing it from extending all the way.
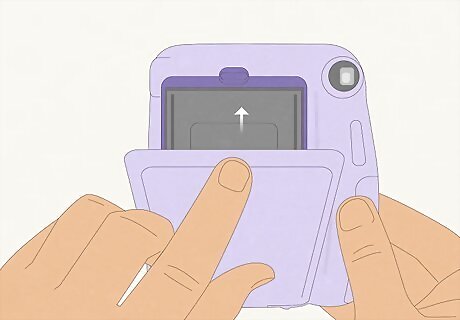
- Make sure the yellow tab on the cartridge is aligned with the tab inside the camera.
Replacing the Batteries
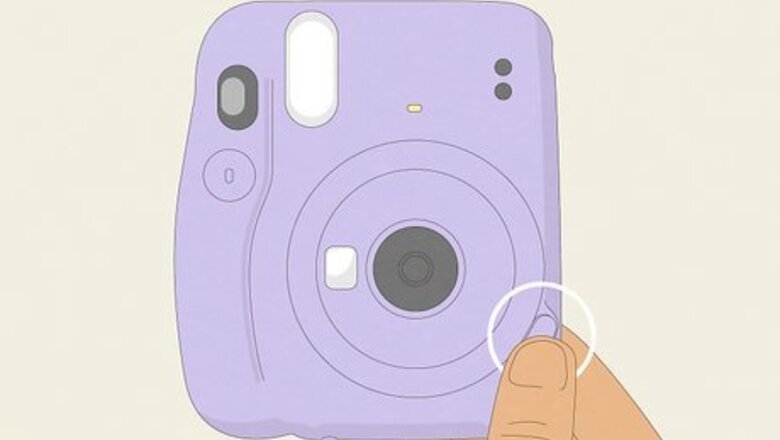
Power on the Instax camera. Press the power button on the side of the lens to turn it on. The lens should be fully extended when the camera is on. Flashing lights usually means there's a battery error. You'll need to replace the batteries with new ones.
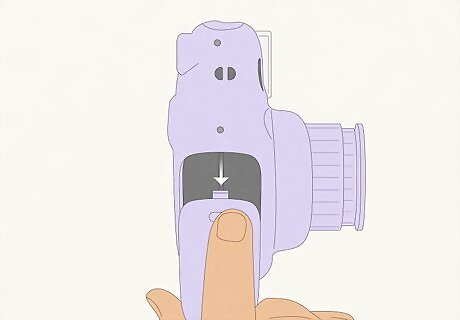
Open the battery lid. When looking at the front of the camera, this is the panel on the left side. Press your thumb into the small groove and push it open.

Remove the old batteries. Be sure to dispose of the old batteries properly, or recycle them.

Insert new batteries. The Instax Mini 11 camera needs two AA batteries. For best results, use alkaline batteries. These can be purchased online or at your local electronics store. Make sure the batteries are inserted correctly.

Replace the battery lid. Slide the panel back into place and press gently until you hear a click. The blinking light should turn off.
Cleaning the Lens

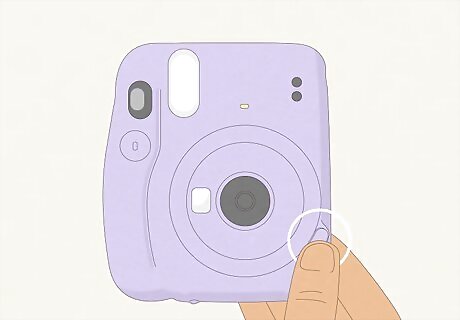
Power on the Instax camera. Press the power button on the side of the lens to turn it on. The lens should be fully extended when the camera is on.

Check the lens. If the lens is stuck and not fully extended, there could be something making it stick, such as a spill. In this case, power off your Instax camera.

Clean the lens. Similar to cleaning other electronics, such as a computer, you'll need to be extra careful handling the components. Try using isopropyl alcohol and a lint-free cloth to remove any stubborn spills.

Check the lens again. Power on the Instax camera. Gently twist the lens if it needs some help fully extending. When it's fully extended, the blinking light should turn off.
Checking the Cartridge

Open the back of the Instax camera. Use the tab on the back to gently pull the cover off. The Instax Mini 11 works similarly to a Polaroid camera. If it's blinking orange, it could mean there's film trapped inside the removal slot.
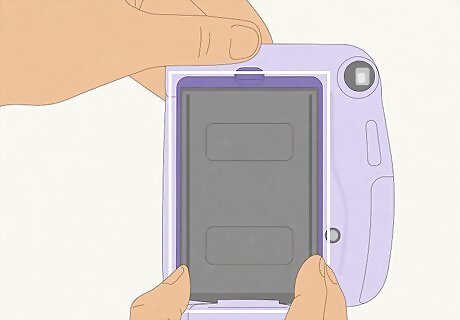
Make sure the film cartridge is aligned properly. If the cartridge isn't aligned, the camera won't be able to print the film. Align the colored tab with the corresponding tab inside of the camera, and then press firmly until it locks in.
Replace the back cover. You should hear a click when it's replaced properly. The film jam should be fixed, and the blinking light should turn off. You should be able to take photographs again.


Comments
0 comment