

Reading Celestial Coordinates
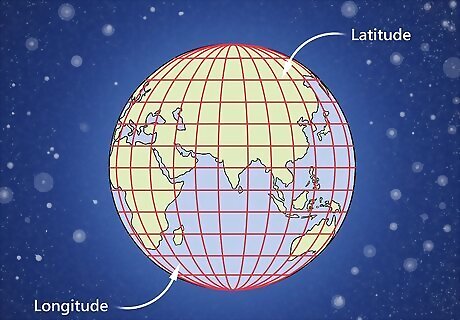
Use longitude and latitude as reference points. You can’t interpret a star’s coordinates or read a star map if you don’t understand longitude and latitude. Latitude refers to the parallel lines that run east and west around the globe. The higher a latitude’s number is, the further away from the Equator a location is. Longitude refers to the vertical lines that run north and south from the North to South Pole. They measure a location’s distance from the Prime Meridian. The numbers for latitude go up to 90 degrees. 90 degrees north is near the North Pole, while 90 degrees south is in Antarctica. The Equator is equidistant between the 2 poles, and is 0 degrees. The numbers for longitude go from 0 to 180 degrees. They start at 0 at the Prime Meridian. The Prime Meridian is an arbitrary line that runs from the North to South pole through Europe and Africa.
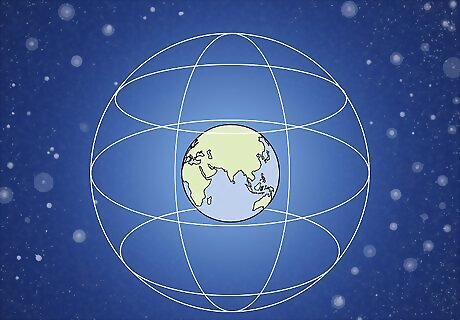
Know how the celestial sphere relates to longitude and latitude. The celestial sphere is an imaginary extension of the Earth that is used to map the location of stars relative to the Earth’s position. The problem is, because the Earth rotates and moves, the location of celestial objects appears to move as well. When referencing locations of stars, you’ll need to be able to cross-reference a star’s right ascension (RA) and declination (DEC) relative to the Earth’s longitude and latitude. It helps to imagine the celestial sphere as a giant bubble around Earth. There are globes that you can buy that map out major constellations and stars on a projection of the celestial sphere. Buy one to make it easier to reference to cross-check a star’s location!
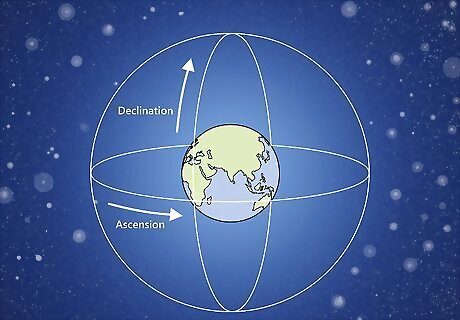
Understand what RA and DEC measure. RA and DEC are units of measurement that stand for right ascension and declination. They’re based on the celestial sphere, with the right ascension referring to the vertical lines that run from the North Celestial Pole to the South Celestial Pole. The lines that run perpendicular relative to the poles in the celestial sphere are the lines of declination. In other words, declination is a celestial version of latitude, and right ascension is the celestial version of longitude! The celestial poles and Equator are an extension of the Earth’s Equator and poles. Like coordinates on Earth, the celestial coordinates are fixed positions. In other words, a specific star will always be located at the same coordinates, regardless of when you’re trying to find it. The symbol for right ascension looks like a cursive lower-case A. The symbol for declination looks like a lower-case O with a bar on top.
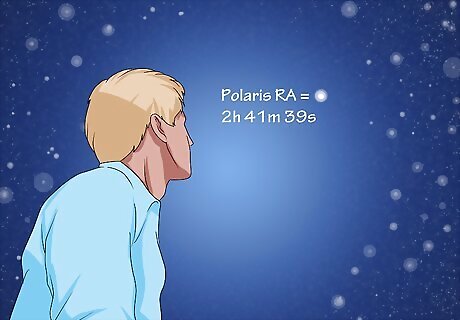
Read right ascension to figure out when a star will come into view. Because the Earth is constantly spinning, you use the right ascension to determine how long it will take for the Earth to rotate and face a star. There are 24 hours in a day, and the right ascension coordinates are given in units of time based on a day. For example, Polaris’s RA is 2h 41m 39s. That means that it takes Polaris 2 hours, 41 minutes, and 39 seconds to come into view if you’re starting at the location of the vernal equinox. The arbitrary starting point for RA is the location of the sun on the first day of spring. The location of this line changes every year, and it is called the vernal equinox. Think of this as the Prime Meridian on a celestial sphere. Right ascension is always measured going east. Each hour means that 1/24th of the Earth has been traveled. This corresponds to 15 degrees along the equator.
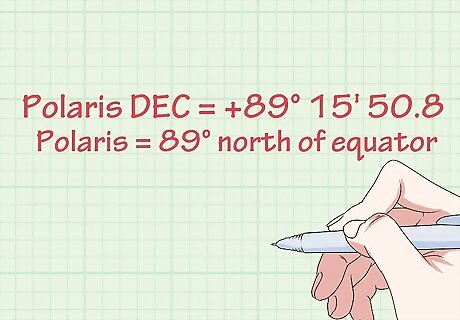
Interpret declination to figure out where a star will be. If right ascension tells you when a star will appear, declination tells you where a star will be in the sky. Look up the declination for the star you want to find and check the first number listed, which is the only one you need to have a star. This number will be in degrees, and it will tell you how high or low a star in the sky will be relative to the equator. The + or – sign at the beginning of the declination number tells you whether the star is in the northern or southern hemisphere. The plus sign means that the star is in the northern hemisphere, while the minus sign means that the star is in the southern hemisphere. A star that has a declination starting in 0 sits directly above the equator. For example, Polaris has a DEC of +89° 15′ 50.8.″ This means that Polaris is 89 degrees north of the equator.
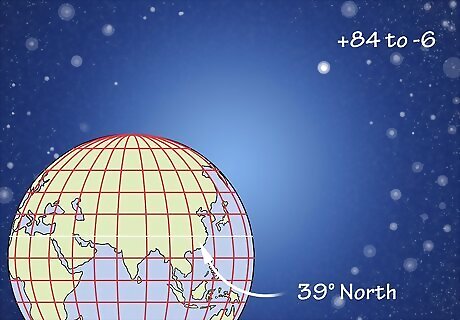
See if your latitude matches a star’s DEC to see where it will cross your view. You can only view a star if it crosses your path at a declination that matches your location. If you live at 39 degrees north, and the declination of a star is +39, then it will pass directly overhead. Generally, a range of 45 degrees in either direction will be visible from your location at some point, so someone living at 39 degrees north will be able to find stars with DECs from +84 to -6.Tip: The further a star’s declination is from your location, the closer to the horizon you will need to point a telescope.
Use your longitude and a star’s RA to see when it will cross your view. For every 15 degrees of separation in longitude between 0° and your location, add 1 hour. You will be able to see stars in your night sky within a 3-hour window in either direction from this point. Because the Earth drifts through space as it spins, the celestial grid drifts (this is called precession), which means that you’ll have to look up the differential on a given night by referring to a star map. For example, Detroit, Michigan is roughly 85° west. This translates roughly to 5h 30m right ascension. This means, that if a star has a declination between +15 and +75 and an RA between 8h 30m and 2h 30m, it may be visible on a given night from Detroit. Generally speaking, you can see stars within a 3-hour window in either direction. This is because each hour translates to 15°, and your maximum range in either direction is 45 degrees.
Searching the Night Sky

Get a star map and take it with you when stargazing. You can purchase a physical star map, but a digital version will be easier to read. Sites like In The Sky (https://in-the-sky.org/skymap2.php) generate star maps based on your location which make it easy to determine which celestial objects are visible from where you are. You can also use a star map to cross-reference a star’s RA and DEC to see if it matches your longitude and latitude before heading out on a clear night.Tip: There are apps like Star Chart and Sky Map that use your phone’s camera and location to show you where a star is in the sky above you. These apps aren’t always perfectly accurate, but they can give you a good starting point to begin looking. Star maps have a compass that will help you reorient them based on whether you’re facing north, south, east, or west. Buy a celestial globe to cross-reference star locations in 3D. Imagining where a star is in relation to where you live can be tough, but a celestial globe will make it easier. Celestial globes contain a projection of the stars with an actual globe underneath.
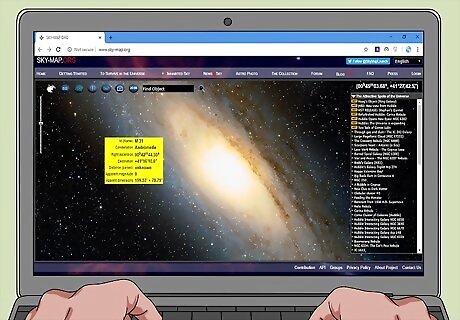
Visit an online star database to look up coordinates for specific stars. There are plenty of online star databases, which are excellent resources for looking up the RA and DEC for specific celestial objects. You can simply type in a star’s name in a database's search bar to retrieve the star’s coordinates. Databases will often provide an image of the celestial object as it appears in the sky to make identifying the star easy. One example of a digital database is http://www.sky-map.org.
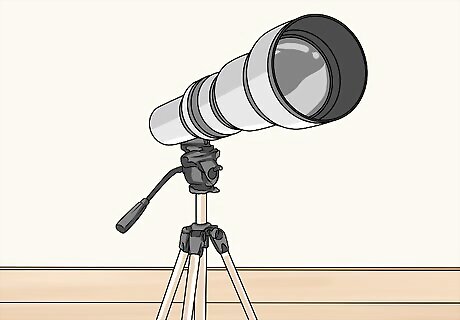
Get a telescope with a compass and equatorial mount. Get a telescope with a compass and an equatorial mount to make finding coordinates easy. The compass will keep you oriented as you turn the telescope, and an equatorial mount will show you measurements for RA and DEC when you tilt and rotate your compass. Binoculars are a great way to find stars if you don’t want to jump right into stargazing with a telescope.

Get as high as you can to get the best view. If you’re looking for a specific star, you’ll have a much easier time if you can search from a higher altitude where the air is thinner. If you live in an area with hills or mountains, consider getting higher up off of the ground to get a better view. The oxygen is thinner the higher up you go, which makes it easier for your telescope to interpret light. The influence of light pollution also tends to be weakened the higher up you go. This is why you often see amateur stargazers getting on their roof or balcony to do some stargazing! Even a slight change in elevation can help make stargazing easier.

Stay away from light pollution and clouds if you can. Artificial lights on the ground and cloudy weather can interfere with stargazing. To give yourself the greatest chance of finding a star, go stargazing on a clear night. Leave the city or town that you live in if you can and set up your telescope in a remote area far from any streetlights or skyscrapers. There are dark parks where lights aren’t allowed that are designed specifically for stargazing. Look online to see if you live near one and consider visiting it if you want to give yourself the best possible chance of finding a star.
Using Your Hand to Make Adjustments

Find a major celestial object as a reference point. So you found your star’s RA and DEC and calculated that it can be seen from your location at a given time. You’ll still need to make slight adjustments to your telescope or binoculars to identify a star. One of the easiest ways to do this is to use a major celestial object with an RA and DEC similar to the star that you’re looking for and work from there.Tip: Bright stars, like Polaris or Sirius, make for easy reference points because they stand out in the night sky. Major constellations, like the Big Dipper or Gemini, also tend to be easy objects to find.
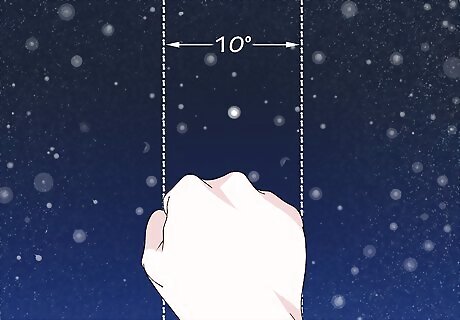
Move in increments of 10 degrees by making a fist. Hold your arm out straight with the back of your hand facing you. Hold it up in the sky with your reference point on the left edge of your hand. The area directly on the right edge will be approximately 10 degrees away from the left side of your hand. For example, if you’re using Polaris as a reference point, you know that it is at +89° DEC. If you’re looking for the Big Dipper, which starts at +61° DEC, then you can place two fists next to each other to find the approximate location of the Big Dipper. The way that this changes measurements depends upon the direction that you’re facing. If you’re looking north away from the equator, the right side of your hand will be 10° lower in terms of RA. If you’re facing south towards the equator, it will be 10° higher. The same is true for declination. You can convert RA to angles by converting every hour to 15°. This means that each fist you make translates to roughly 45 minutes of right ascension.
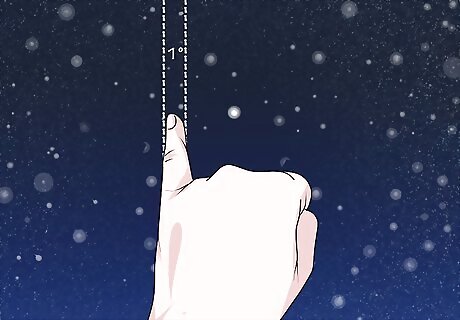
Hold up a pinky finger to make 1° adjustments. Hold up your fist away from you and stick up a pinky finger. The width of your pinky finger will correspond with approximately 1° in the night sky. Once you’ve found a reference point, hold a pinky finger out over your telescope and use the approximate width to move your telescope in minor adjustments. This is a particularly helpful trick when making minor adjustments to a telescope without a compass or equatorial mount.


Comments
0 comment