
views
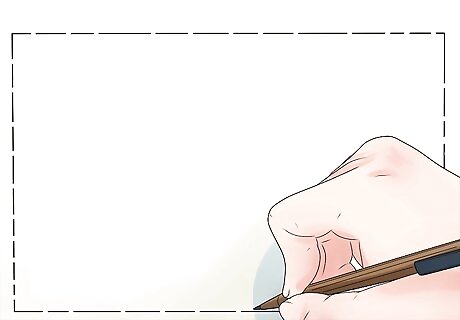
Define the maze area. Draw a rectangular box on the paper to contain your maze and create “start” and “finish” openings in the box. Use almost the entire area of the paper; leave only a small margin along the edges.
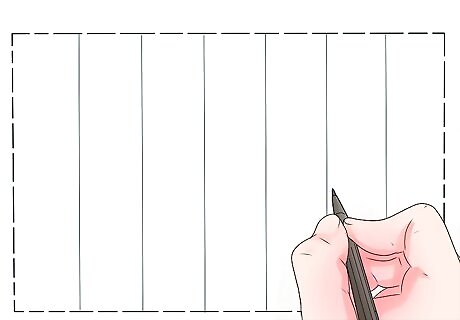
Divide the maze area into 6 cells of approximately equal area. Draw lightly because you will eventually erase these lines.
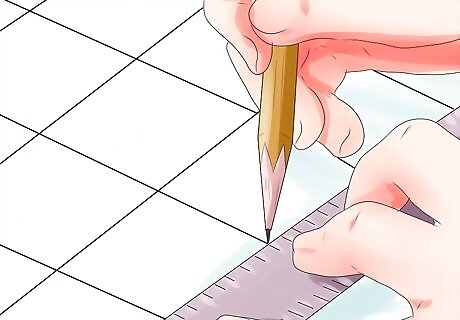
Determine the connectedness of the cells. Each cell should only connect to two other cells, and the path from the “start” cell to the “finish” cell should pass through every cell. Try to make the path through the cells counter-intuitive.
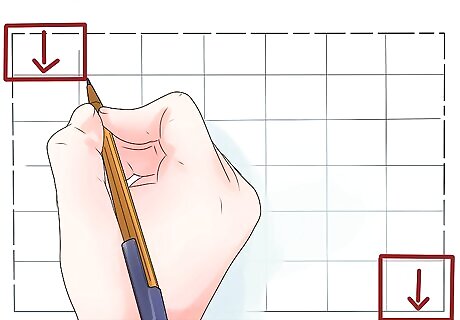
Determine the location of the critical points that allow movement between cells.
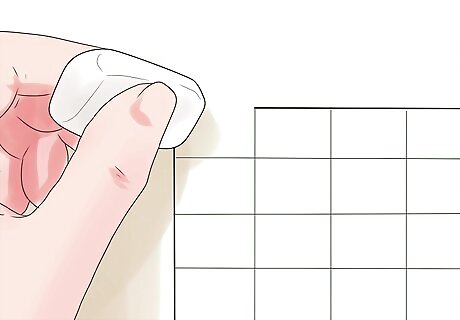
Erase the cell border at the critical points to form a path between the two cells. (Please refer to Figure 1 (attached) for an example of a maze with steps 1-6 complete.)
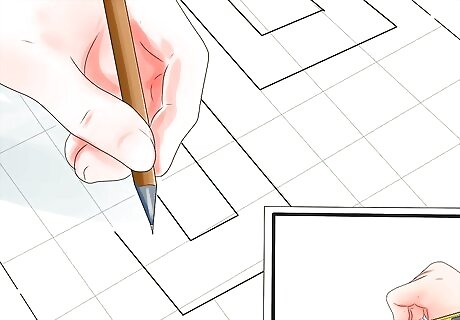
Obscure the boundaries of your cells. The borders between cells should fit together like the teeth of a zipper. However, unlike a zipper, the teeth should be of variable width and length. Draw new, permanent cell boundaries. (Shown in attached figure 2.)
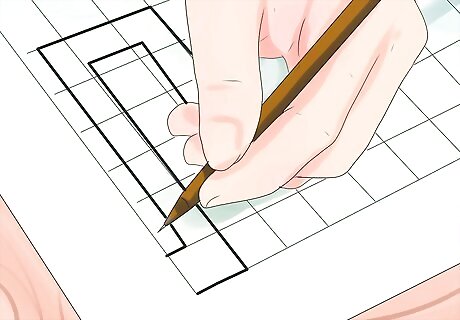
Draw the actual paths inside your cells. The paths should be about one centimeter wide, and their borders should be the width of one line drawn with a pencil. Only draw lines that are parallel to the edges of the paper. Make every part of your maze area either a path or border between paths. Do not create any dead end paths inside cells. Consider the MTF instinct when drawing your approaches to critical points. (Refer to the large attached maze for an example of maze paths.)
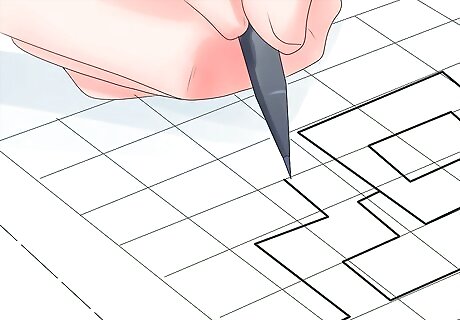
Solve your maze. Make sure that you did not inadvertently block a critical point in your maze and that an unbroken path exists from start to finish.
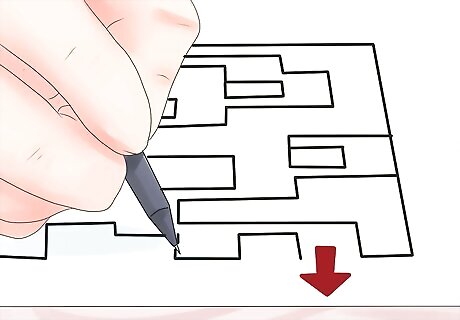
Proofread your maze. Try to make sure that no spots exist where the junction of two lines is ambiguous and it is “debatable” if the path is blocked.
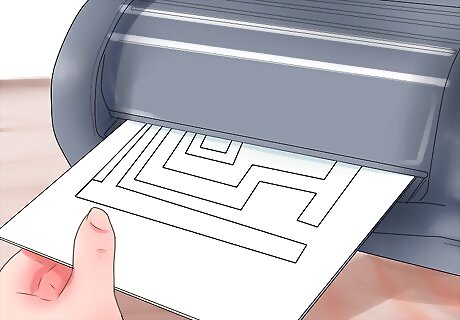
Scan or copy your maze to get ink copies that other people can attempt to solve.
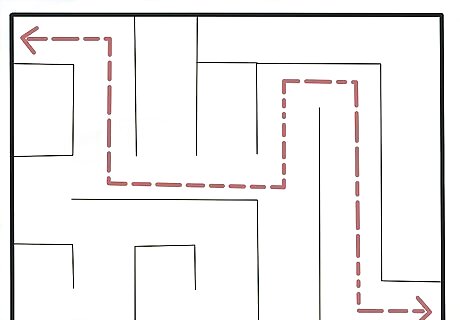
Finished.


Comments
0 comment