
Open Google Takeout in an internet browser. Type takeout.google.com/settings/takeout into the address bar, and hit ↵ Enter or ⏎ Return on your keyboard. The website will list all your Google accounts.
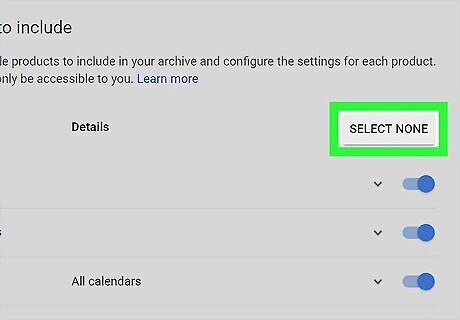
Click the grey SELECT NONE button. It is located in the upper-right corner of the list. This will deselect all your accounts.
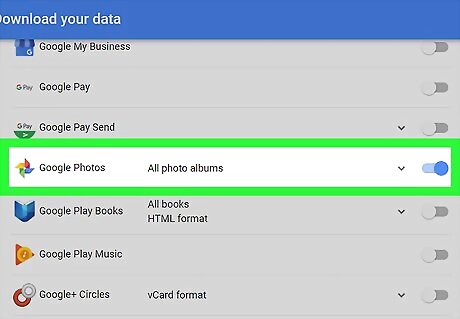
Scroll down and slide the Google Photos switch to Android 7 Switch On. This will allow you to download your Google Photos data to your computer. Optionally, you can click the Android 7 Expand More icon here, and select which albums you want to download.
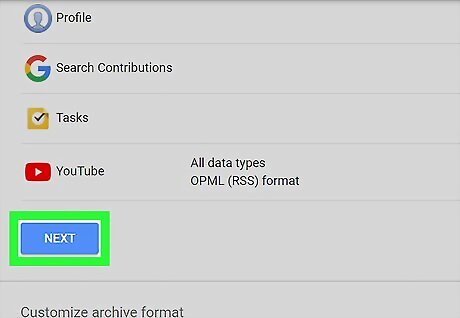
Scroll down and click NEXT. This is a blue button in the lower-left corner of your page. This will open your download options on a new page.
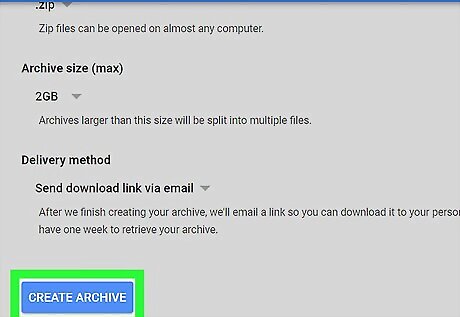
Click the blue CREATE ARCHIVE button. It is located on the lower-left corner. This will take you to the download page. Optionally, here you can also change your file type to TGZ, adjust your maximum archive size to increase or decrease your compression rate, or your download method.
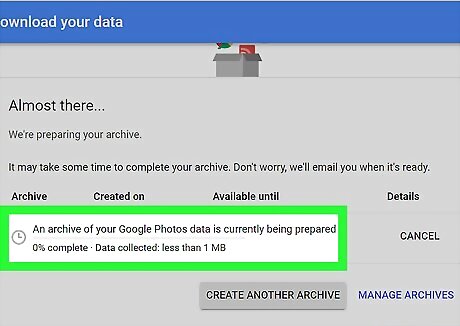
Wait until your archive is created. Google will compress you photo albums, and prepare your download. A blue DOWNLOAD button will appear when it's ready.
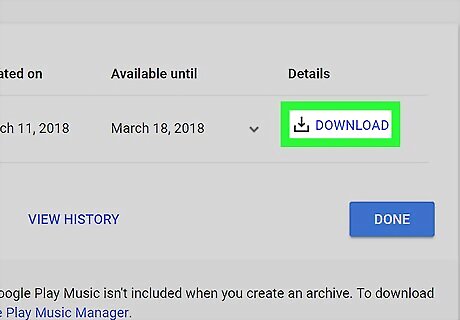
Click the Download button. This will download your Google Photos archive to your computer. On Windows, you may be prompted to select a download location on your computer. If you're prompted to verify your account, enter your password and click Next to start the download.


Comments
0 comment