views
Performing Bench Dips
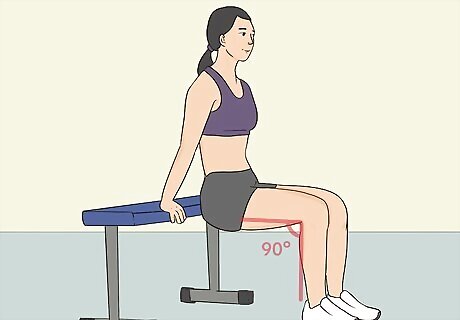
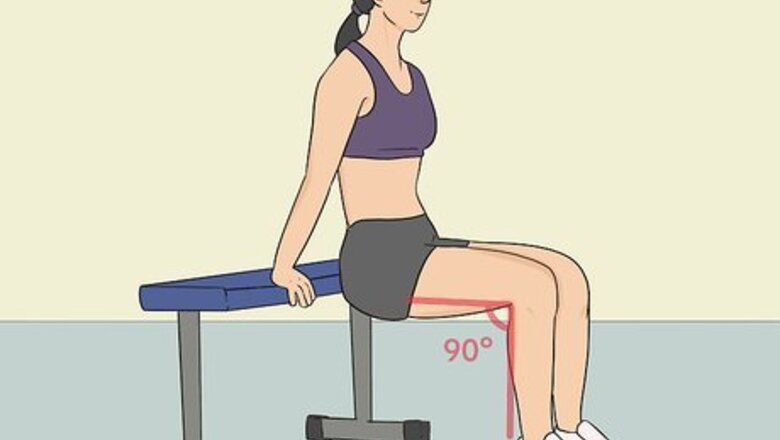
Get into position with a bench behind you. You can use any sturdy bench or chair, such as a workout bench or even a park bench. You can even do these off the edge of your bed. Sit on the edge of the bench and put a hand down on either side of your legs. Your hands should be about shoulder-width apart. Straighten out your arms. Place your feet flat on the ground with your knees at a 90-degree angle. Raising your feet off of the ground will make the exercise more challenging.
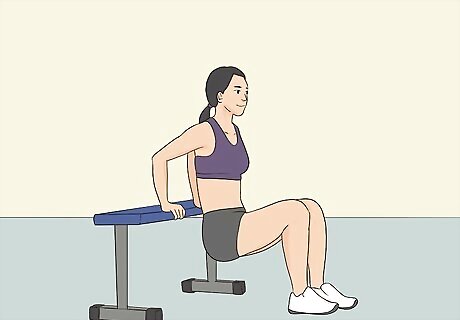
Tighten your core and lower your body off the bench. Squeeze your core muscles to tighten them. Move yourself off the front edge of the bench and use your arms to lower yourself down toward the floor. Don't go all the way down. Dip down enough that your elbows end up at a 90-degree angle.
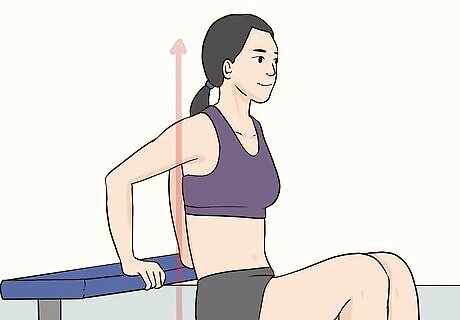
Keep your head and upper body straight. As you dip, make sure your body stays upright. Look straight ahead to remind yourself not to dip your head while you're performing a dip. Also, keep your elbows close to your body.

Hold the dipped position for 1-2 seconds before pushing back up. When you reach the bottom of the dip, stay there for a couple of seconds. That will force your arm muscles to work harder while you hold yourself in place. Once you've held the position, move your body back up, keeping your core tight as you do. At the top, lock your elbows momentarily.

Move yourself up and down without returning to the bench. Keep going for the whole set, doing 8 to 10 reps at a time. When you move your body down, try to do it in slow motion. Moving more slowly works your muscles harder. Try 2-3 sets at a time. For a variation, straighten your legs out in front of you instead of bending at the knees.
Using Parallel Bars for Tricep Dips
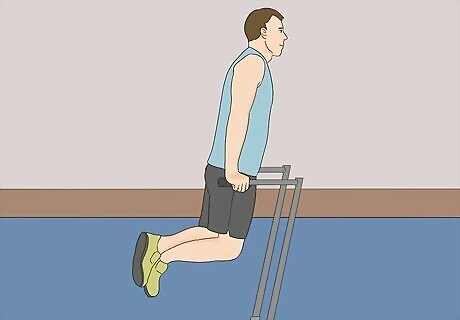
Get into position by placing your hand on the parallel bars. If they're tall enough to do dips without lifting your legs, you'll need to lift yourself onto the bars. Push yourself up onto the bars until you can straighten out your arms. Keep your hands straight out to the sides of your torso, not in front of or behind your chest. Straighten your legs and point your toes. If your parallel bars are shorter, you can bend your knees so that you have space between your body and the ground to perform the dips. Keep your upper body straight, too, and your core tight. Don't worry if you can't do these right away. Build up to doing this type of exercise by working on your bench dips.
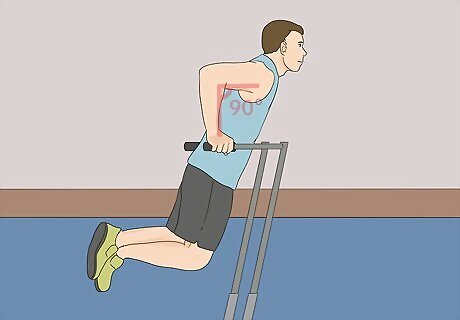
Lower yourself down with your arms, keep your head and shoulders straight. Look ahead as you dip to make sure you're not tucking your head into your chest. Lower yourself down until you reach at least a 90-degree angle with your elbows. Keep your elbows tucked close to your body; don't let them splay out. Make sure to lower yourself slowly. Try to work against gravity.
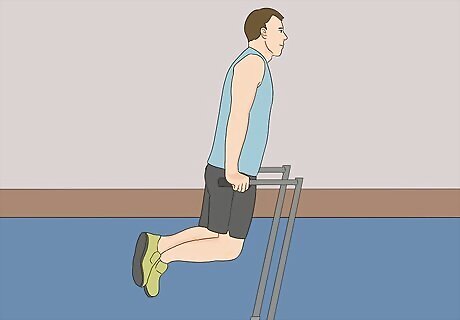
Push yourself back up to the starting position. Press yourself upward with your arms until they are straight again, making sure not to overextend your elbows as you do. In fact, it's best if you keep your elbows slightly bent, as it makes the exercise more difficult.
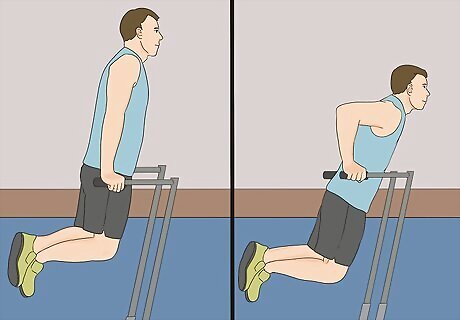
Keep pushing up and down for the whole set. If there's a "resting" point in this exercise, it's at the bottom of the dip for 1-2 seconds. As soon as your arms are in the starting position, lower yourself back down again, making sure to do so slowly. Repeat the process for 8-10 reps. Try to do 2-3 sets.
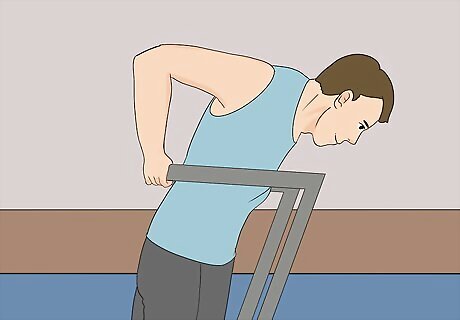
Lean forward to do a chest dip. When you're straight up and down, you work your triceps the most. To work your chest muscles more, tip your body forward and then dip up and down. However, keep your chest in the same position as you lift yourself up and down; don't try to swing forward and back. To make the exercise harder, add a belt weight before hopping up on the bars.
Doing Assisted Dips
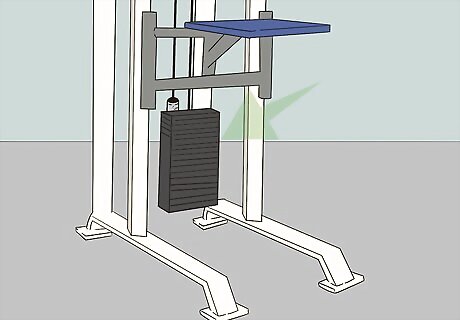
Adjust the dip assistance machine to your desired resistance. Move the pin in the weights at the bottom to your desired resistance. Add more weight to get extra help doing your dips; less weight will give you less help. The weight you're adding to the machine balances out your weight. If you've never done dips before, start with more weight and move it to less over time as you improve. Keep the assisted weight under your body weight. For instance, set it to 2/3 of your body weight.

Get into position by stepping onto the assist bar. Grab the parallel arms with one in each hand, making sure you have a firm grip. Step from the stable bar to the assist bar, which is the one that moves up and down. Straighten out your arms to get in the starting position. Other machines will have a kneeling assist bar. Step up onto the foot pads below the kneeling pad. Then, grab the bars in front of you and bring your knee up onto the kneeling pad, which may be up fairly high. Let it come down a bit, then add your other knee. Lift yourself up to the starting position with your arms extended. Always ask for help if you've never been on the machine in your gym. Keep your arms on either side of your torso.
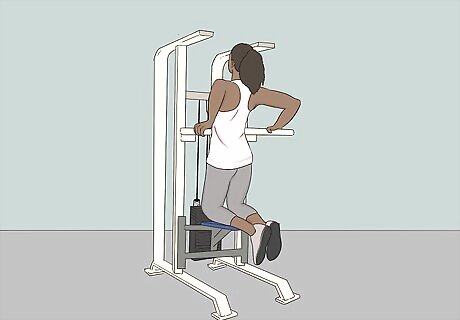
Lower your body by bending your elbows. Slowly bend your elbows, which will begin to lower the assistant pad below. Keep going until you reach about a 90-degree angle with your elbows, which is the bottom point of this exercise. Your elbows should go out behind you, not to the side. Always try to work against gravity when lowering yourself down. Your shoulder will be about the same height as your elbow.
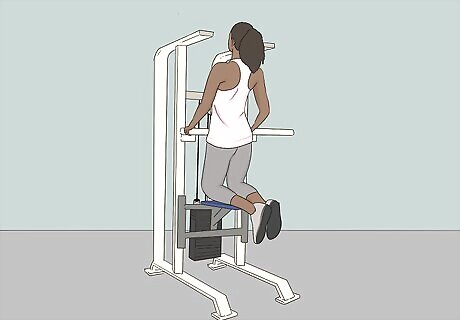
Push yourself back up to the starting position. Press upward with your arms, unbending your elbows. When your arms are almost perfectly straight, you've reached the starting position again. Don't straighten your arms out completely, as that adds more muscle-building power to the exercise.

Repeat the process 8-10 times to complete the set. Lower yourself down and lift yourself up with the assistance of the machine. Always go slowly when you're lowering yourself to work against gravity. Work on doing 2-3 sets in a row, resting in between.

Lower yourself off the machine gently. As you come off the machine, take one foot or knee off first, placing it on the bar or foot rests behind the assistance pad. Let the assistance pad gradually move up, then take your other leg off the pad. This process will help keep you balanced and stop the assistance pad from springing up.
Keeping Good Form
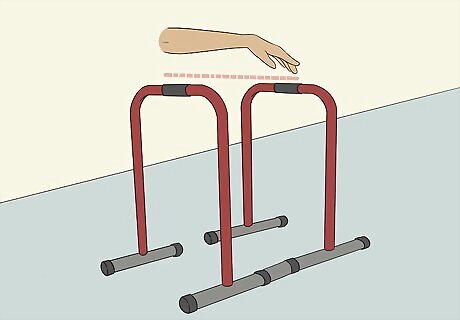
Adjust your bars to the perfect width and check your grip. When choosing bars, measure the space between them with your length of your forearm. The width between the bars should be about the same, as that's the perfect distance apart. When gripping the bars, wrap your thumb around the bar for the best grip. Also, grab the bars with the lower part of your palm, near the wrist. Grabbing the bar lower on your palm helps prevent wrist problems.
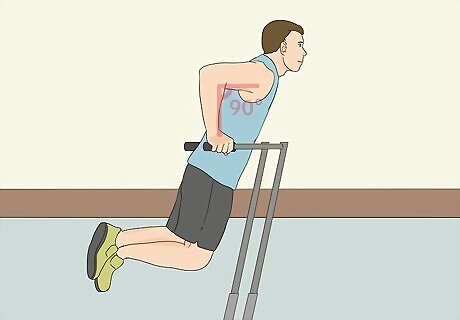
Find the best arm positions. Make sure your forearms are perpendicular to the floor. They should always be vertical, throughout the whole exercise. On the other hand, your elbows should be at 90-degree angle on the low part of the dip and locked at the top part of the dip. Take a few dips to check your arm positions. At the low part of the dip, your upper arms should be parallel to the floor, while at the top, they should be vertical.

Puff your chest and keep your head inline. As you get ready to move down into the dip, push your chest out and your shoulders back. Keep your head forward, though; don't try to look up during the exercise. You can lean your whole torso a little to the front as you dip, as that will help you keep yourself on the bars. Keep your back straight without trying to arch it.

Make sure your legs are in the right position. If you have high bars, keep your legs out straight and point your toes. With lower bars, you'll need to bend your knees and cross your legs at the ankles. That way, you won't hit the floor with your legs on the way down. In addition, when you're crossing your legs, you make yourself stiffer, which lets you do more dips.
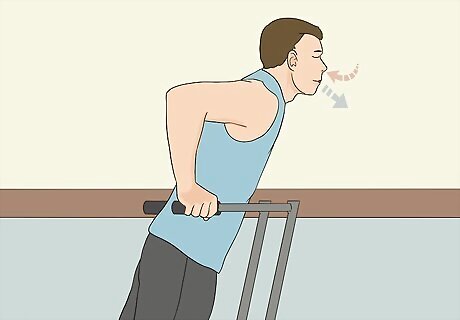
Breathe in and out at the top. Take a deep breath and lower yourself into the dip. Keep the breath in through the whole dip. Then, when you get back to the top, exhale. Start again by taking a deep breath and going down into the dip.




Comments
0 comment