
- Professional slide digitizing services make scanning slides quick and easy.
- You can purchase a specialized slide scanner to scan slides at home.
- If you don't want to invest in a slide scanner, you can project the slide onto a screen and capture a digital photo.
Buy a Slide Scanner
Do it yourself. While scanning companies can generally deliver better quality and make what might be a tedious task go much quicker, there is a certain satisfaction in doing it yourself, as well as other reasons: It could be an opportunity to discard slides that should never have been taken, like that accidental shot of your tennis shoes or that "artistic" image of a dog and a fire hydrant. There may be pictures in your slide collection that you simply don't want to share with total strangers.
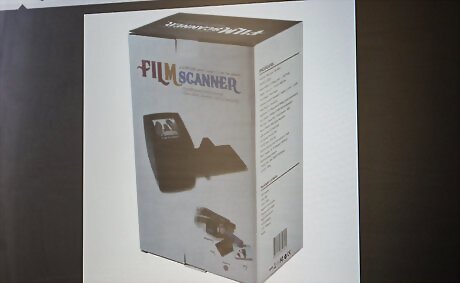
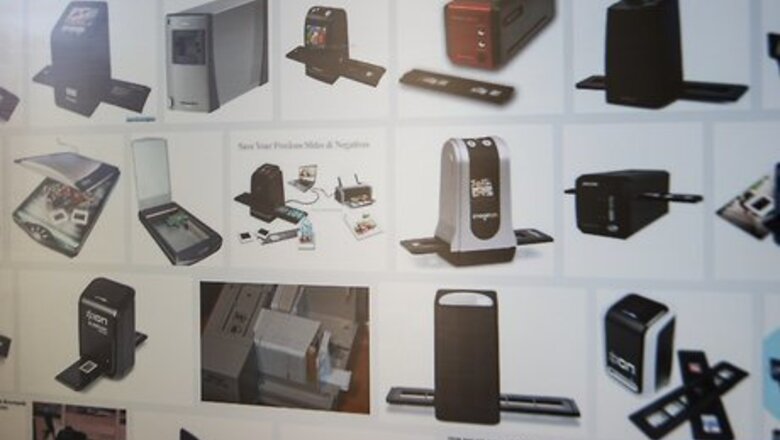
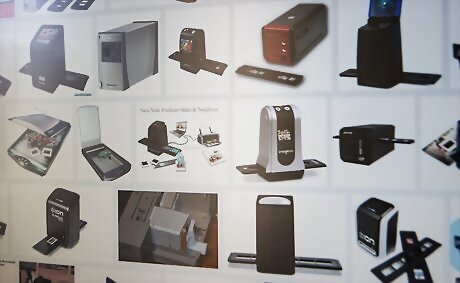
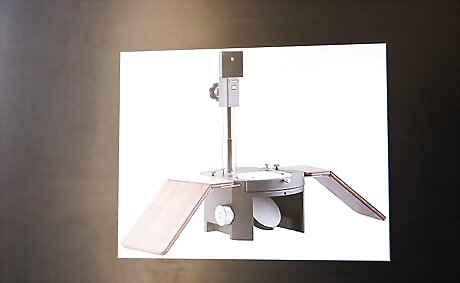
Purchase a slide scanner. In the consumer category, these can range from under $50 to over $200, and generally, more money gets you better quality and easier workflow. Look for these features: Speed. Some slide scanners require you to scan to your computer, one at a time. If it takes 30-60 seconds per slide, plus naming and filing time, it can take a considerable amount of time to process a box of 400 slides. Be prepared to give up a weekend for that. Some of the better slide scanners will scan a slide in just a few seconds, and save it to an SD card. When all your slides are scanned, simply open that card on your desktop, and drag your photos over. Quality. Check out the megapixel number of the scanner you're interested in. They can range from 5 to 9 megapixels. Bigger is better, as they say: the greater the number of pixels, the larger print you can make from your slide. Compatibility. Make sure that the slide scanner either doesn't require any specific software, or if it does, that it runs on your computer configuration. You don't want to sit down at your Mac this weekend for a massive scanning session only to realize that your shiny new scanner will only work on Windows. It will likely mean that you get to do yard work instead. And that, as they say, just doesn't scan.
Project and Photograph

Shoot it again, Sam. Set up your projector, screen, and tripod and digitally photograph your image as it is displayed on the screen. If there is a manual focus on your camera, use it to adjust for the distance to ensure the image is as sharp as possible. If your camera permits, try bracketing your image exposure with slower and faster shutter times and a fixed f-stop, and then compositing the picture with image software such as Photoshop. The resolution will still be compromised, but you may have better dynamic range.
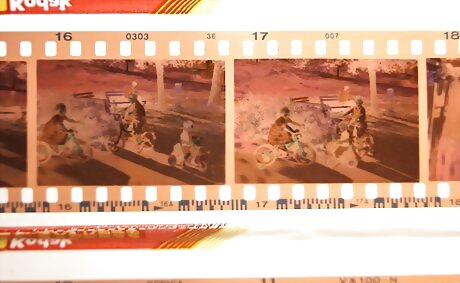
Using a slide viewer. Either zoom in or use the macro function of your digital camera to take a picture of the back-lit slide. The peripheral light present around the slide itself may need to be blocked/blacked out. Use some cardstock or paper and place it so that only the slide's image has any visible light behind it. This process typically requires a tripod to make a sharp image.
Use a stand. If your lens permits you to focus within an inch of the lens, use a stand to take a close-up image of the slide. Capture is quick with a click of the camera's shutter. You can test your camera for slide, negative copying at www.shotcopy.com/compatibility.htm and build your own copy stand if you choose.


Comments
0 comment