
Cutting the Board

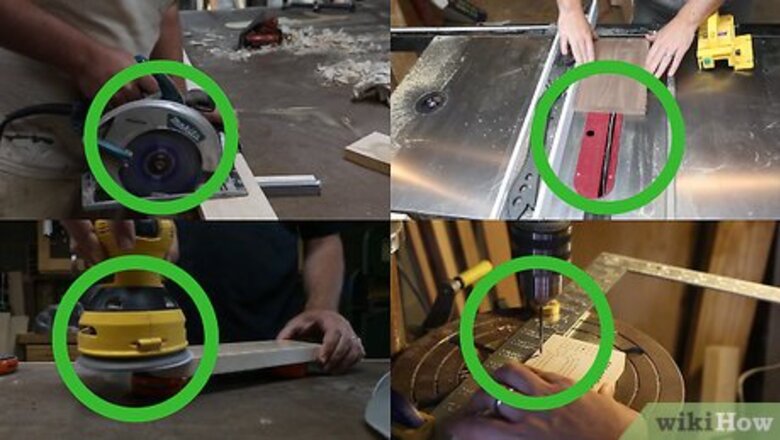
Make sure you have the necessary tools. As this is a woodworking project, you'll need more than just a hand-held power drill. You'll need a table saw, a band saw, a drill press, sandpaper, spray adhesive, a brush, and wood finish. You'll also need a framing square, a clamp, some paper, a printer, and some scissors.

Get a block of wood for the board. Go to your local hardware store and purchase a block of wood. The length and width of the wood block don't matter, as you'll be cutting it down. Just make sure it's roughly 3/4" thick, and definitely no thinner than 1/2". The type of wood isn't important, but generally lighter wood will work better.
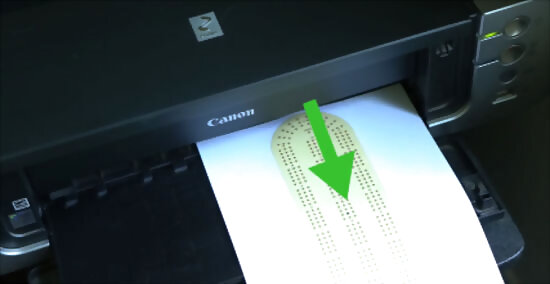
Print a cribbage board template. There's no lack of free cribbage board templates online. Search for one you like and print it out on plain white printer paper.The template on this website will work just fine: http://cribbagecorner.com/boards/templates. This cribbage board template is of the 120 hole type. There will be 397 holes to drill in total. The main 360 holes follow along three rows of 120 each that go around the curved end of the board and back up the middle. Most of the holes are about 1cm apart from one another.

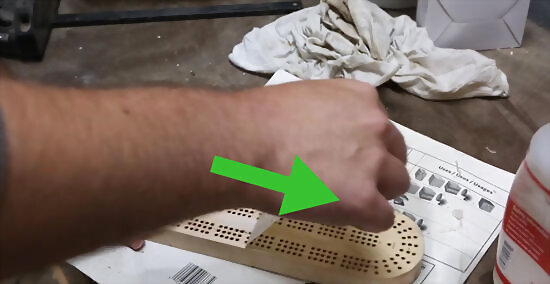
Attach the cribbage board template. After you've printed out a cribbage board template, cut it out with scissors. Then spray the blank side with spray-on adhesive. Wait a few seconds, then place the adhesive side of the template on the wood block. Place it so that one corner of the template lines up with one corner of the wood block.

Cut the block to size. Use your table saw to cut the wood block so that it's the same size as the template. Lay the wood on the table and use the guide of the table saw to cut straight lines, getting the board down to the width and height of the template. For the rounded side of the template, cut the wood down to the highest point of the semi-circle, so that you make the wood block as small as possible without cutting the template. You should now have a block of wood that is the same size as the template that's glued to it, except for the rounded side of the template.
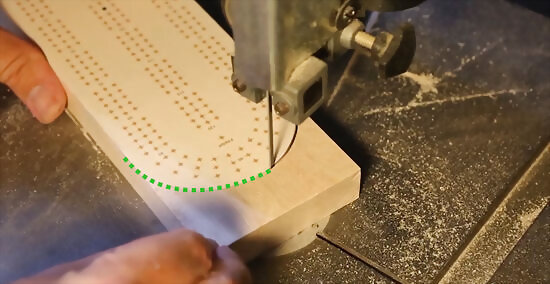
Round out one side. Use your band saw to cut out the corners of the wood block that extend from under the template. Move the wood block slowly and carve out those corners with the blade of the band saw. The wood block should now be the same size and shape of the template.
Drilling the Holes

Prepare a clamp. To make sure your holes are aligned when you're drilling, use a framing square as a guide. You'll want to clamp the framing square to the table of the drill press. Then when you're drilling, you can move the block of wood along the edge of the framing square to make sure the holes are lined up with each other.
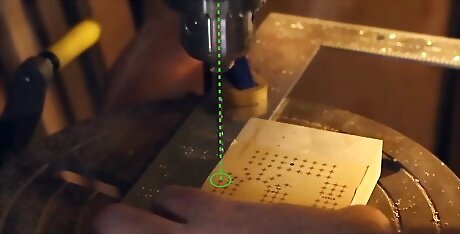
Prep the drill. To get clean holes with minimum tear-out, use a high-quality 1/8" brad-point bit. These can be found at hardware stores. Set the drill to its highest speed. Place the wood block against the framing square so that the drill bit is lined up with one of the holes on the outer most row.

Drill the peg holes. Spin the drill at full speed and drill out all of the holes in the template. Move the drill bit down slowly. Drill the holes 1/2" deep. Use the framing square to line up all the holes. Go through one whole row of holes, then back through with the rest of the rows, one by one. Every couple of minutes, turn the drill off and touch the bit to check its temperature. Let it cool for a few minutes if it's hot.
Finishing the Board
Sand the board. Remove the paper template. Use sandpaper to smooth all the sides of the board. Work your way through several grits of sandpaper, starting with a rough grit and up to at least an 180-grit, preferably a 220-grit. Rub the sandpaper firmly into the wood until it feels smooth to the touch on all sides.

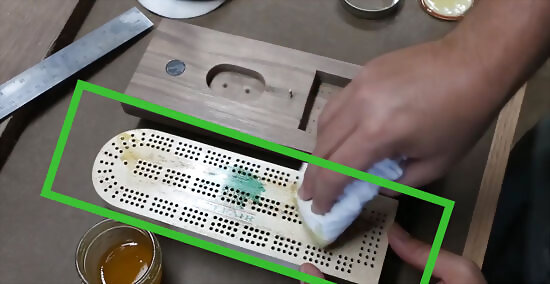
Paint the board. Use acrylic paint and a small paintbrush to paint the board however you desire. The most common way to paint a cribbage board is to paint over the three rows of holes as three stripes in different colors. You can use a ruler as a guide to help you paint the stripes with clean edges. You may also want to use a small sharpie, pen, or a very small paintbrush to write the different labels on the board as shown in the template.
Finish the wood. Use a finish of your choice. A water-based polyurethane finish will work well. Apply three coats to the board with a medium sized brush. Wait for each coat to dry in between coats. Apply each coat quickly to minimize the amount that gets into the holes.
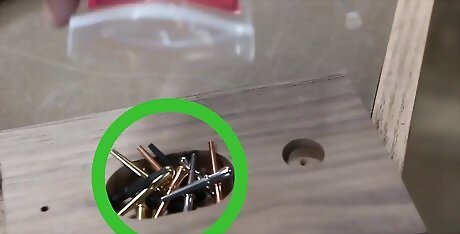
Get some pegs. You can buy cribbage pegs online, or at a board game store. You can also use 1/8" double-headed nails, or even something like the pegs from a battleship game. Then all you need is a deck of playing cards and you're ready to play!


Comments
0 comment